| Solution for cheap Bluetooth music streaming using aux input | |
This write up is specific to my vehicle, a 2007 Vogue SE with RSE, but it should work for any model with an audio auxiliary input and a free 12v socket.
Brief Summary
My vehicle has RSE and an Auxiliary Input panel for rear passengers, which located at rear of the central cubby box.
I have soldered a wire directly onto the headphone input socket of Auxiliary Input printed circuit board, drilled a hole in my cubby box and wired a second headphone socket into the cubby box. This is purely to avoid having a wire trailing from the Aux Input panel into the cubby box.
I then purchased a 12v socket USB adaptor, an iPhone lead (older style) and an iPhone/iPod Bluetooth dock adaptor about £12 all in from bay of fleas
.
Plug the Bluetooth adaptor into the iPhone lead. Plug the iPhone lead into the headphone socket and 12v USB port adaptor for power.
When I get into the car, my iPhone 5 will pair with both the car and the Bluetooth adaptor. The phone is smart enough to recognise each device for what they are an audio streamer and a vehicle mobile phone connection. I assume other phones will work in the same way.
Select Aux In as the audio source from RR touchscreen, play some music from your phone and all should work! Its a bit quiet compared to the radio, but then so is playing a DVD
.
As the phone is in control, everything works as it should. If you get or make a call, the phone will pause the music and automatically restart when you hang up simples!
My wifes BMW already has a headphone socket and USB port in her central cubby box it will be Bluetooth music enabled this weekend!
Headphone socket in central cubby box
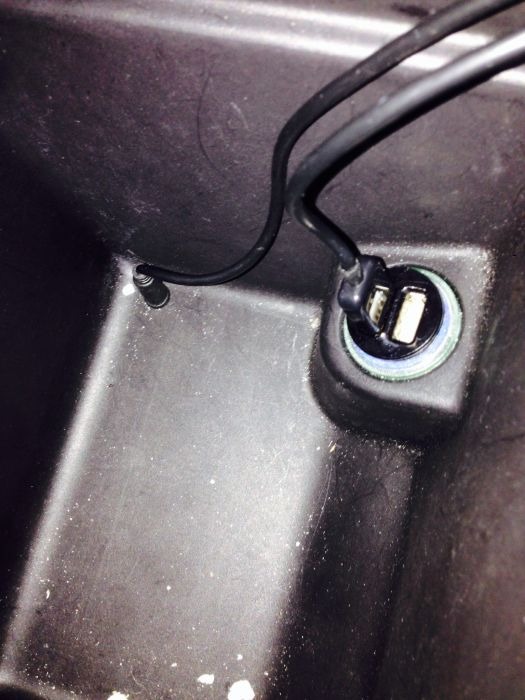 | | Click image to enlarge |
With iPod attached before it was replaced for Bluetooth dock adaptor
 | | Click image to enlarge |
Close up of Bluetooth dock adaptor
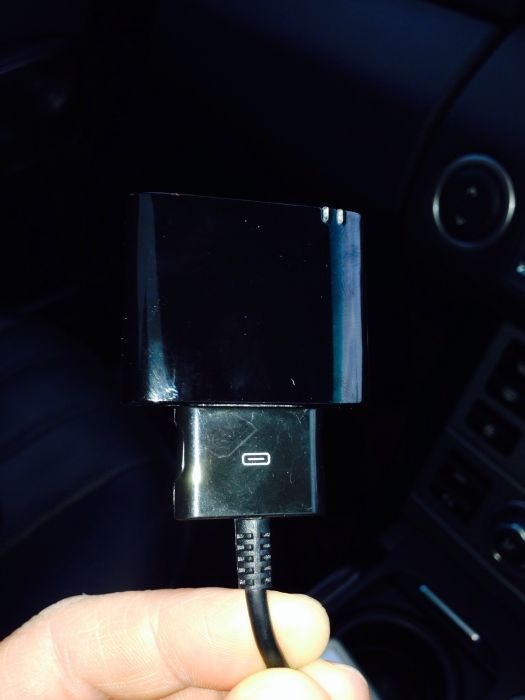 | | Click image to enlarge |
All tucked away in the cubby box!
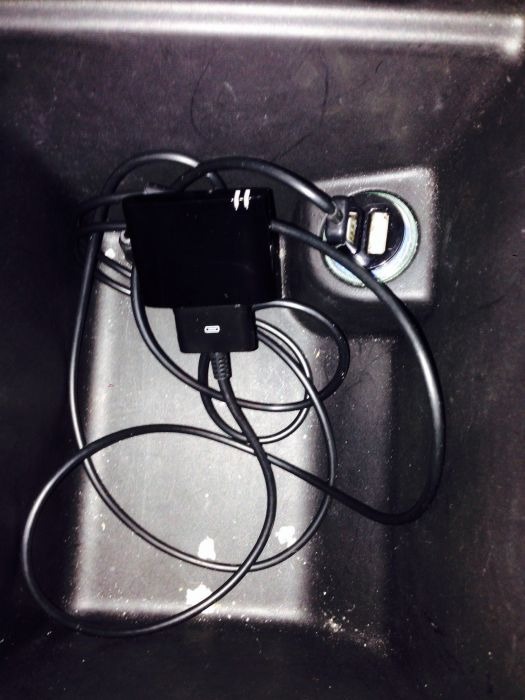 | | Click image to enlarge |
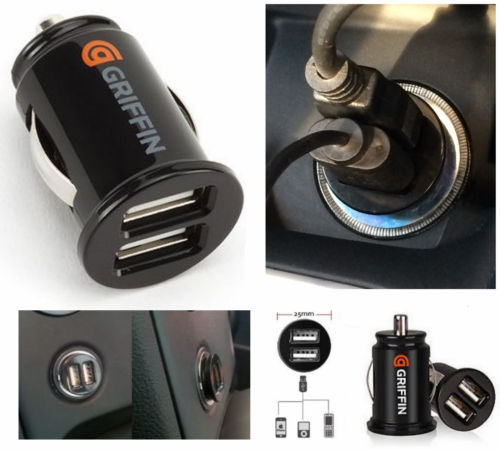
12v socket USB adaptor http://www.ebay.co.uk/itm/Griffin-Twin-Dua...2c79bce3dc
iPhone lead http://www.ebay.co.uk/itm/USB-dock-to-car-...5d4adbe3b4
Bluetooth adaptor http://www.ebay.co.uk/itm/271215732470?ssP...1439.l2648
Fitting a headphone socket in the cubby box
Apologies, I was going to take photographs when I did this, but it was raining and I was in too much of a rush
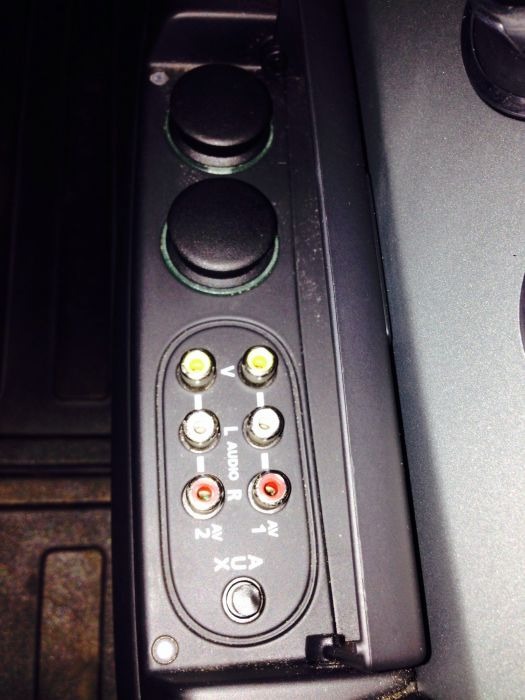
The Aux Input panel
 | | Click image to enlarge |
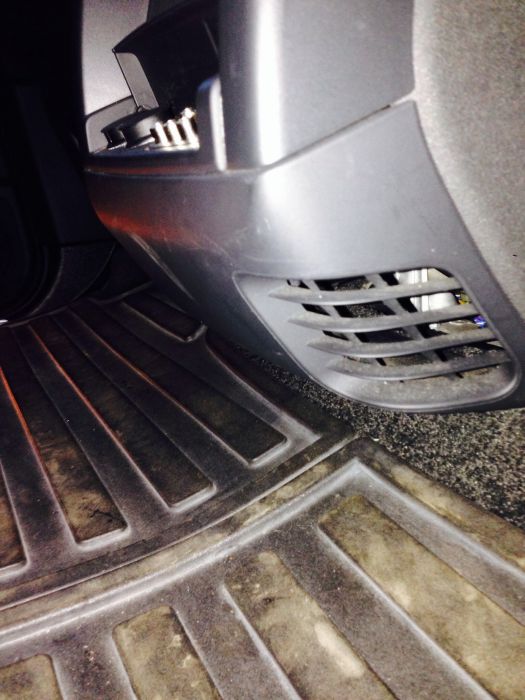
Prise off the air vent located below the Aux In panel at the back of the cubby box (shown below). Please check, but I dont recall there being any screws to undo
.
 | | Click image to enlarge |
Unscrew the four torx screws holding the printed circuit board in place (PITA to get to) and unclip the cables. You can now remove the printed circuit board PCB and the plastic holder further disassembly is required but its much easier with it out in the open.
At the back of the Aux In headphone socket there are three terminals left channel, right channel and ground. Solder a length of headphone wire to the terminals. The wire needs to be long enough to reach into the cubby box.
Unfortunately I cant remember which terminal is left and which is right. You dont want to end up with the channels the wrong way round so after soldering the wire to the PCB, temporarily connect it to the new headphone socket and experiment in the vehicle to ensure stereo sound routed to the correct side.
This link shows how to wire up a headphone jack the process is the same for a headphone socket http://www.anythingbutipod.com/forum/showthread.php?t=12878
IMPORTANT the Aux panel headphone socket is a smart design and needs a headphone jack to be located in the socket to complete the circuit and allow current to flow.
I simply took an old 3.5mm headphone jack, cut the cable off it (so you can close the flap on the panel) and inserted it into the Aux Panel socket, where it now lives permanently
.
When happy sound is being routed to the correct channel, drill a hole in your cubby box (not too near the corner or you might not be able to access it!)
Solder the new headphone socket onto the end of the wire and fit in the cubby box.
My headphone socket came with a nut to secure it from underneath, but I forgot to thread it onto the wire before soldering the headphone socket. As I didnt want the hassle of re-doing the soldering, mine is help in place with superglue
.. 2007 Zermatt Silver TDV8 Vogue SE - now sold but was a great car!
|