 | Home > Maintenance & Mods (L322) > Angel Eyes DRL DIY step-by-step |
 
|
|
|

| Cam-Tech-Craig Member Since: 04 Aug 2011 Location: Gloucestershire Posts: 16403  
|
Very nice |
||
|
| Alistair Member Since: 11 Feb 2011 Location: Peterborough / Alicante / Andorra Posts: 8135  
|
Top job - well done |
||
|
| JarrahJack Member Since: 27 Apr 2012 Location: Perth Posts: 23  
|
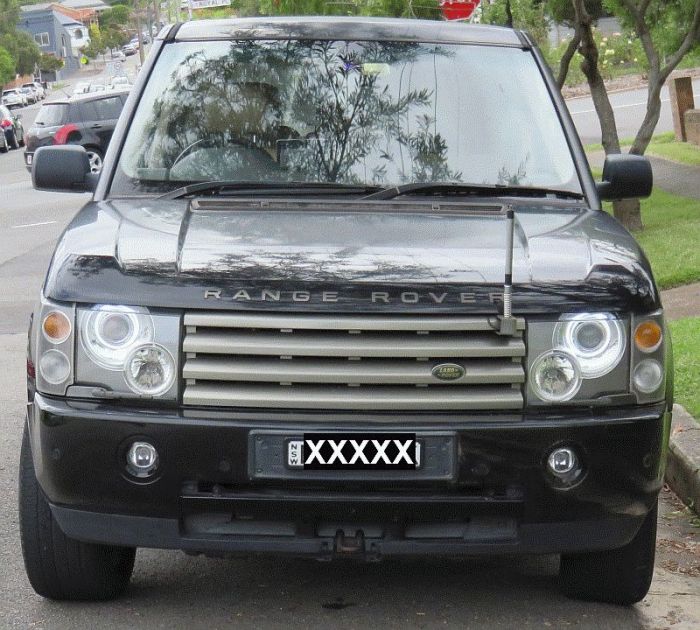
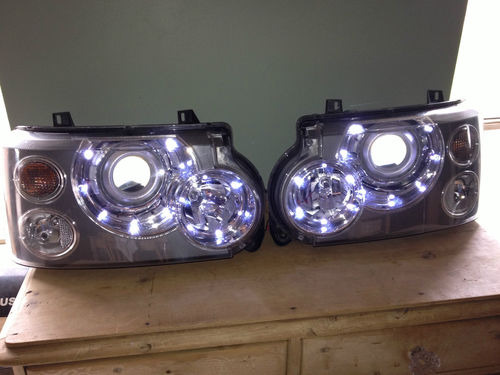
Would this be only applicable to Xenon headlights? 2003 TD6 HSE, Zambezi Silver, Navy Trim. |
||
|
| horse86 Member Since: 09 Dec 2014 Location: PA Posts: 863  
|
now if only the newer 322 lights were able to be taken apart as easily. Would be nice if there were dot LED rings like the the ones the facelifted lights have as opposed to the solid angel eye. |
||
|
| rej Member Since: 06 Jan 2014 Location: Stevenage Posts: 496
|
I have these on mine. Purchased done but they will also convert your own when I asked. I have mine wired via a connector as when I tried to connect to the ebox loads of faults flashed up on the dash hence why I used the pre-wired solution.
|
||
|
| horse86 Member Since: 09 Dec 2014 Location: PA Posts: 863
|
^^^^very nice. I would be interested in the details on what you used/how you did that? Do you have a thread posted on it that shows what product you used, how you opened/sealed the newer MIII lights, wired them etc? |
||
|
| rej Member Since: 06 Jan 2014 Location: Stevenage Posts: 496
|
This is what I used/purchased. Used a cheap loom from ebay to connect
|
||
|
| horse86 Member Since: 09 Dec 2014 Location: PA Posts: 863
|
^^ Rej....
|
||
|
| alanm_3 Member Since: 19 Feb 2011 Location: my House, unless I’m not at home, in which case I’m somewhere else. Posts: 6837 
|
Nice reg plate!
|
||
|
| rej Member Since: 06 Jan 2014 Location: Stevenage Posts: 496
|
I think the lights may be used but I not 100% sure. The set I bought didn't have the extra lights which I only noticed when I got the lights so they then used my original lights to make me a set with the cornering lights and I gave the first set I bought to a colleague who had a FF without the cornering lights as he had a crack in one of his original lenses. Biggest joke is I think my lights had been changed at some point as despite the light having some signs of melting round the cornering light I have never seen them on or even noticed the lights move and get no error on the dash so guess I could have saved a few hundred and just used the first set supplied.
|
||
|
| horse86 Member Since: 09 Dec 2014 Location: PA Posts: 863
|
thank you for that reply. looking forward to the additional pics. |
||
|
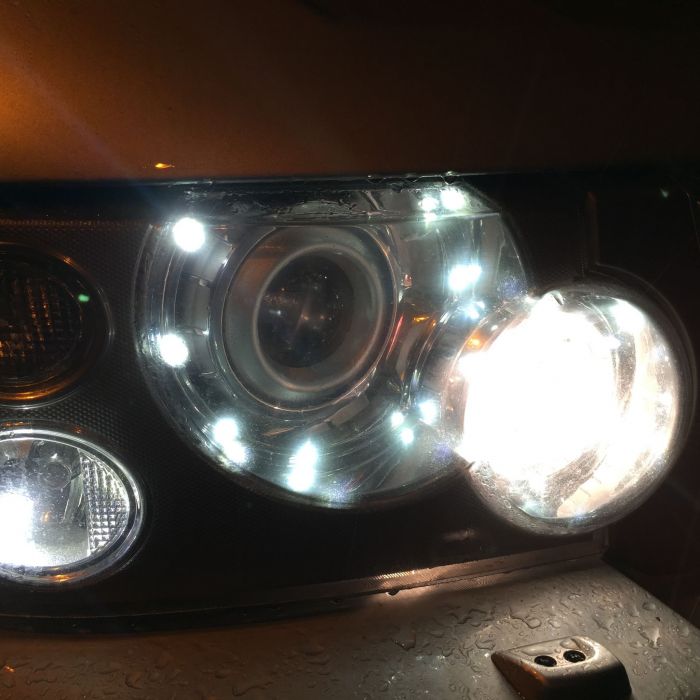
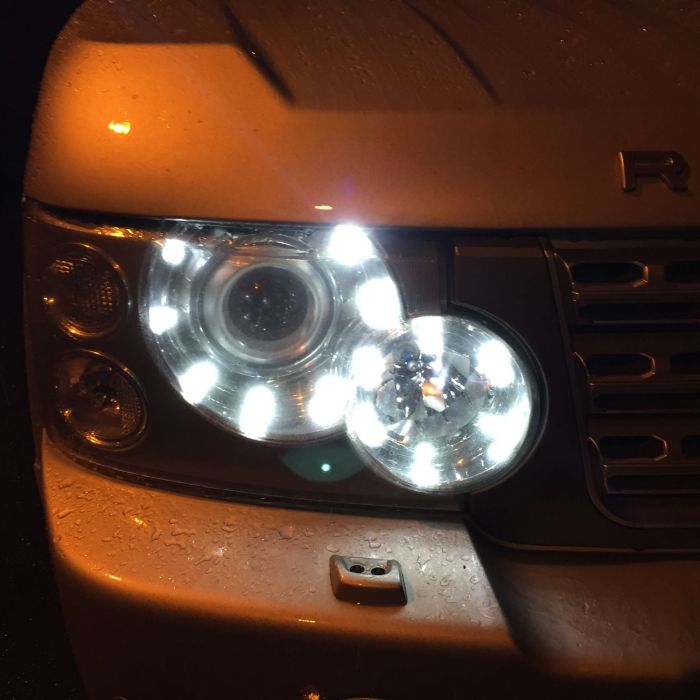
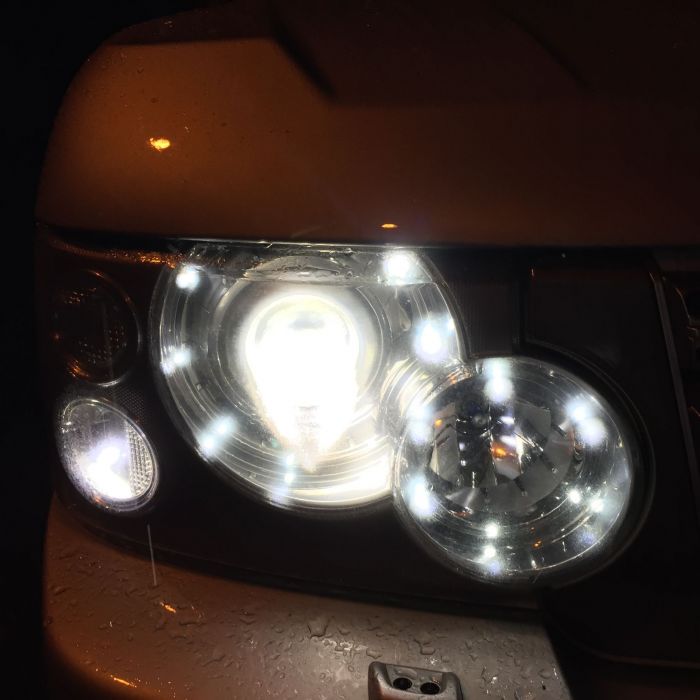
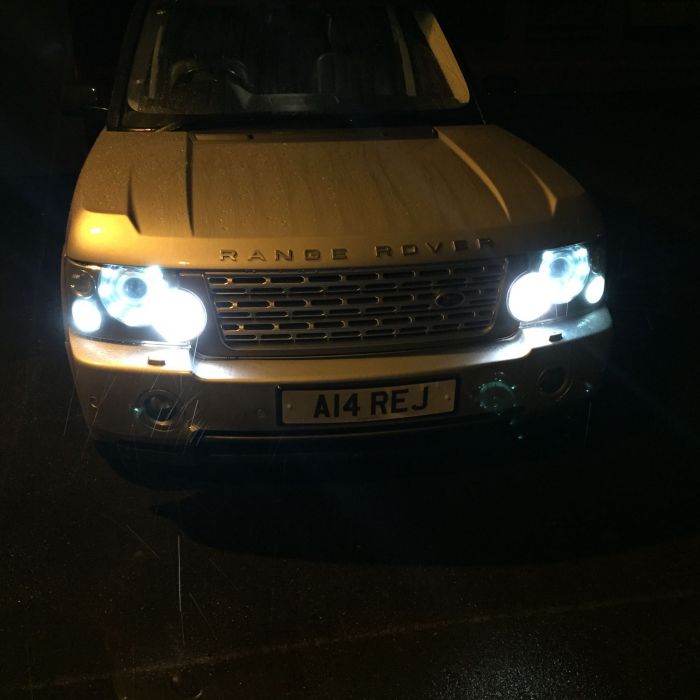
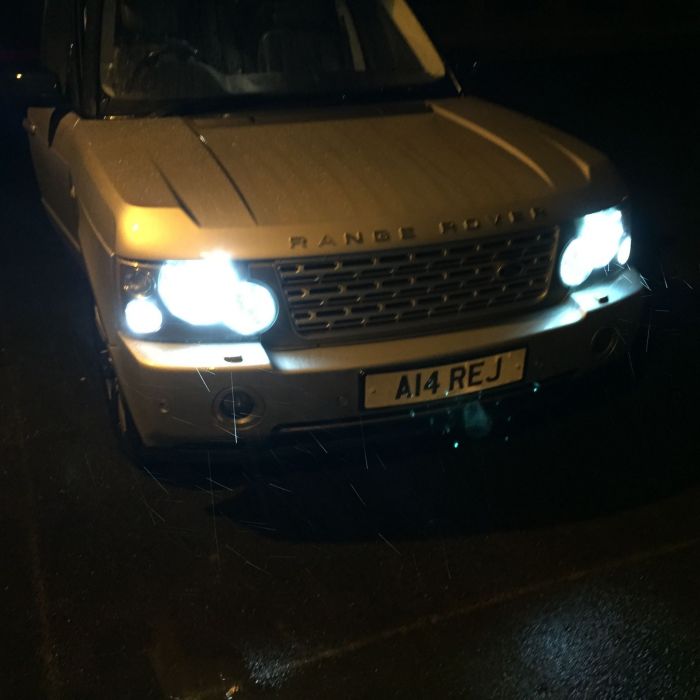
| rej Member Since: 06 Jan 2014 Location: Stevenage Posts: 496
|
Photos in the dark
|
||||||||||||||
|

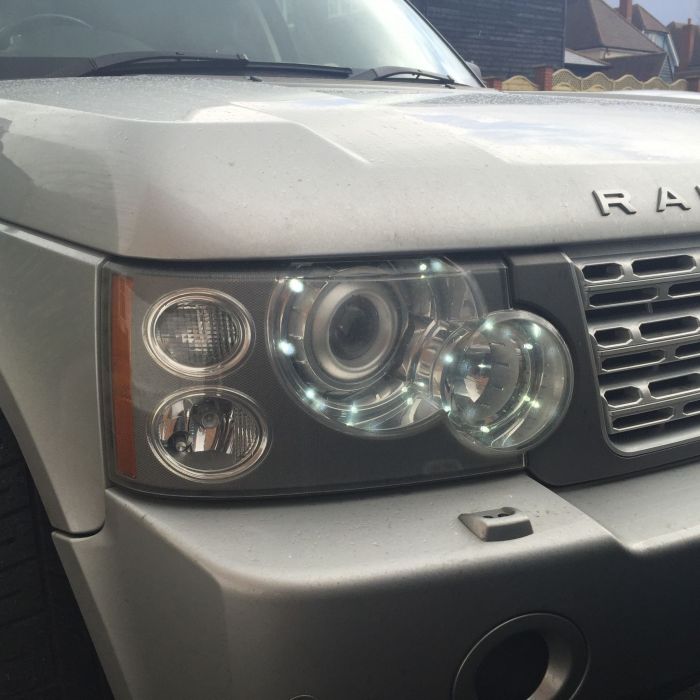
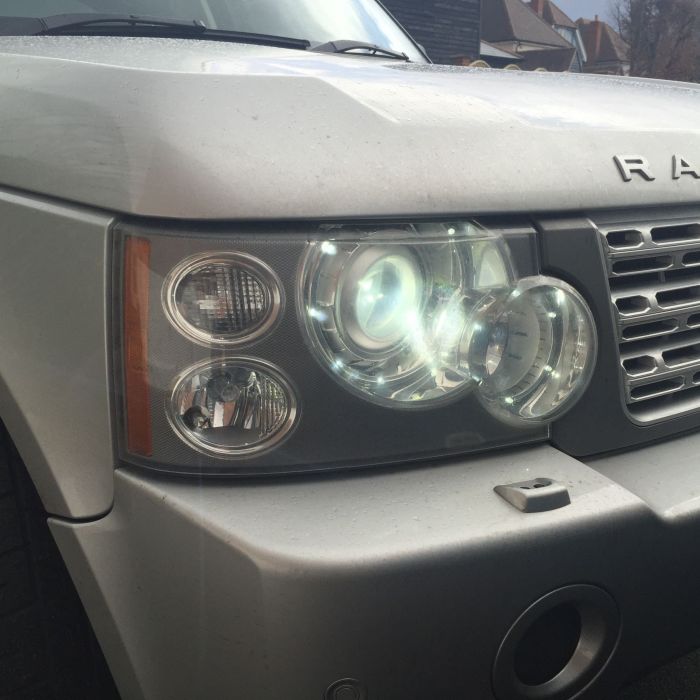
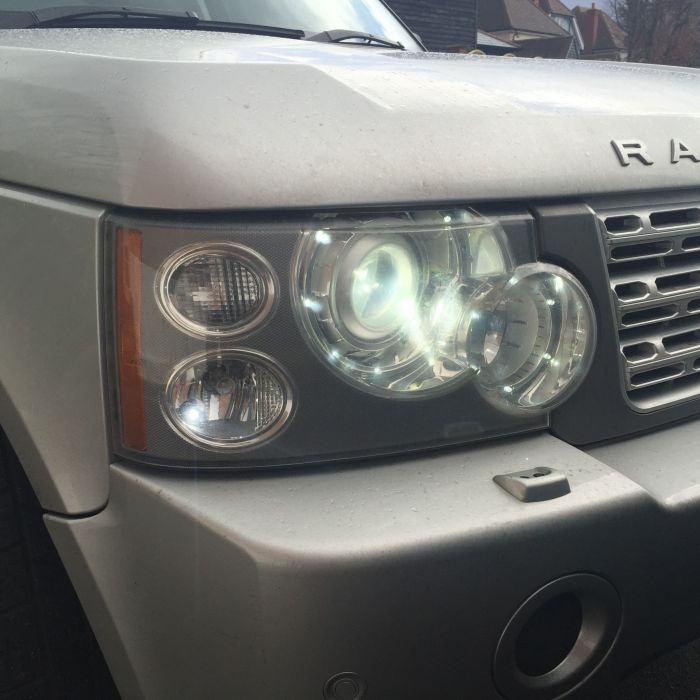
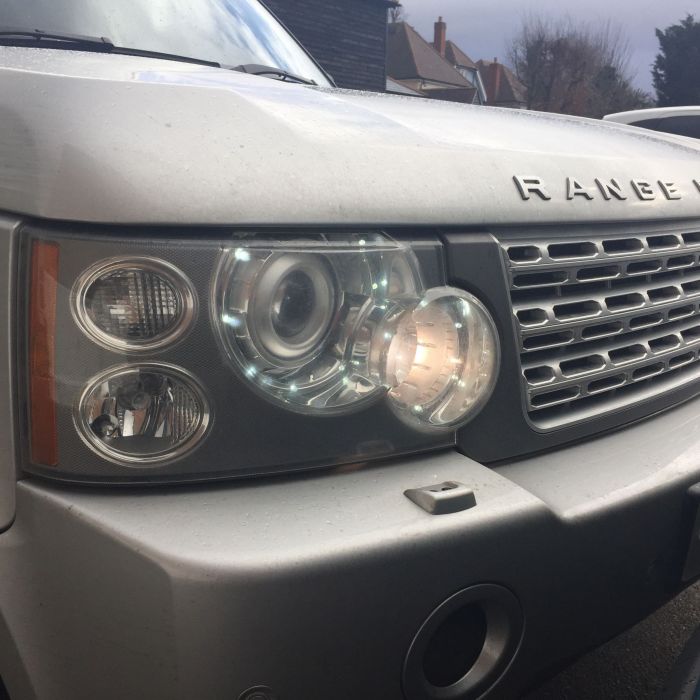
| rej Member Since: 06 Jan 2014 Location: Stevenage Posts: 496
|
Daytime photos
|
||||||||||||
|


|
|
| All times are GMT + 1 Hour |
< Previous Topic | Next Topic > |
Posting Rules
|
Site Copyright © 2006-2025 Futuranet Ltd & Martin Lewis
![]()
