 | Home > In Car Electronics (L322) > rear camera |
 
|
|
|


| NVB Member Since: 14 May 2017 Location: Essex Posts: 103  
|
Can't help you with your questions, but hope you get it sorted. I will be watching with interest, as I would love to do this uograde. |
||
|
| Jamiehol Member Since: 26 Sep 2014 Location: Ipswich Posts: 232 
|
Does it have to be a permanent live or can you not tap into the reverse lights.
|
||
|
| Balloonengineer Member Since: 03 Sep 2017 Location: Kent Posts: 180 
|
Thanks
|
||
|
| Jamiehol Member Since: 26 Sep 2014 Location: Ipswich Posts: 232
|
When I fitted my reverse camera I managed to get a power cable up the rubber boot as well.
|
||
|
| Paul thornton Member Since: 23 Sep 2017 Location: Lancashire Posts: 545
|
Cool. Look forward to updates.
|
||
|
| Balloonengineer Member Since: 03 Sep 2017 Location: Kent Posts: 180
|
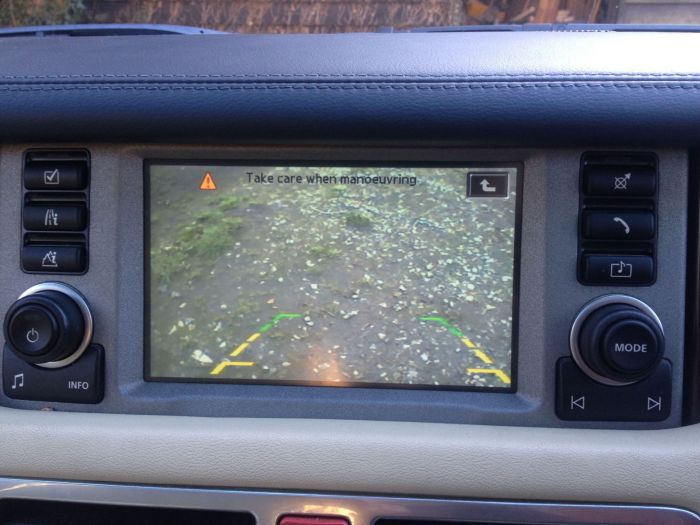
Well finally got it hooked up today, and it works!
|
||
|
| TerryT-J Member Since: 02 Sep 2013 Location: Johnston, Pembrokeshire Posts: 86  
|
I think I'll try this as well. Where did you get the camera from? |
||
|
| Balloonengineer Member Since: 03 Sep 2017 Location: Kent Posts: 180
|
Ebay item number eBay Item No. 142285392981
|
||
|
| Weegie Member Since: 09 Jun 2014 Location: East Sussex Posts: 3277 
|
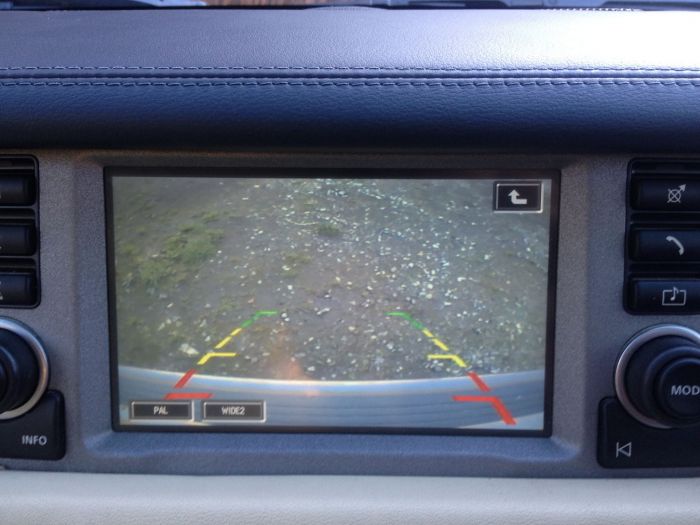
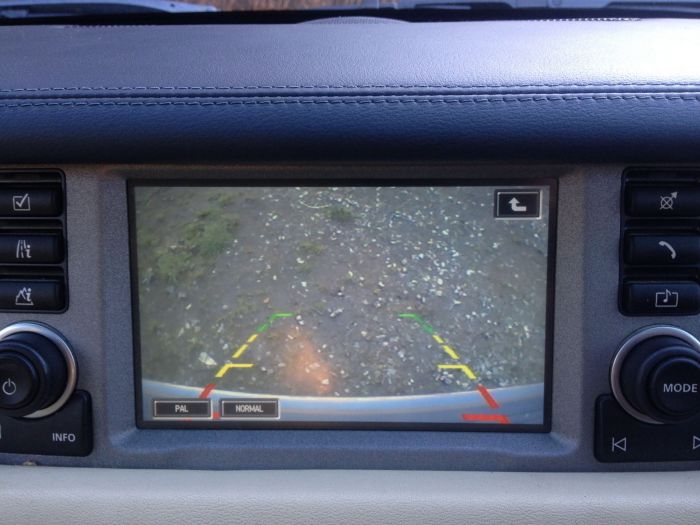
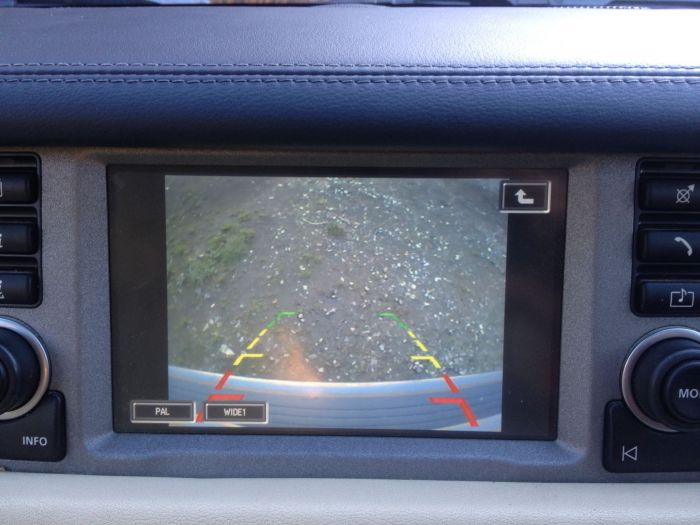
The offset bit seems to be regular occurrence. Regarding the zoom, what angle camera did you use? They can be either 120* or 170* (probably others as well). When I fitted one to my TD6 I used a 170* angle one which was fine. If you have used a 120* one then the angle will be much narrower. Just a thought. John 2008 Stornoway Grey 3.6 Tdv8 Vogue - SOLD 2005 TD6 Java Black Vogue - Written off!! GAP iiD BT-Sold |
||
|
| Balloonengineer Member Since: 03 Sep 2017 Location: Kent Posts: 180
|
Hi
|
||
|
| Weegie Member Since: 09 Jun 2014 Location: East Sussex Posts: 3277
|
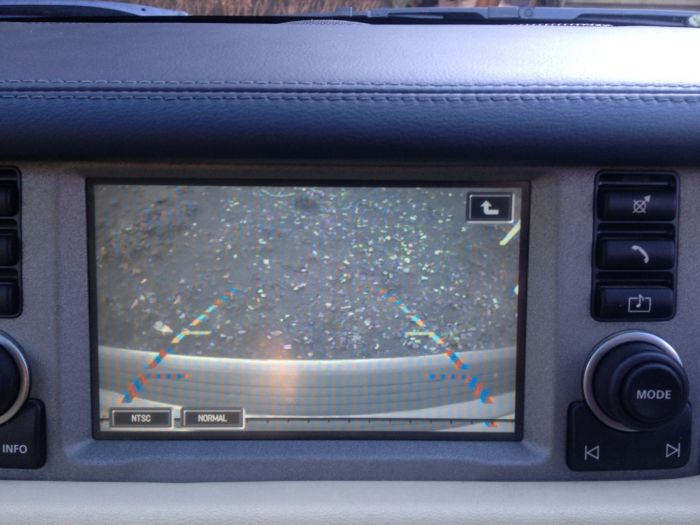
I found that a pal/ntsc didn't work. I had to get an ntsc only camera. It showed on the 753 screen but not when I went to normal. John
|
||
|
| Balloonengineer Member Since: 03 Sep 2017 Location: Kent Posts: 180
|
Right then!
|
||
|
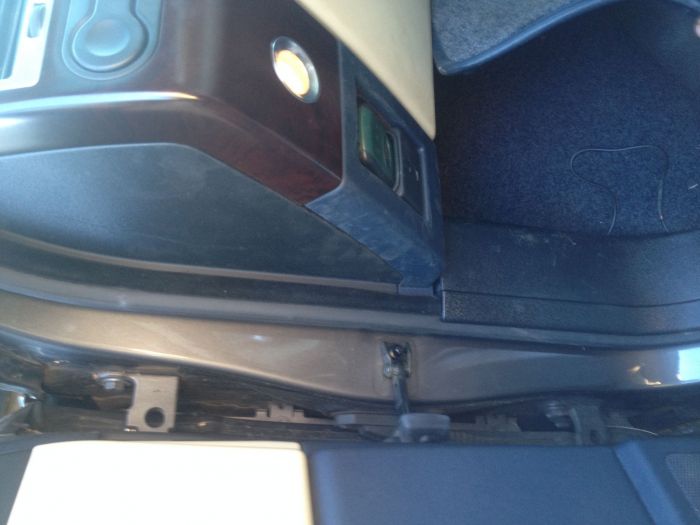
| Balloonengineer Member Since: 03 Sep 2017 Location: Kent Posts: 180
|
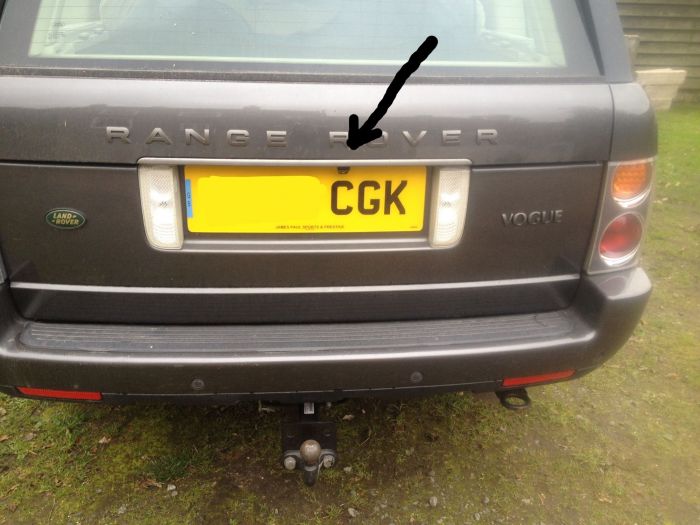
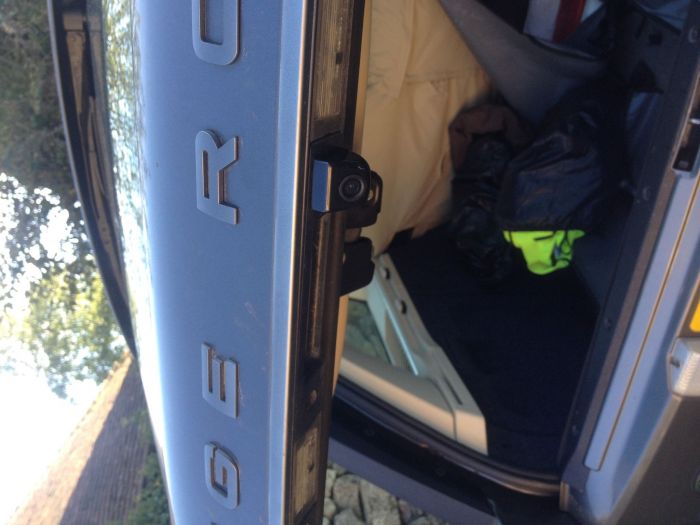
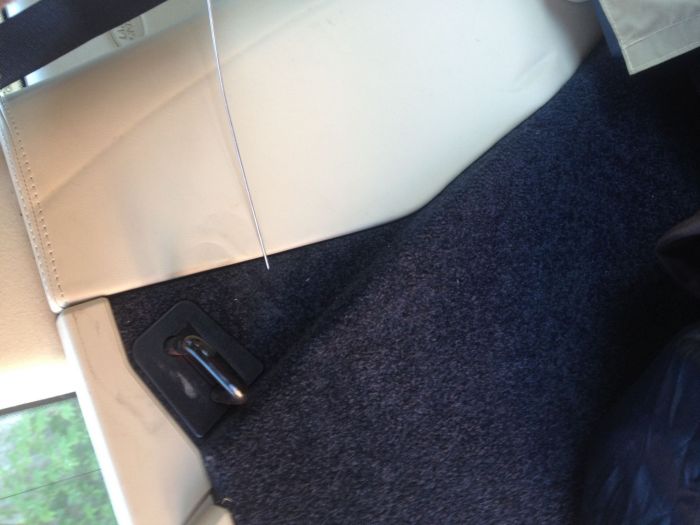
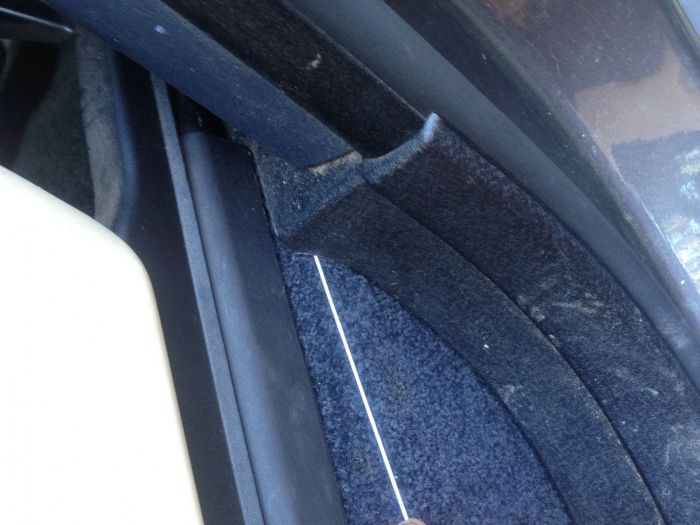
Here are some of the rodding places,
|
||||||||||||||||||||
|
| NVB Member Since: 14 May 2017 Location: Essex Posts: 103
|
Nice work. Does the screen automatically go to camera view when you select reverse? RR History
|
||
|

|
|
| All times are GMT |
< Previous Topic | Next Topic > |
Posting Rules
|
Site Copyright © 2006-2025 Futuranet Ltd & Martin Lewis
![]()
