 | Home > Maintenance & Mods (L322) > Getting ready for rear quarter welding advise please |
 
|
|
|
| dexion7 Member Since: 06 Jun 2013 Location: Tynemouth Posts: 291 
|
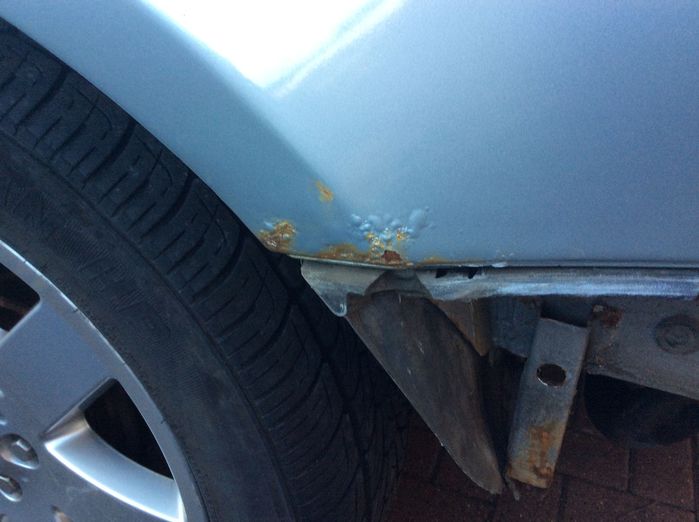
well I addressed lots of similar examples on minis when i was younger and learnt that rust usually starts on the inside where you can't see it and what are seeing now is 'the tip of the iceberg'.
|
||
|
| Joe90 Member Since: 29 Apr 2010 Location: Hampshire Posts: 6426 
|
Plus (if considering welding), you have all the AV electronics just the other side of that panel, these would all need to come out. If you can remove the air vent behind all of that you will see the extent of rust on the inside too... .
|
||
|
| GDM Member Since: 21 Nov 2016 Location: West Sussex Posts: 165  
|
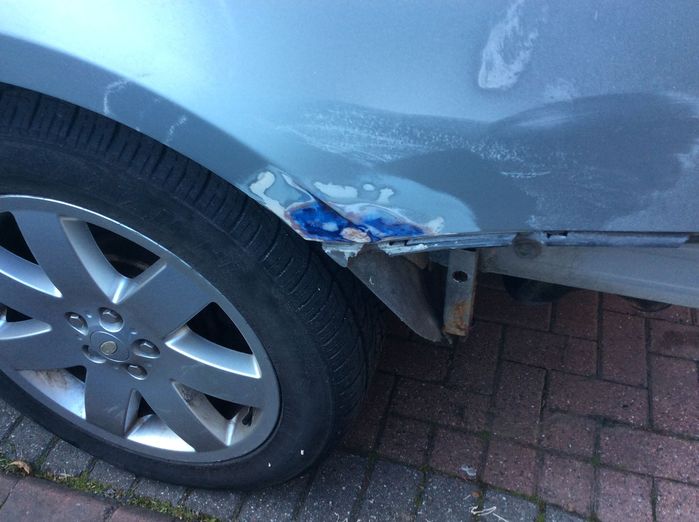
In other words, bodge it up with filler! |
||
|

|
|
| All times are GMT + 1 Hour |
< Previous Topic | Next Topic > |
Posting Rules
|
Site Copyright © 2006-2025 Futuranet Ltd & Martin Lewis
![]()
