Walter Skinner
Member Since: 02 Oct 2019
Location: Varna
Posts: 61

 
|
| Ultimate wash with accents of detailing | |
This is how I made my RR look astonishing. No jokes.
WASHING
1. Rinse the car with pressure washer. No explanation required.
2. Snow foam it, allow the foam to dwell, do not let to dry out, rinse with water.
3. Shampooing the car using a wash mitt. "Two buckets" method works best.
4. Drying the car with drying towel.
If you are happy with the result, and your paintwork is in a good shape, then apply tire dressing & wax; if no, then proceed to
POLISHING
Skip drying the car step on the washing process.
1. Claybaring the surface. Grab your clay bar, shampooed water & go all over the paintwork, evade black plastic & rubber parts. Works also on the windows and headlights glass.
This step is crucial as it helps to remove everything that hasn't been removed during the washing phase and you will be amazed on how much "invisible" dirt clay bar pulls out.
This is pretty straightforward process, you will "feel" it, literally, when the bar starts to glide smoothly - it's time to move to another section. Just start, and you'll figure it out.
This makes your paintwork smooth & almost ready to be polished, here you can hear how does it sound Claybared sound
2. Tar and Iron removal step. (I'm using CarPro TRIX Tar & Iron Remover) Cover the car, allow to do it's work, rinse well with water. Do not let this to dry! Dry the car with drying towel. Get a big one.
3. Oils removal step can be done using any IPA (Isopropyl alcohol). (I'm using CarPro Eraser diluted 1:3)
4. Compounding step removes (relatively) heavy scratches, swirl marks, oxidation, chemical damage & so on. Can be done by hand, but considering the sizes of the car... Get a DA polisher! Use heavy cutting pad and a compound (my pick is Meguiars Ultimate Compound), the car is lovely square which helps to pick proper work zones.
Compound one part at at time, buff off with a good microfiber, if you're not satisfied - repeat, if you are satisfied - proceed to the next area.
I used high machine speed with slow arm movement.
5. Switch to medium polishing pad, replace compound with a polish (Meguiars Ultimate Polish), spray on/wipe off an IPA, proceed with polishing the car the same way you were compounding it.
High machine speed, medium arm movement. This step addresses small scratches and helps to bring original shine out.
After compounding and polishing your paintwork starts to sound like this - Polished Sound
6. Take the soft finishing pad and wax (Meguiars Ultimate Wax). Make just a couple of passes at low machine speed with high arm movement. Allow it 3-5 minutes to do it's magic, buff off with a clean microfiber.
Step off and enjoy your work. Should say I haven't expected such great results, considering this is not done by a professional. The car looks transformed oh so much.
This is not happen fast, so be prepared to spend whole day. Do not work on direct sun, wear eyes & hands protection.
Pictures do not really give a clear view. I've waited for about 2 hours until it "dry out" only after that I realized it is dry and this is how it looks now.
So yes, it brings the "wet" looks and also, if mirrors were bonatti grey, not silver covered, I'd say it gives it a mirror glaze.
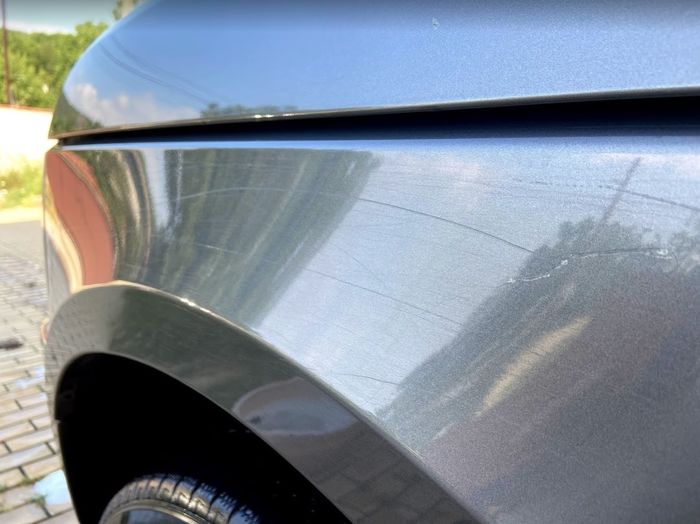
Below are some "before/after" pics, everything you will not like on the "after" picks are not imperfections or scratches, they are reflections.
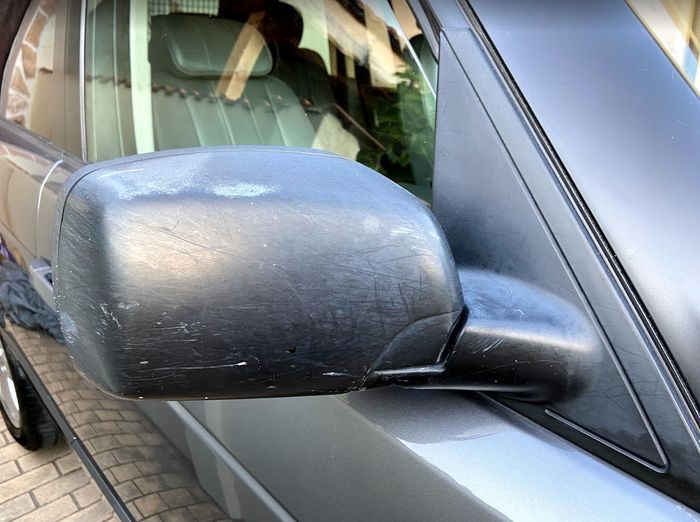
BEFORE:
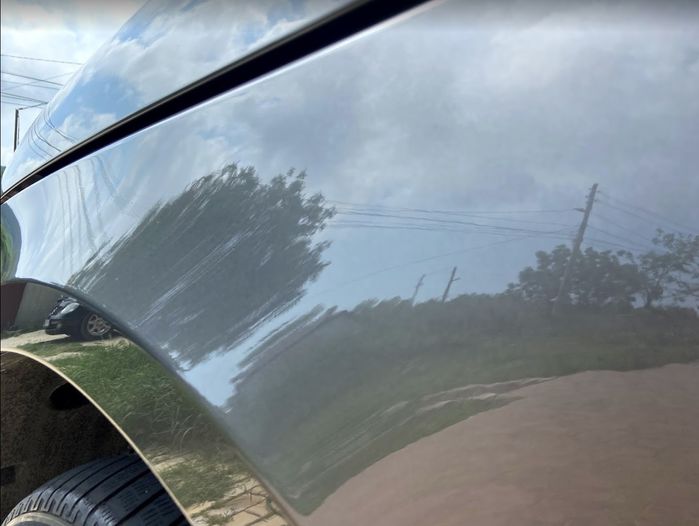
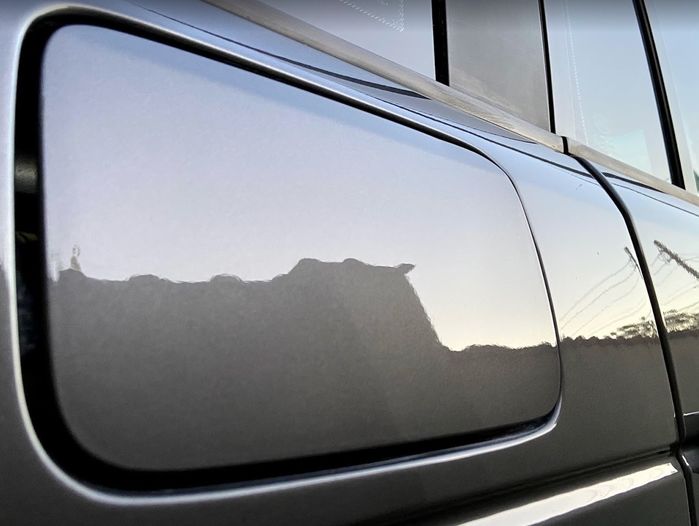
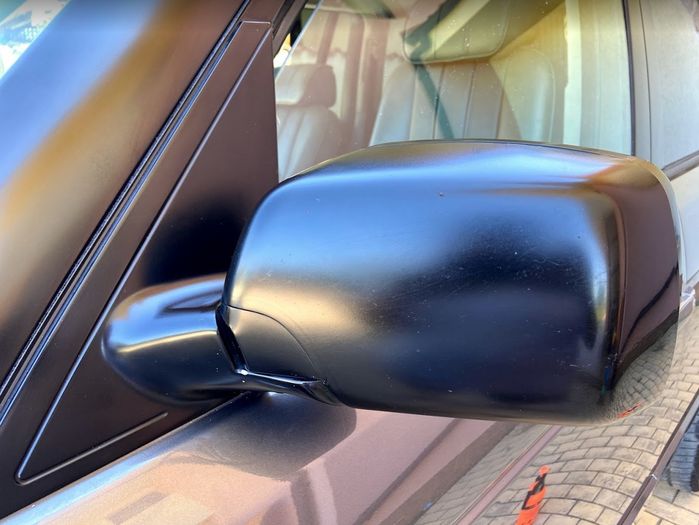
AFTER (direct sun):
AFTER (sunset):
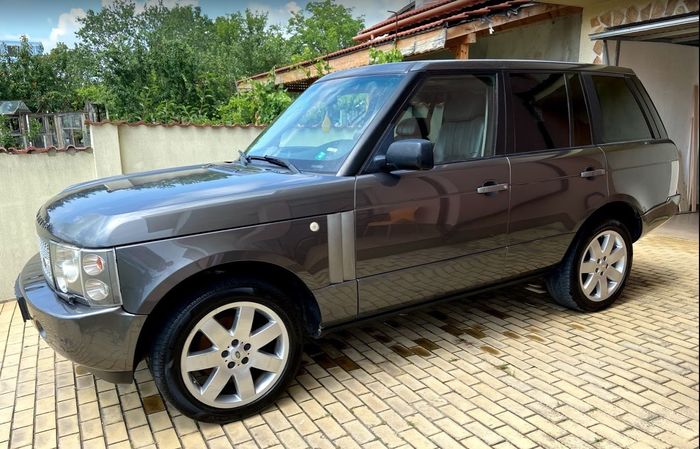
FINAL RESULT:
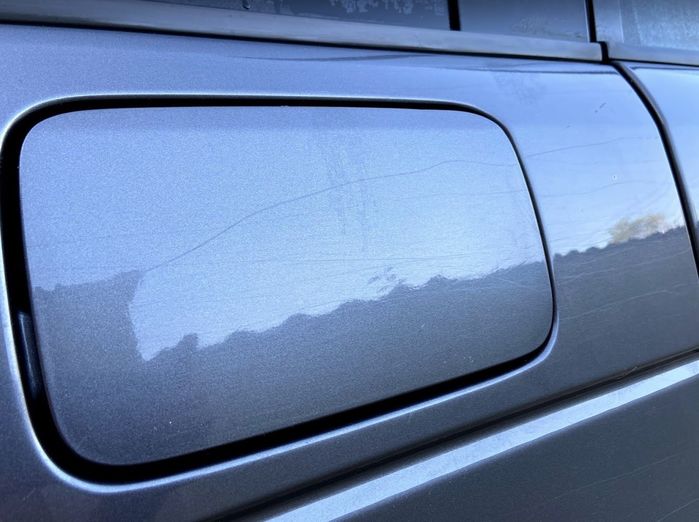
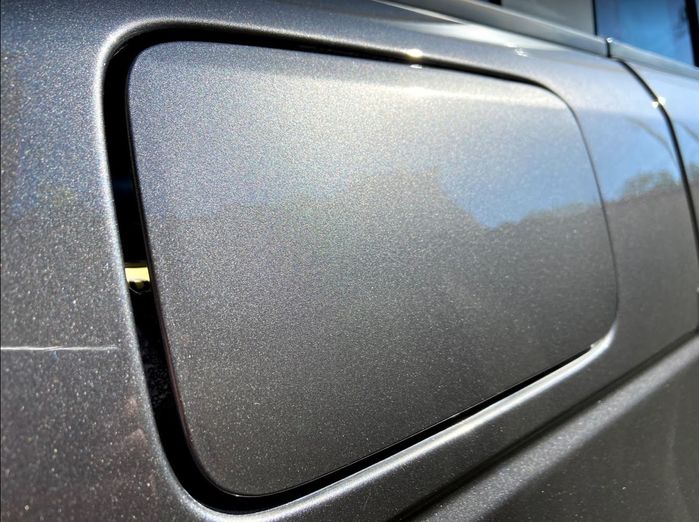
MORNING MIST (treated/untreated areas):
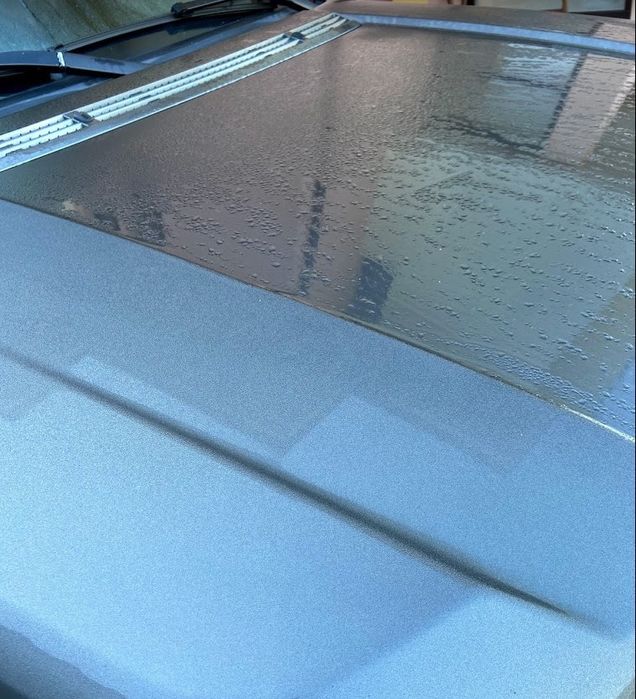 | | Click image to enlarge |
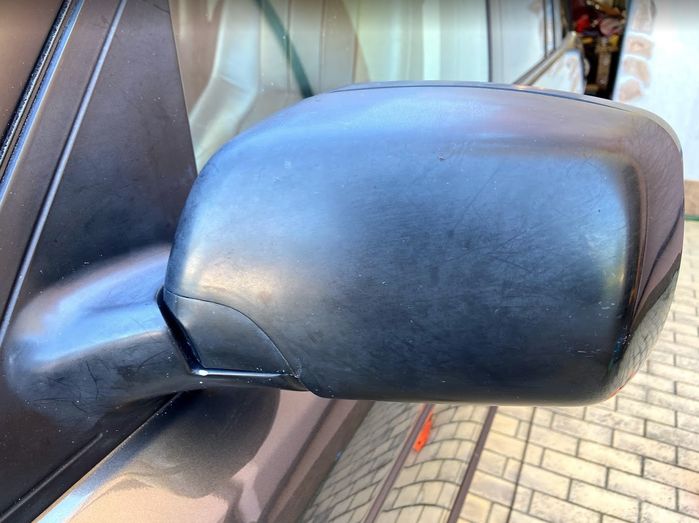
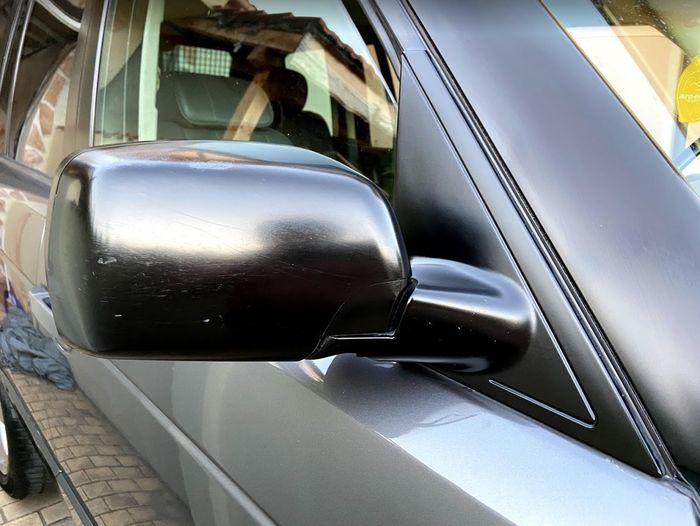
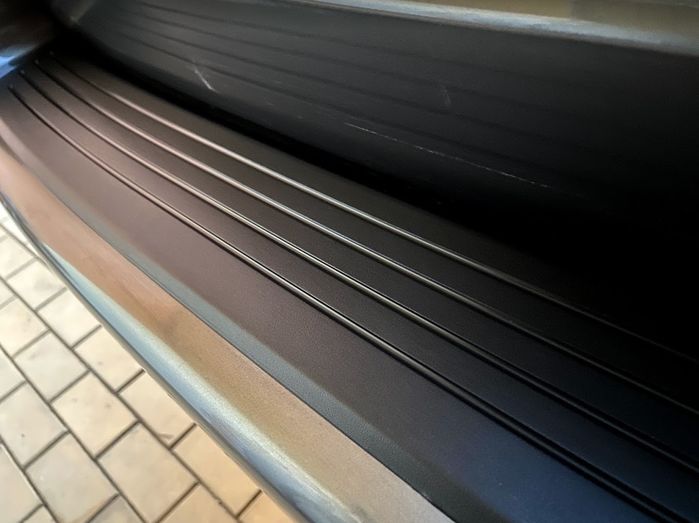
BLACK PLASTICS.
There is no magic, but some chemicals get really close. I will update this in a month of burning sun, but so far using Gtechniq C4 Permanent Trim Restorer I've managed to get astonishing results. Application is extremely simple: wipe the plastic with IPA, apply the chemical with provided cotton pads, wipe the excess off.
It does not fix magically the damage as seen on the right side mirror top, but it makes it not so noticeable.
My rear bumper cover was not damaged, but was bluish-grey, and this one really turned out like new one.
Manufacturer says apply only to plastic, no rubber. After 4 sunburning days and 1 rain the parts still look awesome, they do not gloss like on the pictures I've taken right after applying, but that's for good, now they look more organically.
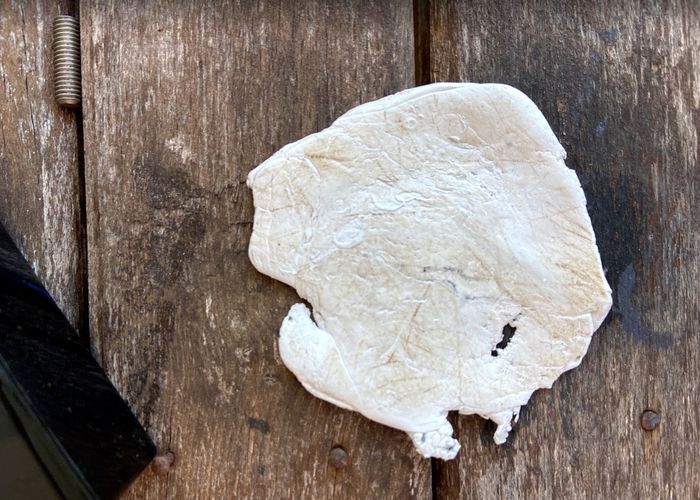
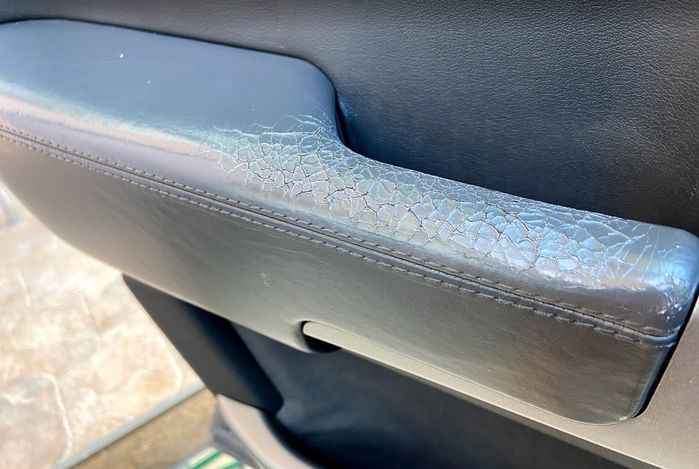
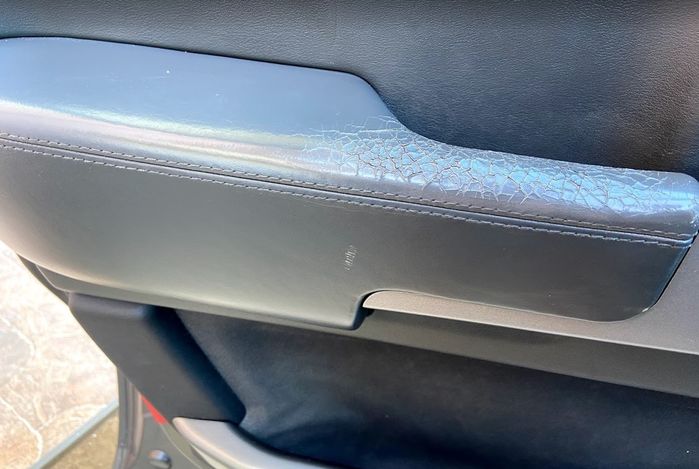
LEATHER "RESTORATION"
With a proper level of patience, leather can be restored to "as good as new" condition. I'm lacking the patience and have only couple hours in the morning until the sun gets to my garage. Anyhow I'm impressed with the results. So, this is what we have:
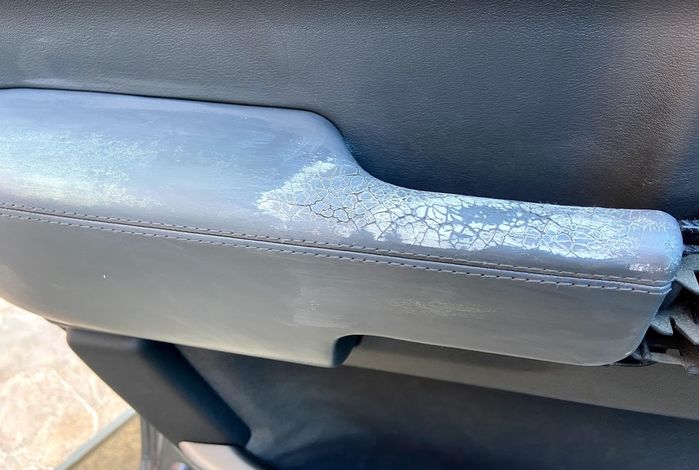
1. First thing you need to do is get your leather clean. I use Furniture Clinic Leather Ultraclean, but diluted APC works too.
2. To fix the cracks & paint the leather you will have to remove original lacquer and dye. I used Furniture Clinic Leather Prep, abrasive & foam pads. You don't have to remove all the dye completely, but the more you remove - the better, especially from the damaged areas. Finish with alcohol based cleaner to remove fats & oils.
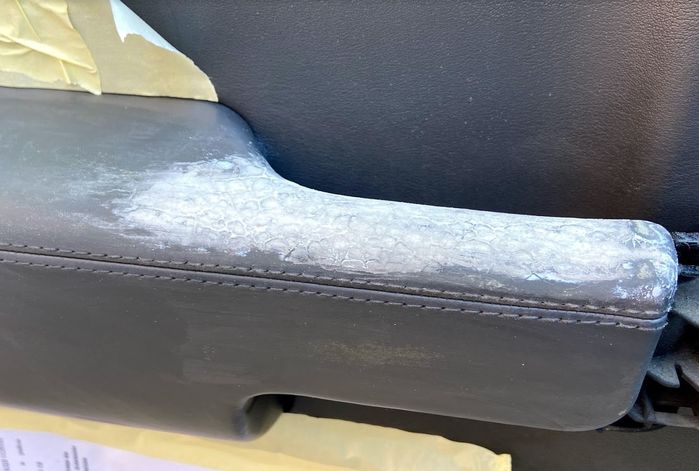
3. Next step is filling the cracks with leather filler (Furniture Clinic Heavy Filler in my case). Do not try and fill all the cracks at once, lay multiple thin coats instead and use a hairdryer to speed the process up.
4. Before painting the leather we need to get a smooth surface, to achieve that use 240 & 1000 grit sandpaper. This is the most important step where patience needed. The better you even the surface, the better outcome will be.
5. Make one more pass with Alcohol Cleaner, take the foam pad & apply the dye with tamponing movements. For the first layer you do not have to make it perfect, it will serve as a base for the following coats. Let it dry.
*Since I'm thinking to repaint whole interior I got myself an airbrush with a tiny compressor and it greatly speeds up the process, though you can fix minor damage without one.
Airbrush from the kit (0.3 mm nozzle) doesn't fit for the leather dye and gets clogged very fast causing a lot of frustration & spoiled dye, but compressor makes the purchase still worthy.
For the rest of the interior I'm gonna get an airbrush provided by Furniture Clinic.
Finish with the dye, make 3-4 coats, let it dry between the coats.
6. Final step is to cover it with the lacquer; same like dye: 3-4 thin even coats and let them dry before applying the next coat.
And the final results:
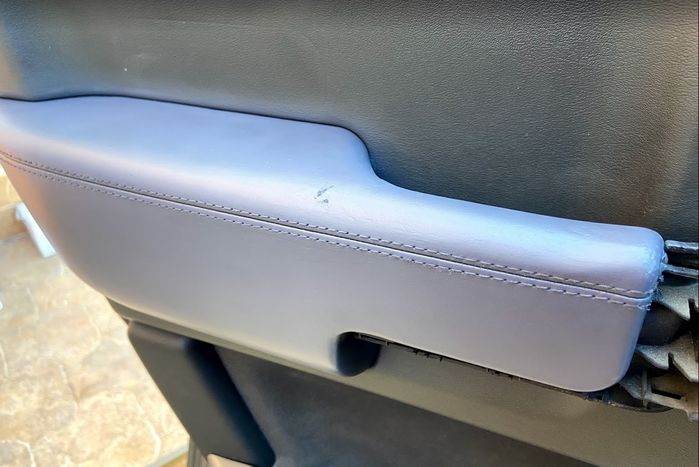
Since I planned to paint whole interior, I wasn't chasing for perfect color match, could not even find my color which is LYR, moreover, when I've started removing the dye, I've discovered that it has already been painted.
So I simply ordered a "Charcoal" tone. On direct sun its a bit blueish, but surprisingly well matches the Foundry interior when not in direct sun (inside the car with the doors closed).
Furniture Clinic has charts for LR leather DYE which makes your life much easier if you need to do some minor spot repair. No luck for LYR finish though.
P.s.: Something black/dirty on the last photo got there after the process was done, been rushing to take a pic & get off the sun so haven't noticed. Now its not there and everything looks cool.
Last edited by Walter Skinner on 11th Jul 2020 11:21pm. Edited 4 times in total
|