 | Home > Technical (L322) > 10 years maintenance (Front dismantled) |
 
|
|
|
| shinchan Member Since: 05 May 2015 Location: santiago de compostela Posts: 114 
|
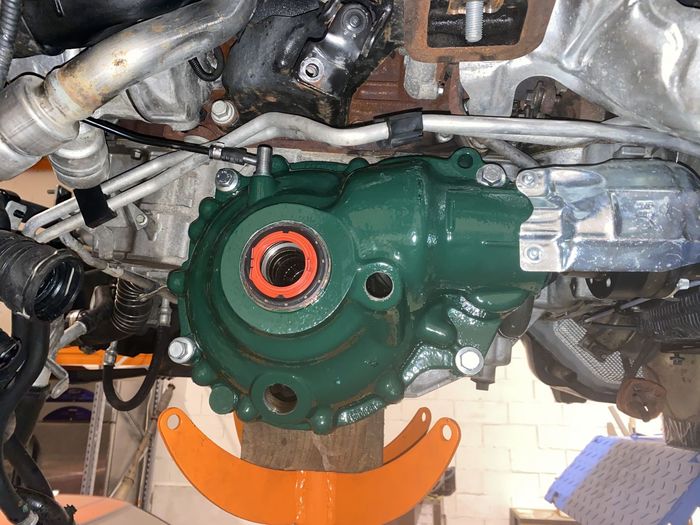
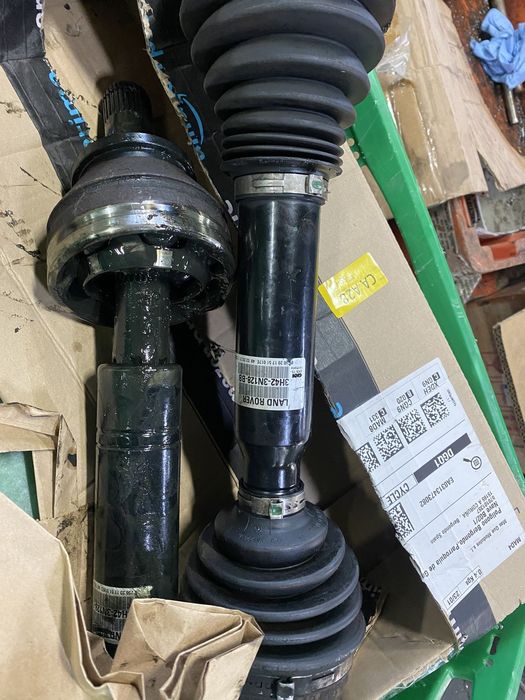
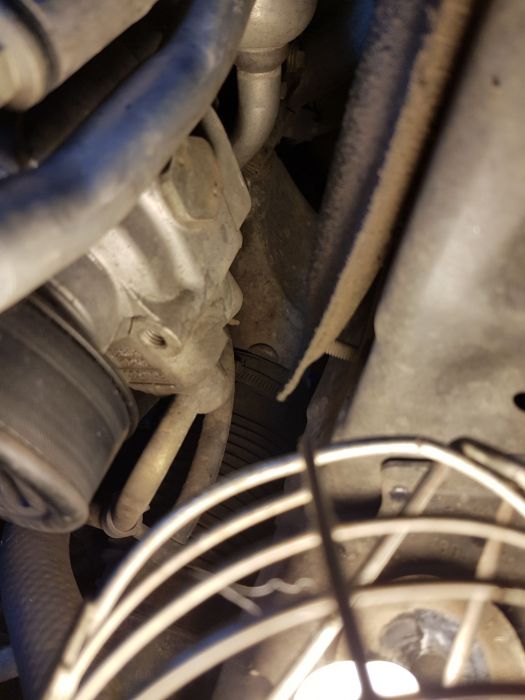
Diff in site...
|
||||
|
| shinchan Member Since: 05 May 2015 Location: santiago de compostela Posts: 114
|
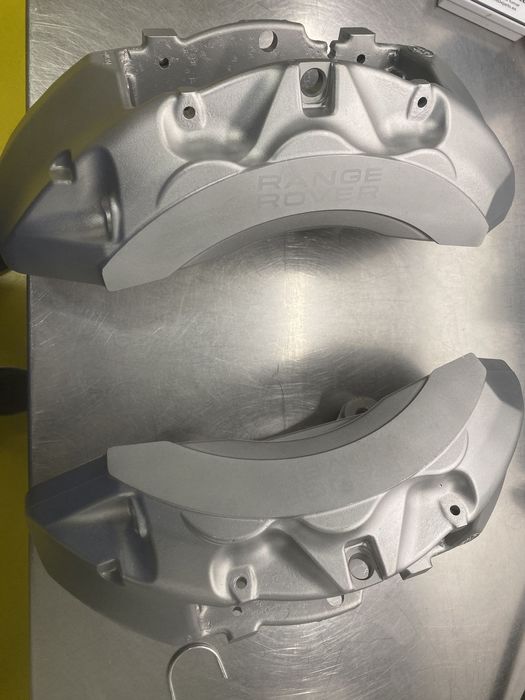
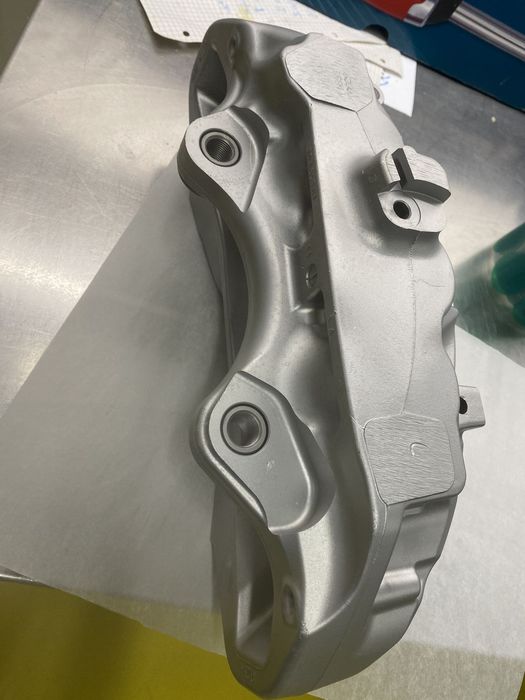
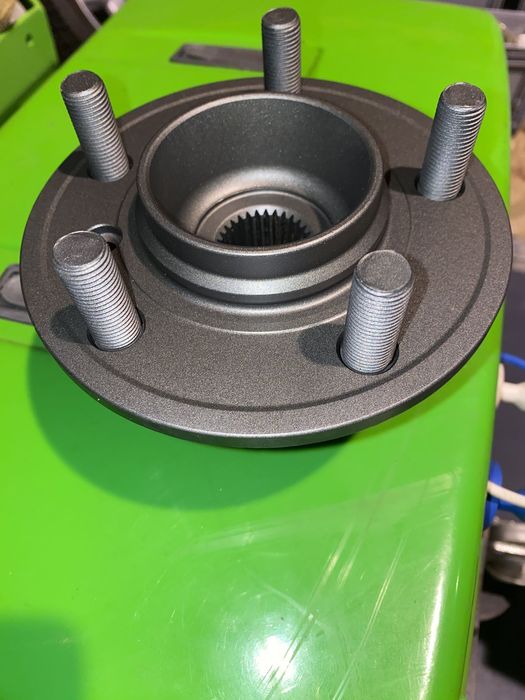
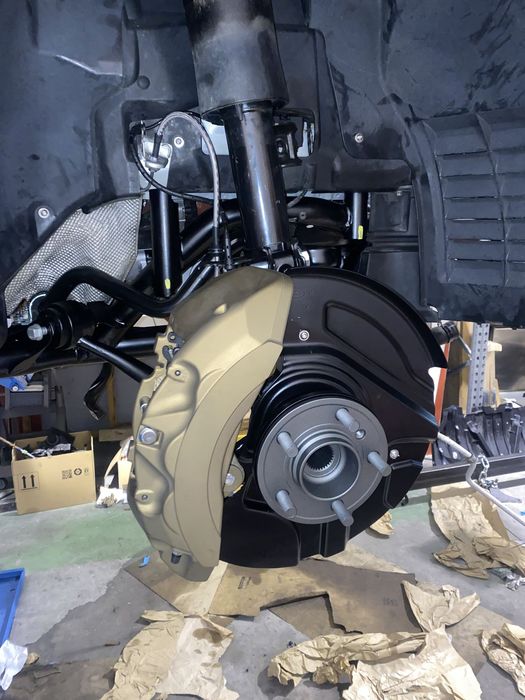
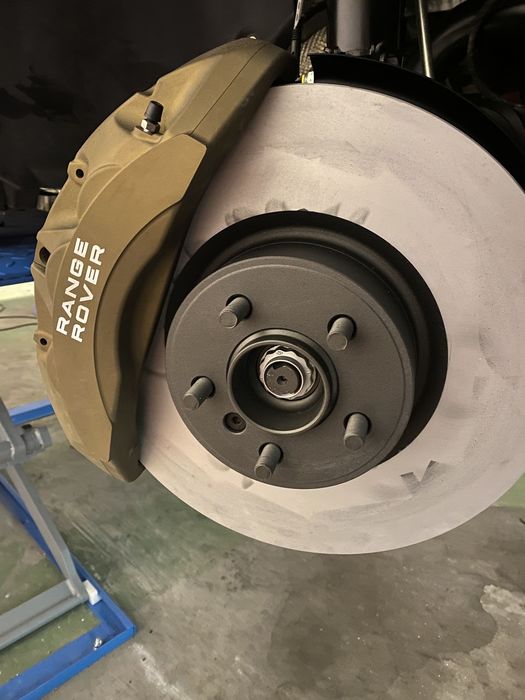
Calipers done!
|
||||||||||
|

| shinchan Member Since: 05 May 2015 Location: santiago de compostela Posts: 114
|
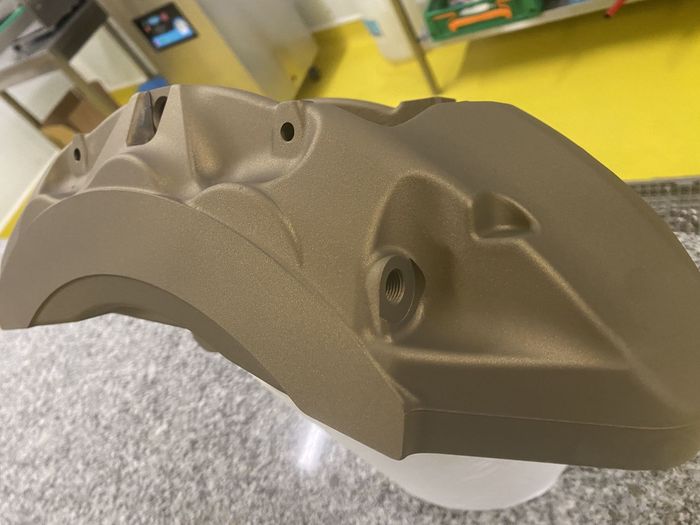
Hi guys, Merry Christmas!!
|
||||||||||||||||||||||
|

| Phoenix Member Since: 16 May 2022 Location: Gone Posts: 1631 
|
I'm very impressed with the level of detail you're working to - but why stainless bolts? I'd be concerned about galling and chemical corrosion - the OEM bolts of many vehicle manufacturers are Zinc-Nickel plated with a higher shear strength than the equivalent stainless steel bolts, how are you adjusting the torque for the new fasteners? |
||
|
| shinchan Member Since: 05 May 2015 Location: santiago de compostela Posts: 114
|
Hi Phoenix, thanks for your message. I'm also concerned about. All structural bolts are OEM zinc plated, some refurbished and others all new. I use stainless in mudguards (plastic vs plastic) and brake dust cover with the exception of transmission bracket than I painted with cerakote. Torque is transmission bracket bolts is only 22Nm and I decided to try with stainless to see the behavior. In wheels I use titanium nuts after a while and very happy with results. |
||
|
| Phoenix Member Since: 16 May 2022 Location: Gone Posts: 1631
|
Ah right, I thought you were replacing assembly fixture bolts! That would be a bad idea... |
||
|
| shinchan Member Since: 05 May 2015 Location: santiago de compostela Posts: 114
|
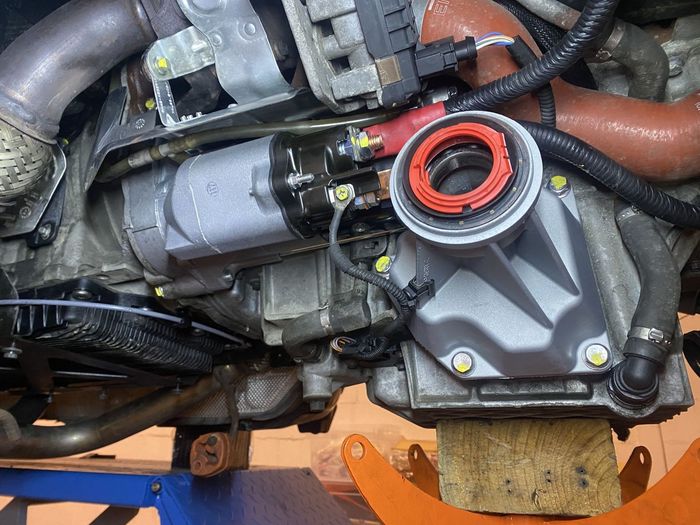
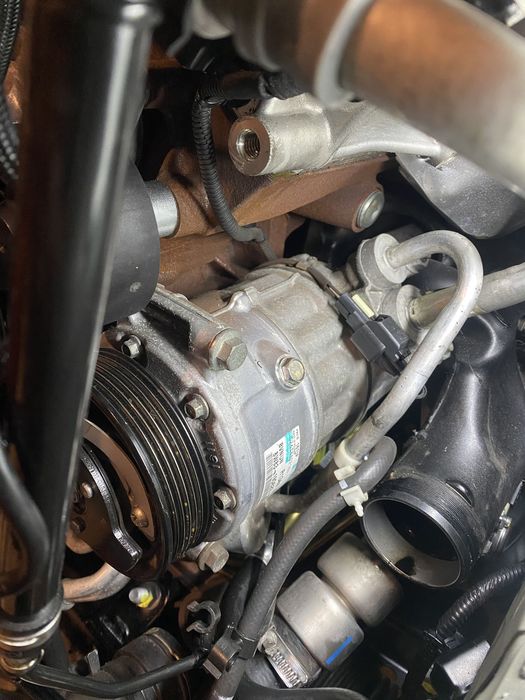
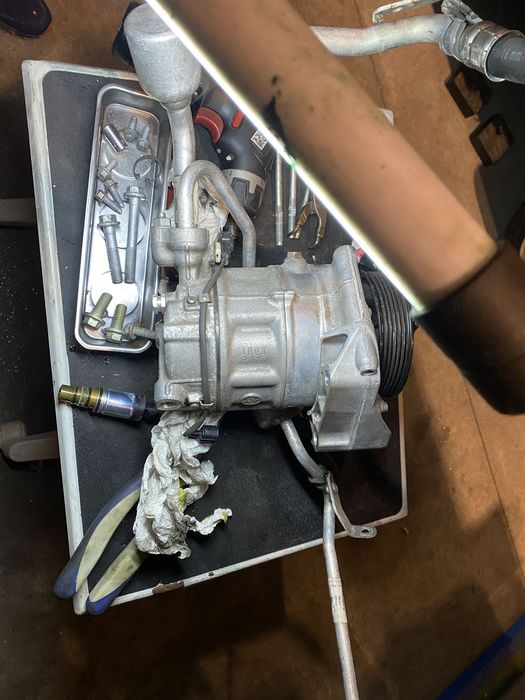
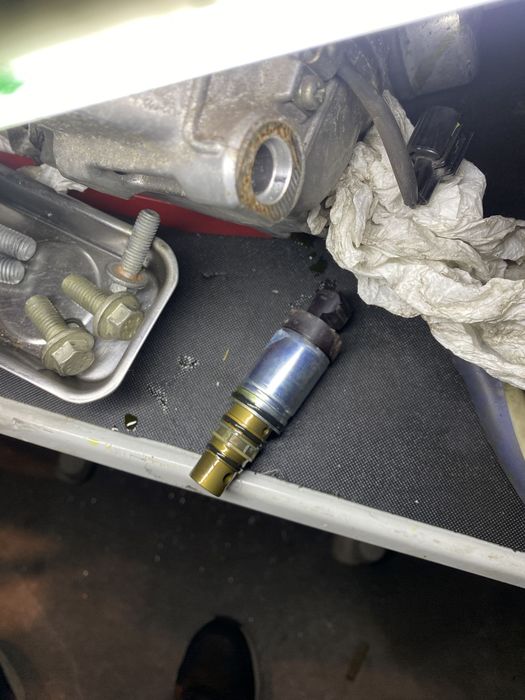
Hi Jayk, finally compressor removed to gain access to the valve, quite difficult because tried to keep the tubes to avoid order more parts (o-rings). I ordered a valve in a web dealer (43 pounds) specialized in HVAc stuff thinking that was a EU vendor but finally the track start in China...I´m waiting for!
|
||||
|
| shinchan Member Since: 05 May 2015 Location: santiago de compostela Posts: 114
|
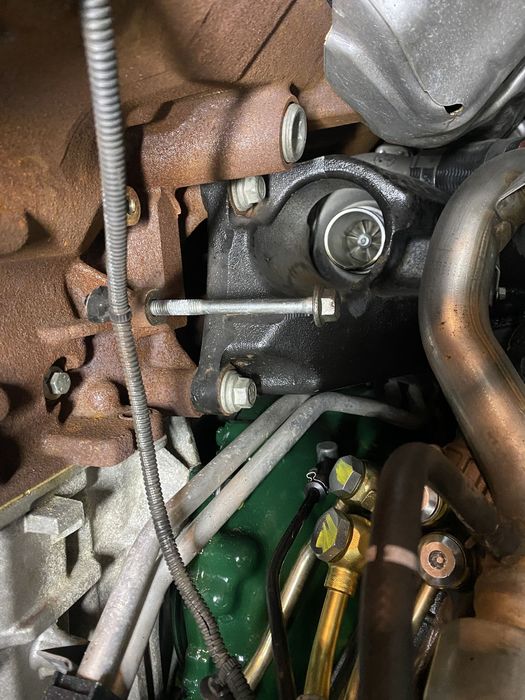
Impossible to extract the turbo plastic inlet...
|
||||||||||
|
| shinchan Member Since: 05 May 2015 Location: santiago de compostela Posts: 114
|
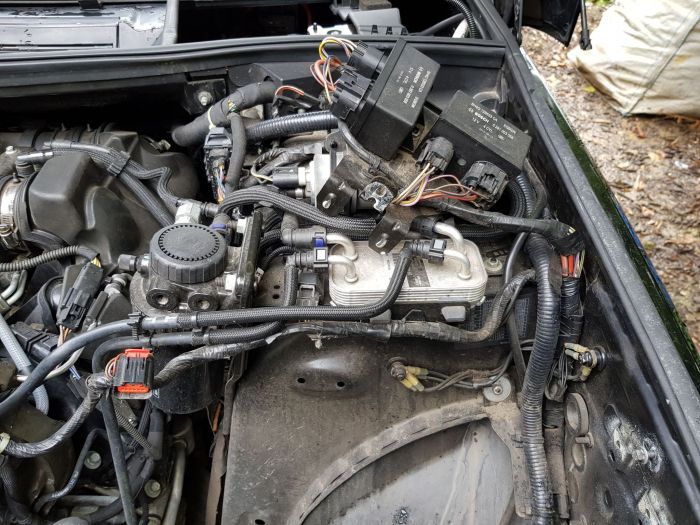
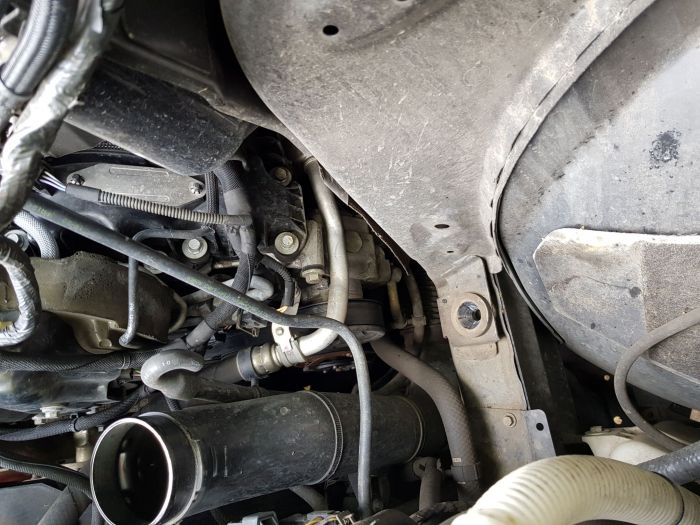
Job completed. Can't tell if it's fixed it yet as i have to wait until Monday to recharge the aircon. I followed the workshop manual instructions,but didn't disconnect or remove anything to do with coolant. I have more pictures but can't upload them Rolling Eyes With the plastic inlet pipe removed, I took the ribbed belt off. 1/2 inch drive breaker bar and 22mm socket made light work of it. Next, the top aircon pipe was unbolted from the pump, and the retaining bolt on the front corner. I just rested the end in the space left by the airbox. Now the bottom aircon pipe. Undoing the retaining nut from the pump is the easy bit. The pipe runs across the lower front of the engine, and is held in place by 2 studs. Before you can do this, you need to remove at least one end of the turbocharger bypass hose by the valve. I just undid the end on the connector to the pipe that goes up to the turbo, and pushed the pipe out of the way. Now you can get to the retaining studs with a spanner (can't get a socket in there). I used a ratchet spanner. On top of the pipe is also some wiring, so you have to remove the 10mm nuts for them first, then the 13mm studs. Now you have the slack to remove the pipe from the pump. The manual says to remove the long bypass hose. I couldn't get on the clip as it had presumably been done up with the engine out of the car. This was to cause a lot of problems. So now I could remove the aircon pump. You can undo and remove the bolts as you go, as the pump sits on bushes to hold it in place. Top bolt out is easy with a suitable socket extension. So is the lower bolt. The rear one however is a nightmare because of that damned hose. The manual says to swing the plastic inlet hose out of the way, but I couldn't do that. I therefore had to get creative and used a selection of tools, sockets,spanners,different length extensions etc. It took me over 30 minutes to get this bolt out, and then the same to get it back in afterwards. Anyway, with the bolt out you can lever the pump off the bushes, andwith a bit of effort rotate it so you can get to the pcv (yay). I unplugged the connector, and removed the retaining circlip, plus gave it a clean with some brake cleaner. I then attempted to remove it by levering against the connector. Not enough room. Got out some special pliers I have and tried a strait pull. Connector head disintegrated. Feck ! Rolling Eyes So now to remove the pump, I had no choice. In order to do this you need to remove the connector. You can't see this from underneath, but you can see the cable is secured to the back of the pump with a push in clip. Wiggle that to pull it out. Now from the top you can rotate the pump to get a clear view of the connector and undo it. The pump come's out towards the front, and up. Fiddly to do, but not too bad. To remove the pcv I screwed a wood screw into the end and used a pair of pliers levering against something to pull it out. It came out easy. There is still a bit of oil in the pump so I used this to coat the o rings before fitting the new one. Refitting is a reversal, and went pretty easy (aside from the rear bolt as already noted). Would I do it again ? Sure,if I had to. No special tools required, just time and patience. I reckon it took me about 5 to 6 hours. If I didn't have the issues I reckon I could easily knock 90 mins off that. If I can get the pictures to upload I will put them in my gallery. I can't figure out how to post a pic from there into here though. Too many toys, not enough time 2011 4.4 TDV8 AB Black Last edited by John w on 11th Aug 2018 12:12pm. Edited 1 time in total |
||||||||||
|

| Jayk69 Member Since: 08 Feb 2018 Location: Daventry Posts: 601 
|
any updates and finished pics? 2012 Vogue 4.4 TDV8 - Current
|
||
|
| shinchan Member Since: 05 May 2015 Location: santiago de compostela Posts: 114
|
Hi,
|
||||||
|
| Phoenix Member Since: 16 May 2022 Location: Gone Posts: 1631
|
That's a massive task you've undertaken there, well done on seeing it through - even in a specialist refurb. workshop it'd be a daunting task, be proud of what you've achieved. |
||
|
| shinchan Member Since: 05 May 2015 Location: santiago de compostela Posts: 114
|
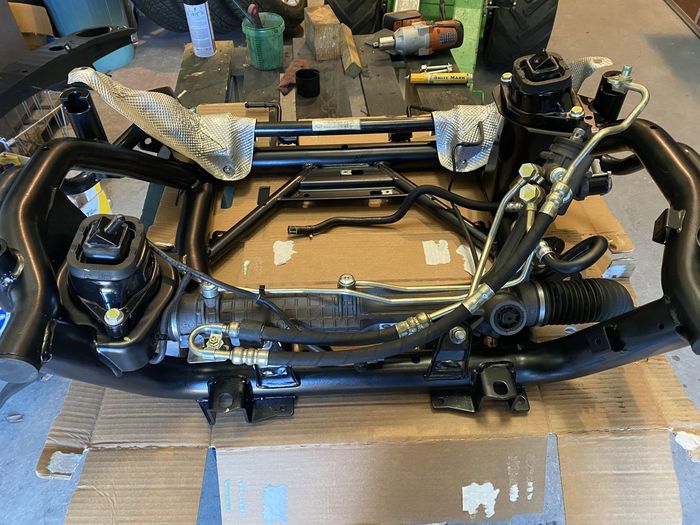
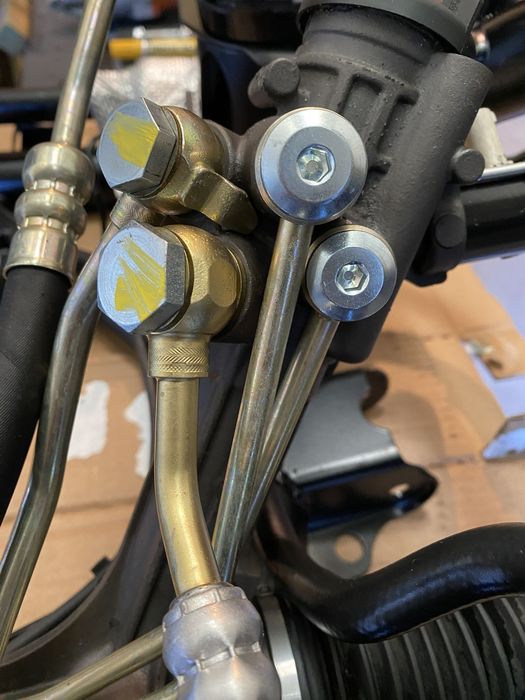
Thanks a lot! Now I´m preparing the second shot, rear subframe. |
||
|
| dhallworth Member Since: 10 Oct 2011 Location: Glasgow Posts: 3346 
|
That’s a great achievement |
||
|

|
|
| All times are GMT + 1 Hour |
< Previous Topic | Next Topic > |
Posting Rules
|
Site Copyright © 2006-2025 Futuranet Ltd & Martin Lewis
![]()
