 | Home > Maintenance & Mods (L322) > How To: Change Transfer Box Case Fluid |
 
|
|
|
| garyRR Member Since: 13 Mar 2021 Location: Hampshire Posts: 1494 
|
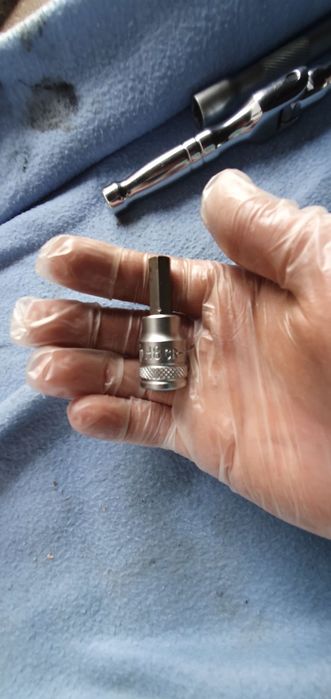
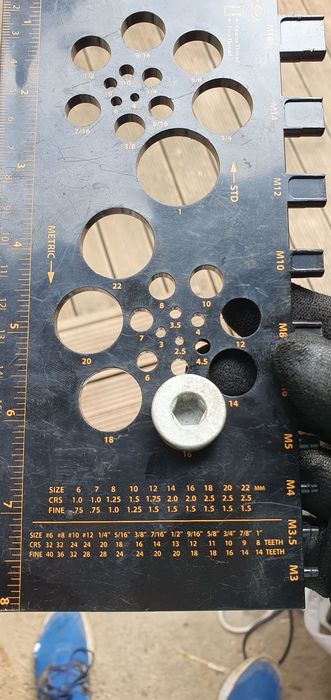
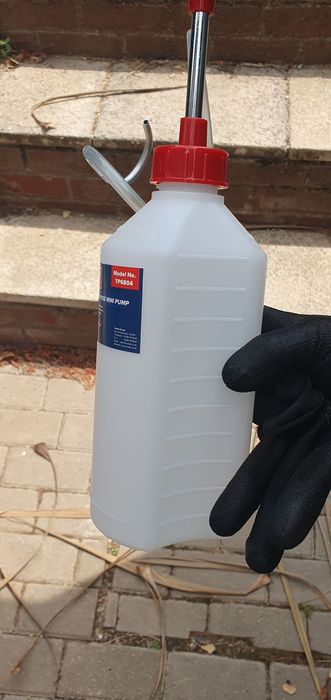
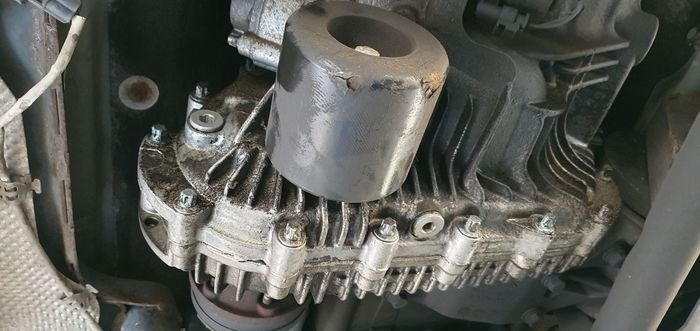
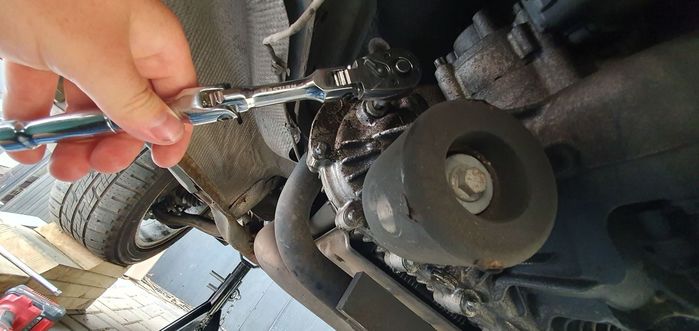
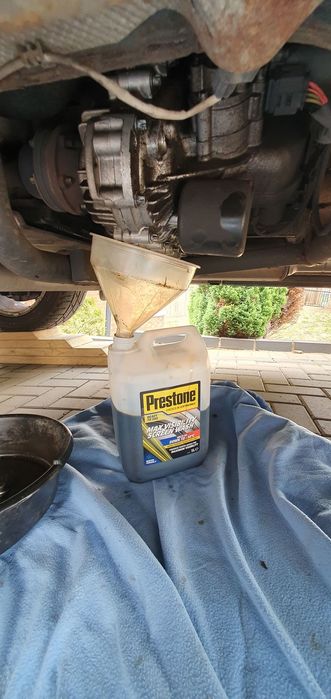
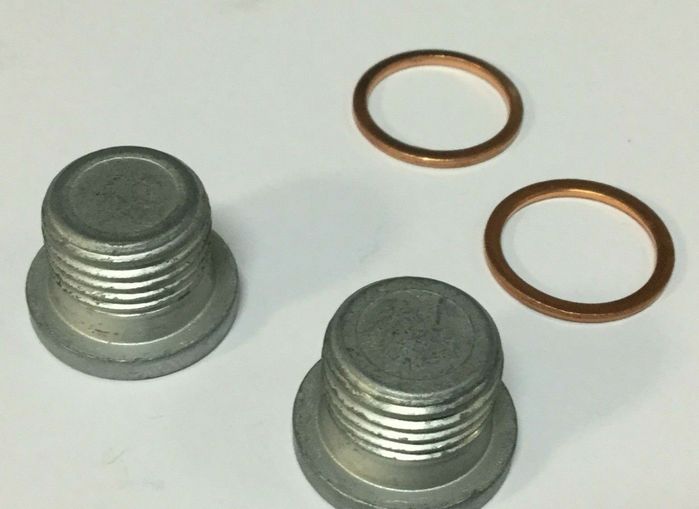
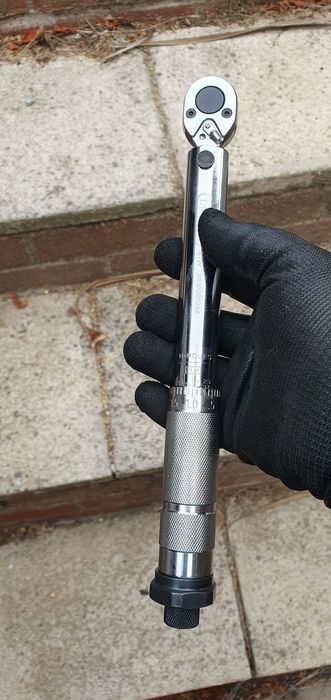
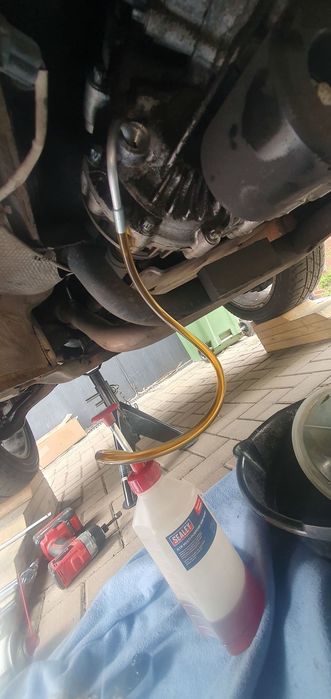
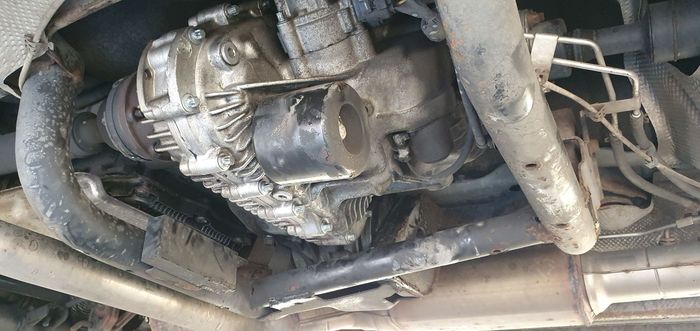
I have written a step by step guide how to change the transfer box fluid, with pictures.
|
||||||||||||||||||||||||||||
|


| stan Site Moderator Member Since: 13 Jul 2010 Location: a moderate moderated moderator moderating moderately in moderation Posts: 35878
|
thanks again Gary , in wiki.. ... - .- -.
|
||
|
| KILOCHARLIE Member Since: 18 Jan 2024 Location: Wales Posts: 10
|
This is a great write up so thanks for taking the time. One question though, apparently I am supposed to reset adaptations after the doing the change?
|
||
|
| PeteT80 Member Since: 25 Jan 2020 Location: Preston Posts: 238 
|
You don’t need to reset anything with the transfer box, just change the oil and that’s it. |
||
|
| garyRR Member Since: 13 Mar 2021 Location: Hampshire Posts: 1494
|
This guide is also the same for the L405. I just did mine this weekend.
|
||
|
| gt40 Member Since: 29 Jan 2013 Location: Cape Town Posts: 32  
|
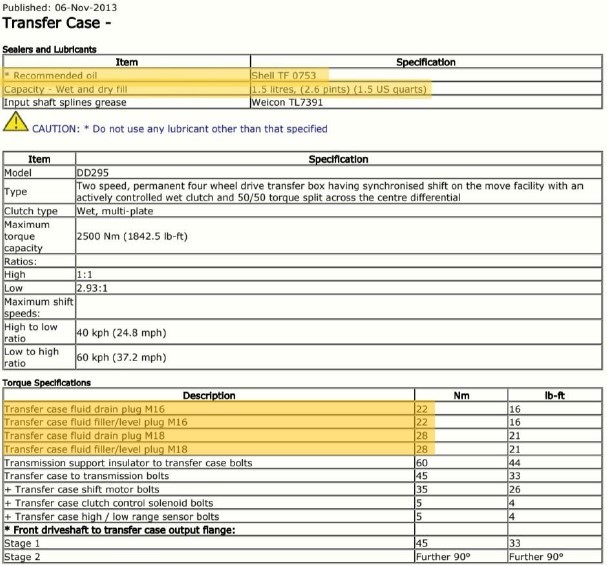
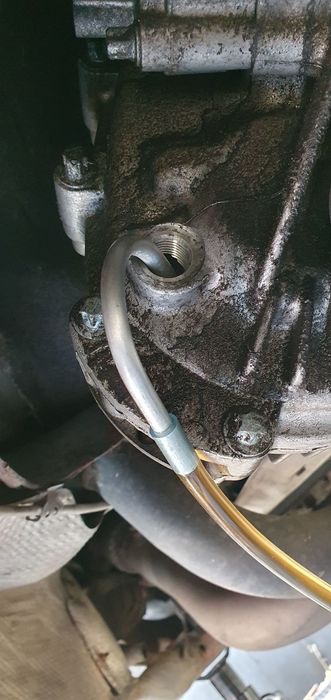
The correct quantity of oil in the transfer box is something that has been discussed a few times and there are different opinions. The manual does not state that a specific quantity of oil must be used. It does give the capacity of 1.5 litres for reference but the fill procedure clearly states to fill with oil until it is level with bottom of the fill/level plug. In comparison, the front and rear differential give a clear warning in the workshop manual that the oil must not be filled to the level of the filler plug as shown below which is a copy and paste from the manual. CAUTION: Do not fill the differential with lubricant up to the filler plug. The filler plug is only used to fill the differential with lubricant, not to act as a level indicator. • NOTE: The only way to check the fluid level in the differential is to drain all the fluid out and refill with the correct quantity, shown in the specification section. The transfer box drain fill procedure does not state this which in my mind means you do not fill with a specific quantity but rather to the bottom of the fill/level plug. Furthermore the the plug on the front and rear differentials is called the "fill plug" and on the transfer box it is called the "fill/level plug". I admit that the difference in quantity between adding "1.5 litres" vs "fill to the bottom of the level/fill plug" will be very small and will make zero difference to the operation and longevity of the transfer box so its really just semantics but the procedure in the manual is very clear. |
||
|

|
|
| All times are GMT |
< Previous Topic | Next Topic > |
Posting Rules
|
Site Copyright © 2006-2025 Futuranet Ltd & Martin Lewis
![]()
