| Vacuum Pump Replacement 5.0 SCV8 | |
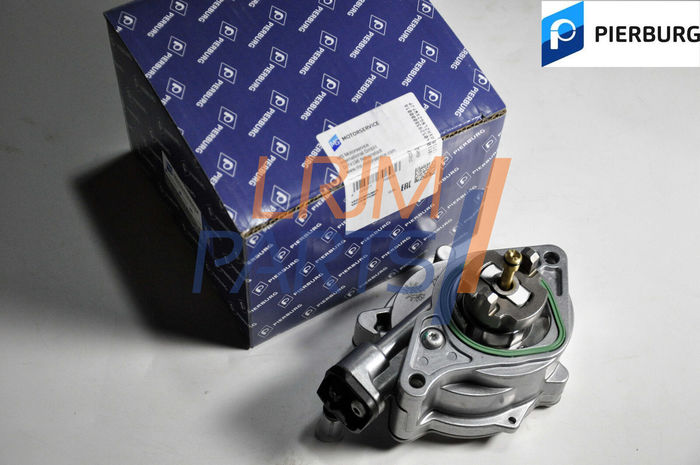
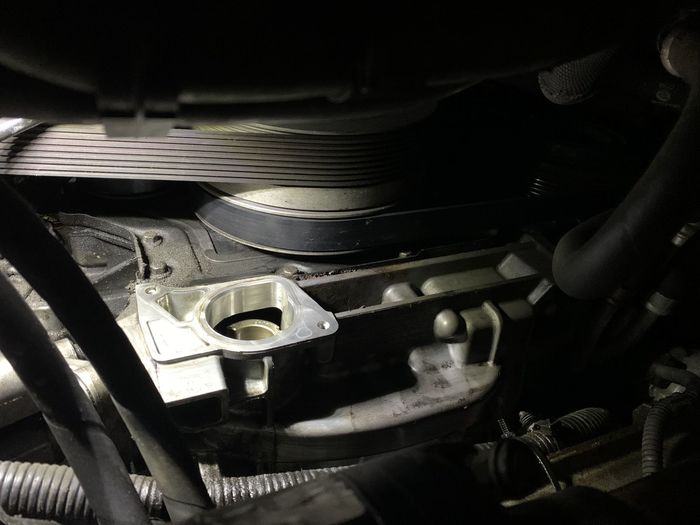
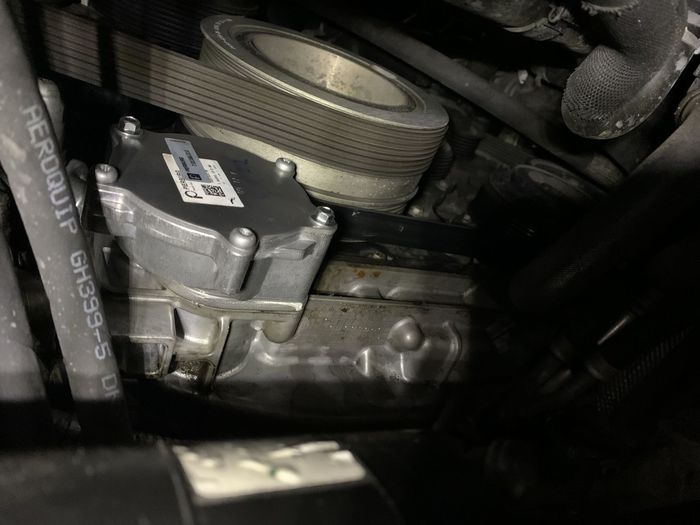
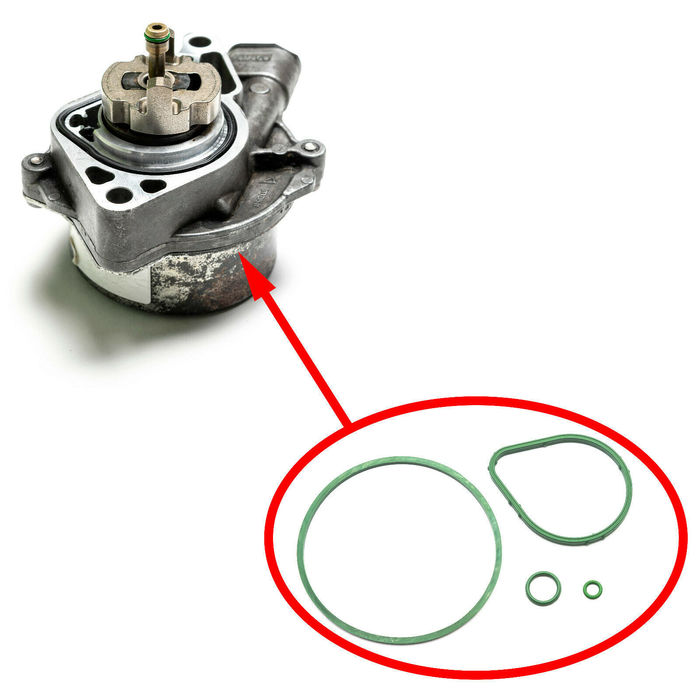
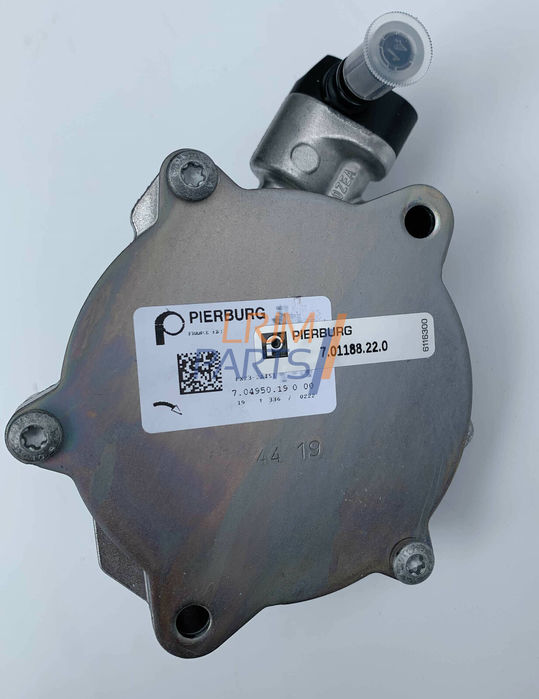
Has anyone replaced the vacuum pump on their 5.0 SCV8? Mine is leaking from the cover and between the engine and the pump. I have ordered a rebuild kit. I also ordered a new PIERBURG unit in case of the original unit breaks during removal. The seller is providing the longer OEM mounting bolts required for the new unit. Pierburg is the OEM JLR manufacturer. Replacement seems easy enough after reviewing the service manual.
I was hoping to complete the replacement by placing the RR on auto ramps with a 6-8" lift and raising the suspension. The service manual says to drain the engine oil first. I would prefer not to. Any insight if this is possible?
I found a video on Youtube, but that person completed the replacement with their LR4 on flat ground with no incline. They state they lost about 3 litres. I guess I could drain the engine oil and put it back in when done.
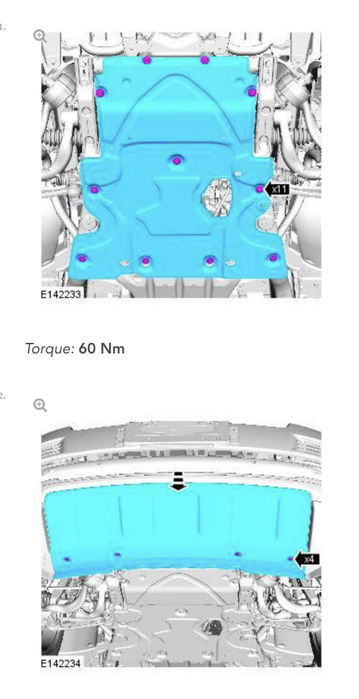
 | | Click image to enlarge |
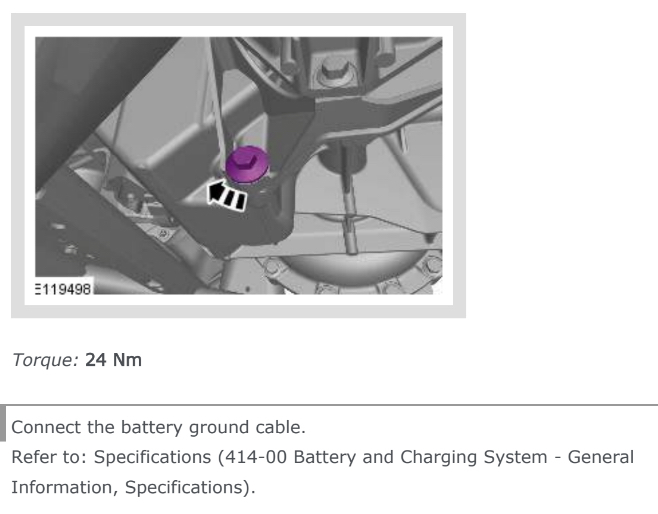
 | | Click image to enlarge | Dan. 🇨🇦 2013 L405 5.0 SCV8
|