| 2010-2012 4.4 TDV8 Front Strut (VCD) Replacement | |
First thing to say about the front strut replacement on the later 4.4 TDV8's is that it's much easier that anyone might expect. 
We are talking about undoing five nuts on the wheel, three nuts on the strut, a small brass nut for the air, a couple of torx screws and three nuts up top! That's it!! If you've read what's in the wiki about doing this on an earlier car, you might expect additional trouble due to the wheel arch liners and the VCD on the dampers. Nothing could be further from the truth.
A leaky air strut is an age related issue. My car had 57k miles on it when the drivers side started to sink overnight and there was an occasional yellow triangle on the dash for a 'Suspension Fault'. The suspension airbags don't last forever, so if you have an issue - do them both.
Tools Required:
Ideally - An Impact Gun (1/2"). A standard 1/2" ratchet spanner will suffice, assuming no problematic nuts/bolts
Impact Sockets - 22mm, 18mm, 16mm
Open Ended Spanner - 12mm
Torx Socket - T30 (six pronged star)
A good trolley jack
Time to complete - circa 30mins.
Difficulty level - basic!
The usual caveats apply in terms of personal safety, suitable jacking tools and vehicle supports.
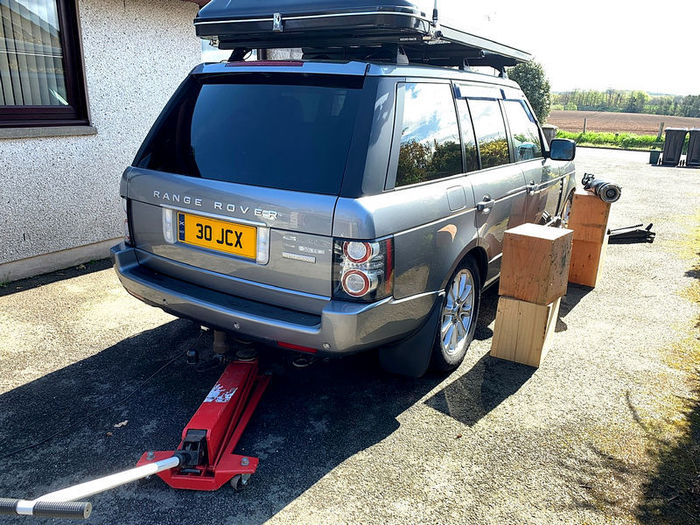
Jack the car up at the front and secure the vehicle with appropriate axle stands. I actually used several bits of tree to have the whole vehicle up in the air.
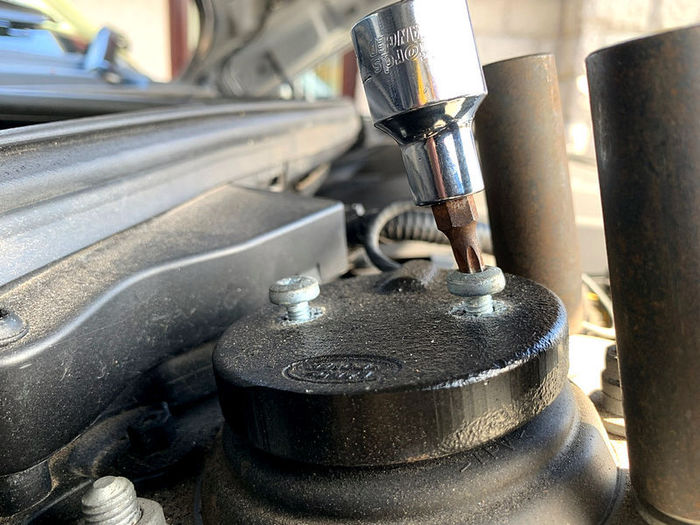
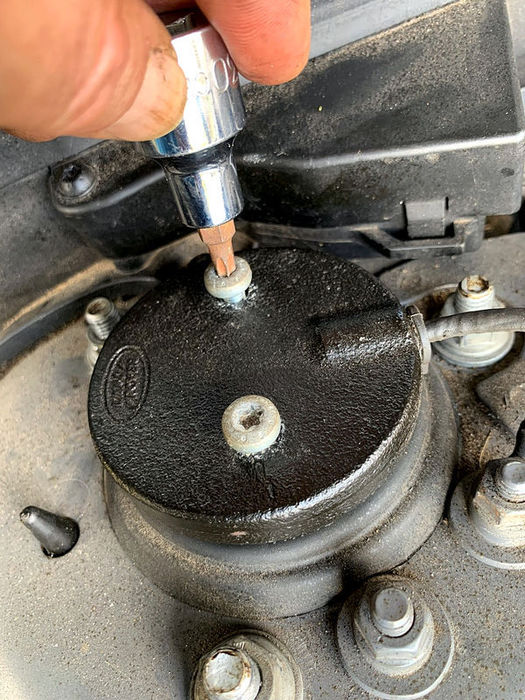
Remove the two Torx screws from the top of the strut
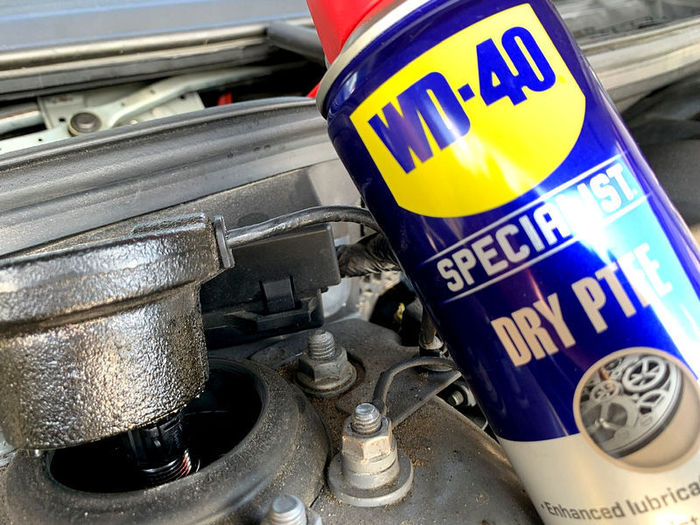
I found that some PTFE lube helped on the rubber to make the next bit more compliant
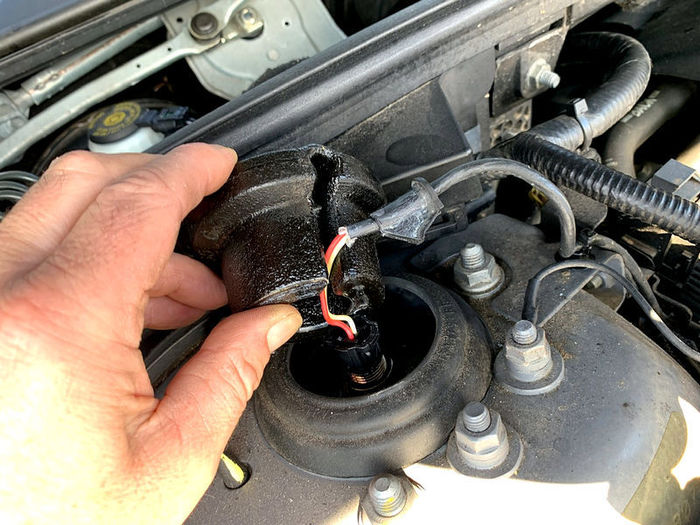
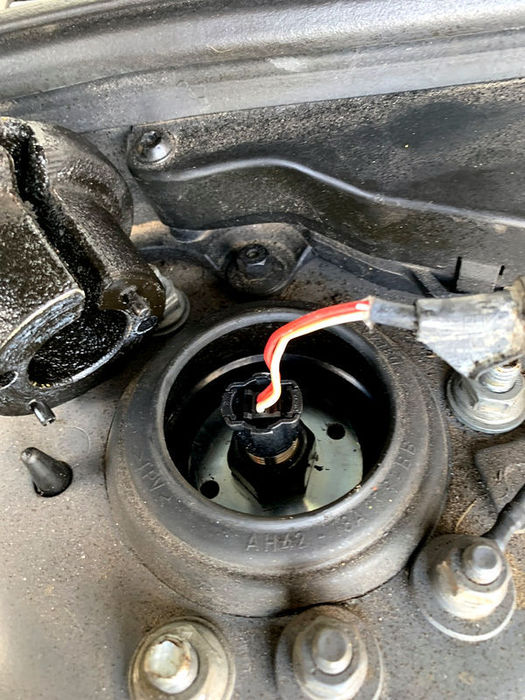
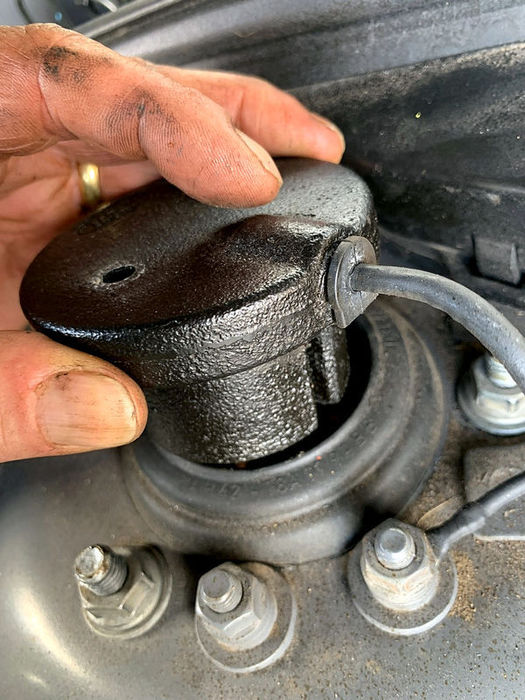
Extract the (heavy) lump of metal and work the cable/rubber mount free from it
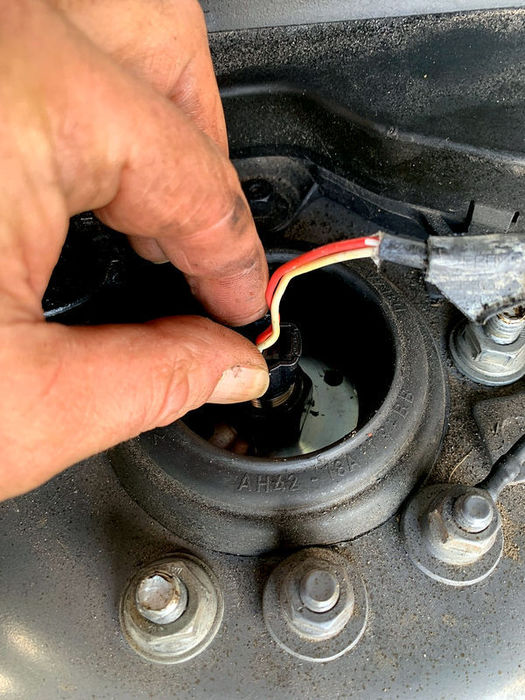
Put the metal lump to the side and then pinch the VCD connector to remove it from the strut top.
 | | Click image to enlarge |
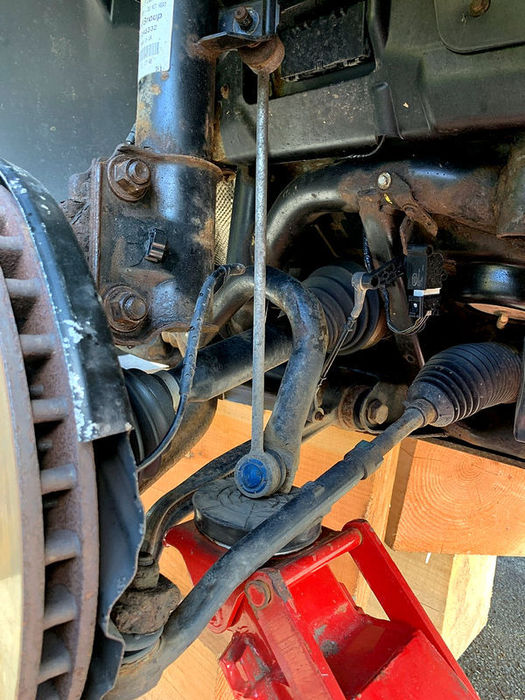
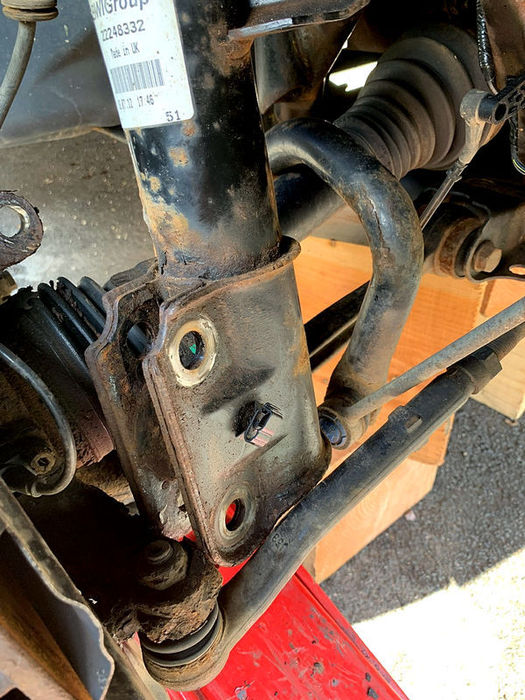
Remove the (18mm) nut from the top of the Anti-Roll-Bar (ARB) Drop Link. If it doesn't come straight off, an open-ended spanner in the back will hold the spindle to allow the nut to come off.
 | | Click image to enlarge |
The strength of the ARB will pull the bolt off the horizontal, so jack up the bottom of the ARB until the bolt is free to be extricated from the mounting plate on the strut.
 | | Click image to enlarge |
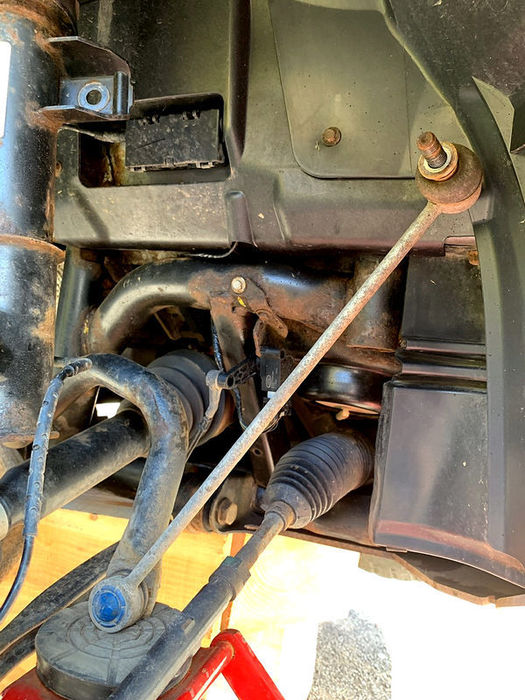
Like so! Move the ARB drop-link out of the way.
 | | Click image to enlarge |
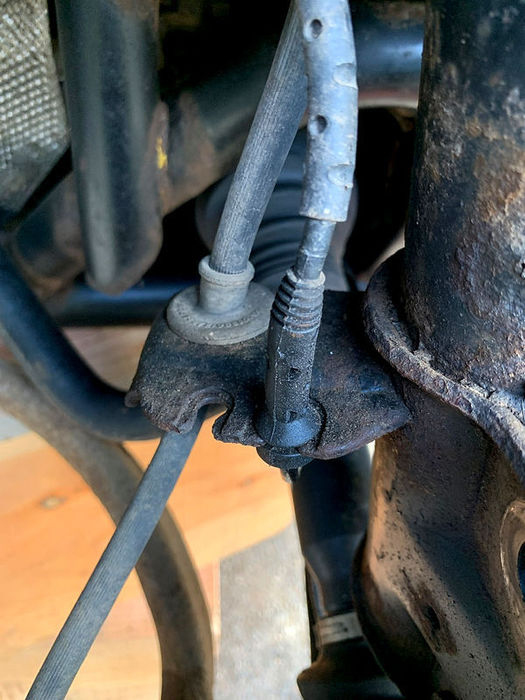
Gently pull the brake hose and associated cables away from their fixings on the strut. Divers side has two, passenger side has three.

 | | Click image to enlarge |
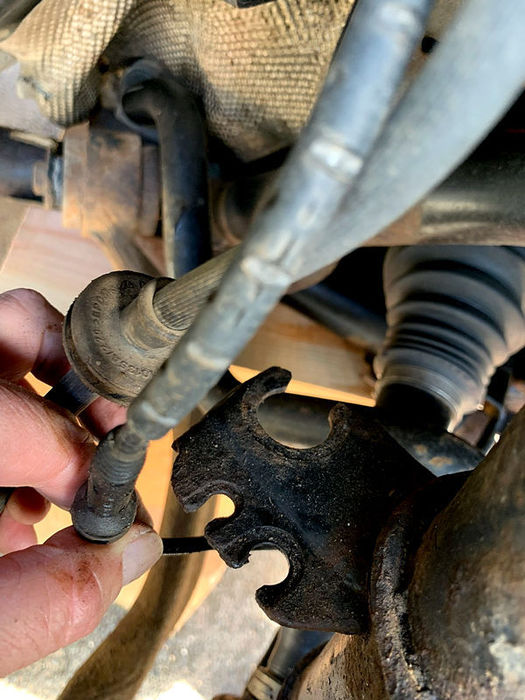
(Passenger Side)
 | | Click image to enlarge |
As with so many things, a little bit of lube can help with this bit! 
 | | Click image to enlarge |
Now get your trolley jack under the hub assembly. Don't jack it up yet - just get it in there ready to take the strain.
 | | Click image to enlarge |
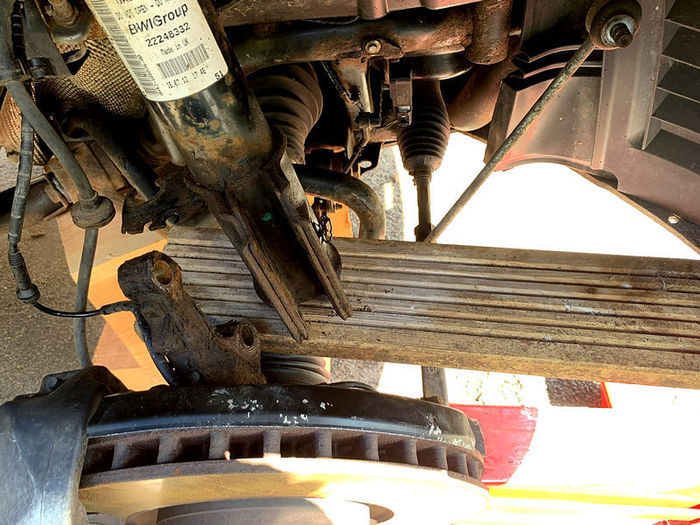
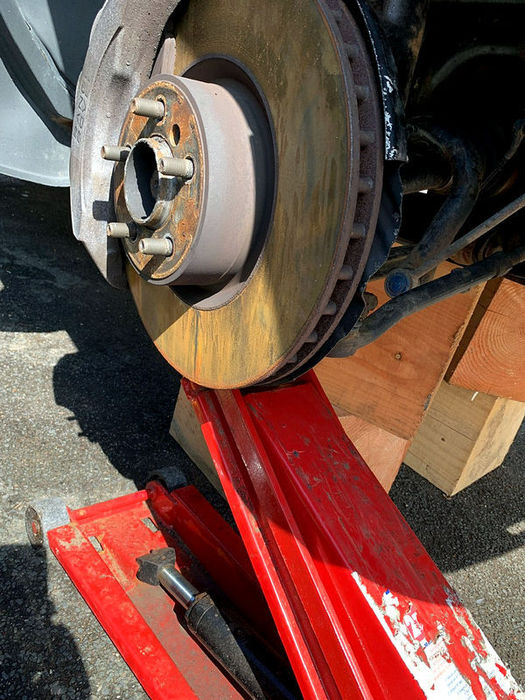
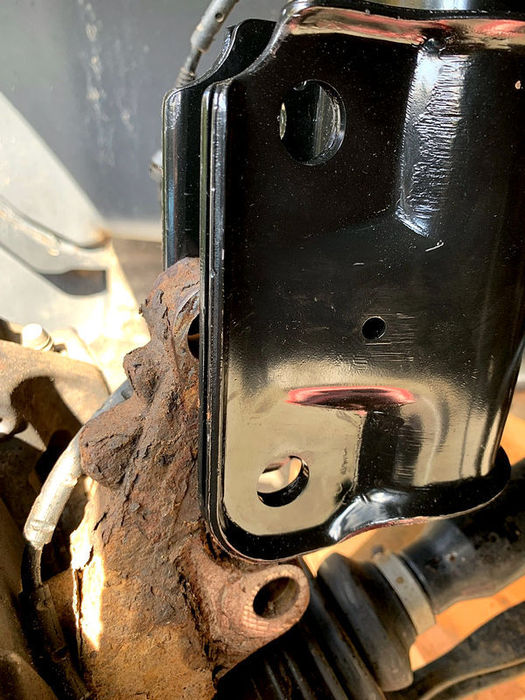
Prepare to loosen the two big 22mm bolts holding the hub to the strut.
 | | Click image to enlarge |
Mine came out very easily, but I've heard horror stories of bolts seized in place. A 'rattle gun' will help immensely here, as the 22mm can be used on both the nut and the bolt. Once it all comes free, the hub will drop onto the jack and the strut will move freely from the base in the wheel arch.
 | | Click image to enlarge |
Next, find something just to help steady the strut, as you're about to do something where gravity will take some effect on this large lump of metal.... I stuck a bit of decking board in there, but other options are available. You're just looking for something to prevent the whole strut from dropping to the tarmac when you release the top bolts.
Undo the three top (16mm) strut nuts. They shouldn't be too tight and the strut should drop onto whatever you have used to steady the ship underneath. It is possible to do this with one hand on the strut in the arch. Alternatively, get someone to hold the strut while you undo the top nuts.
Once the strut drops a bit, you can see the air line (and the sky) from underneath!
 | | Click image to enlarge |
The bottom of the strut can now rest somewhere on the suspension if necessary
 | | Click image to enlarge |
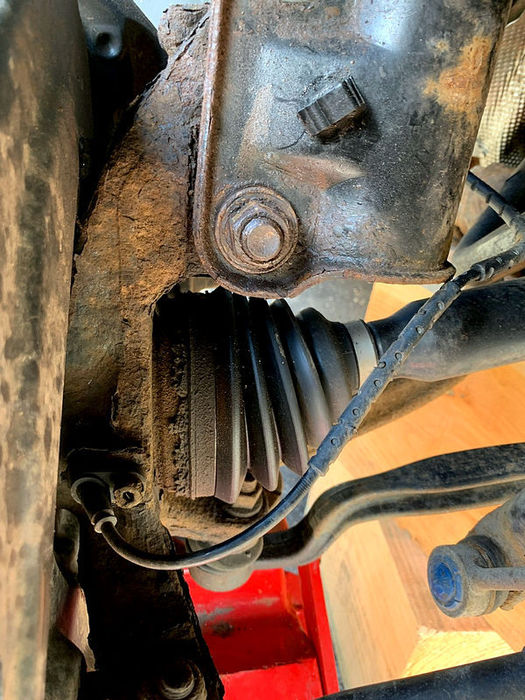
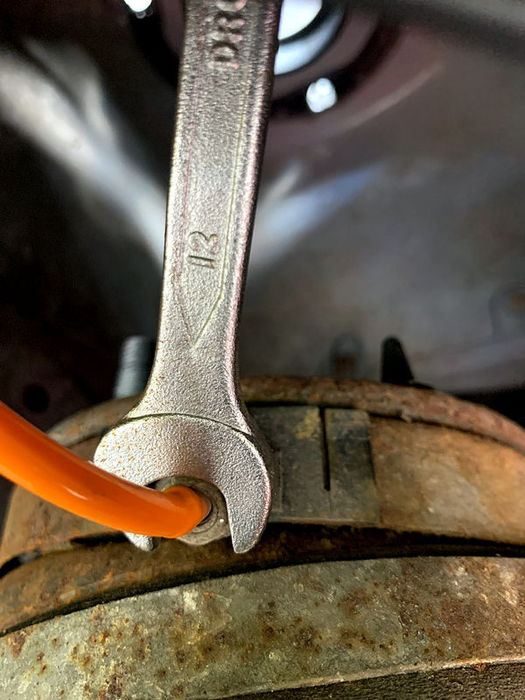
Take the 12mm open-ended spanner and undo the brass airline connector. If the bag is already burst, this will just come undone. If you are replacing an old bag which is still full of air, this will begin to leak air pressure as you undo it.
 | | Click image to enlarge |
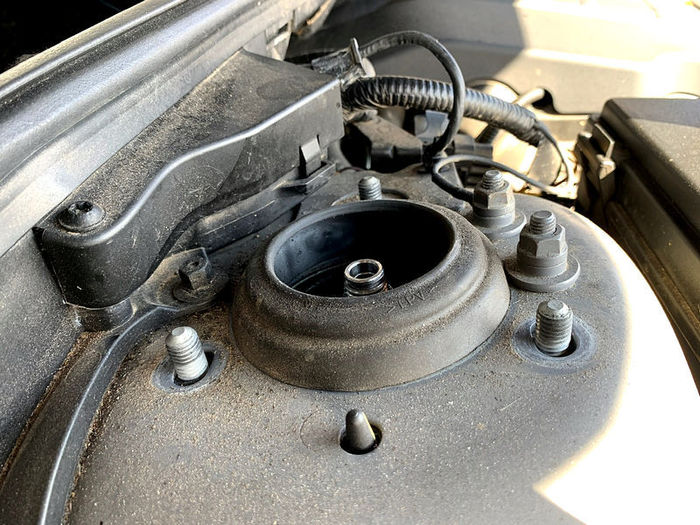
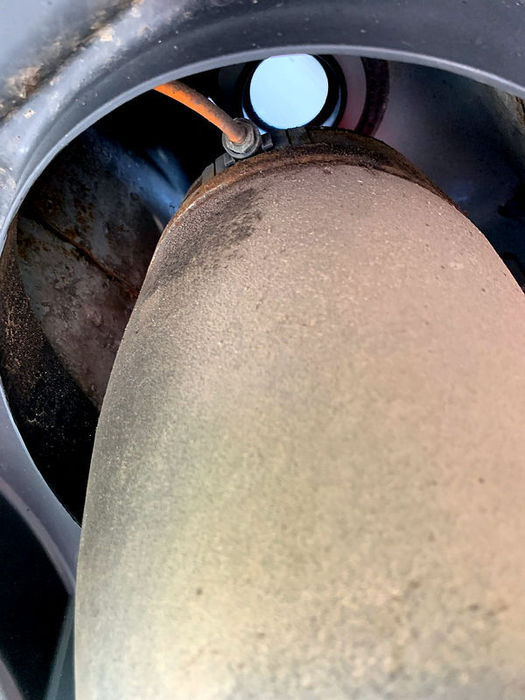
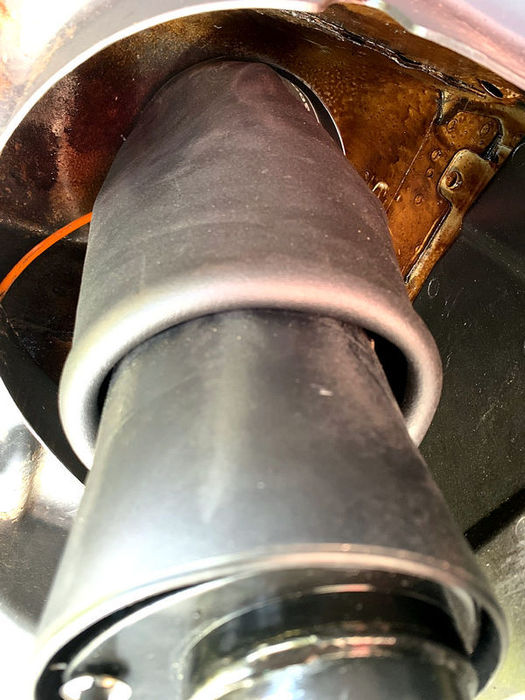
Now that everything is undone, you can extricate the old strut from the wheel arch and lay it to the side.
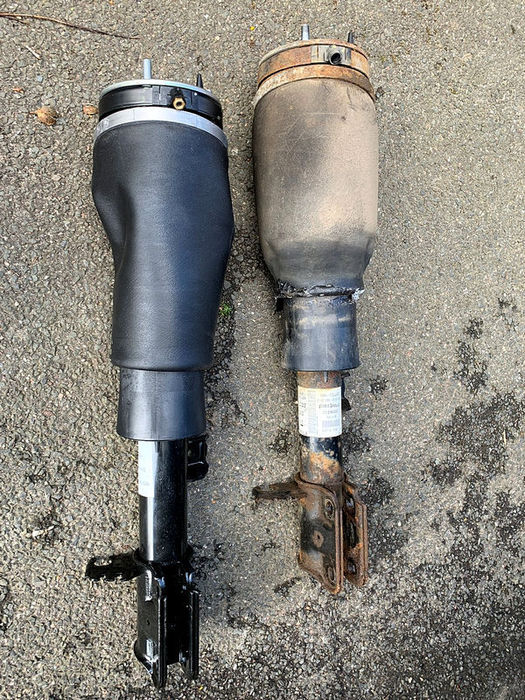 | | Click image to enlarge |
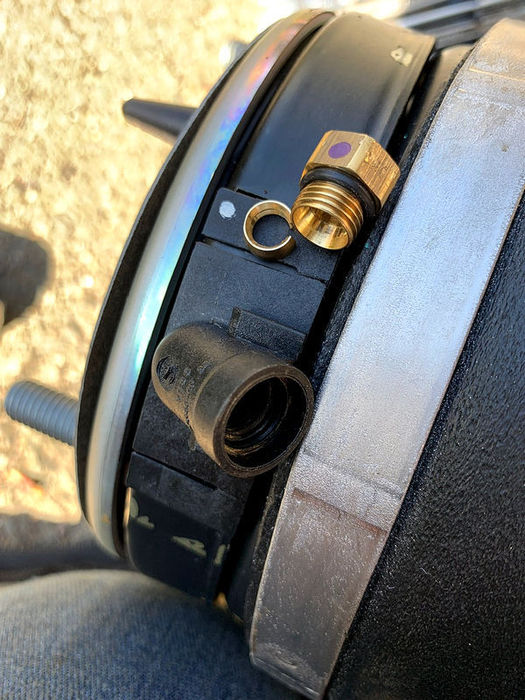
The new strut comes with a new brass connector and collet, but you can just remove these from the strut and use the existing connector on the car.
 | | Click image to enlarge |
Reassembly is a straight-forward reversal of the foregoing. I took the opportunity to use a spray-on rust inhibitor product on the underside of the strut top mounting before offering the new strut into the space and re-attaching the air-line. Note that the book says this only requires a torque of about 3.5Nm, but I may have nipped it up a bit further than that!
 | | Click image to enlarge |
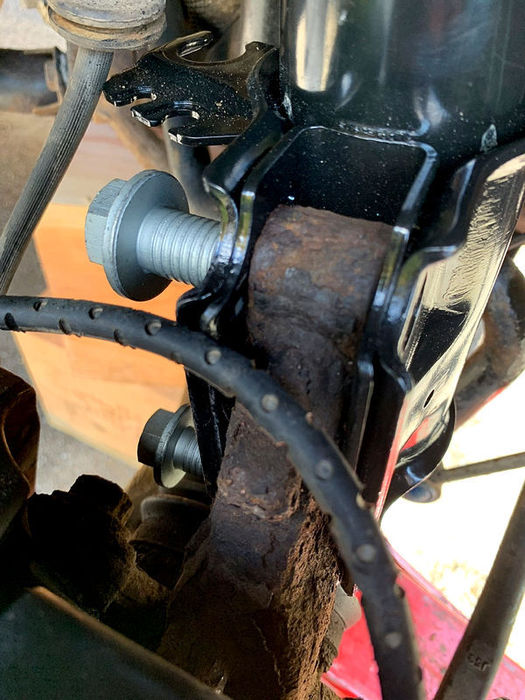
And this is where the trolley jack is needed to bring the hub up to the level where you can match the bolt holes. I ordered new bolts and nuts for this rather than re-using the old ones.
 | | Click image to enlarge |
Once alligned, stick the new bolts in from the rear towards the front.
 | | Click image to enlarge |
The new nuts then go on...... Until you discover that the new nuts are 23mm and not 22mm! Then you find that you don't have a 23mm socket!
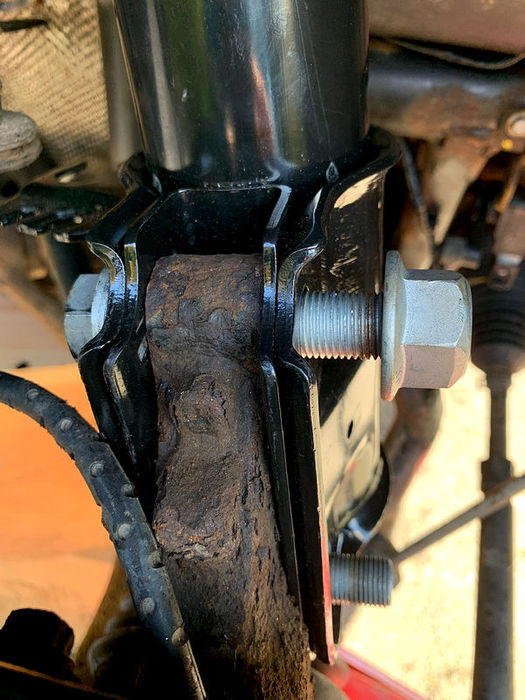 | | Click image to enlarge |
So the old 22mm nuts have their P45's shredded and they go back on the new bolts! Tighten as required - we will torque them up at the end!
 | | Click image to enlarge |
Refit the brake hose and electrical line(s) by push-fitting back into their respective slots.
 | | Click image to enlarge |
Use the trolley jack to get the ARB drop link aligned and get the nut back on it.
 | | Click image to enlarge |
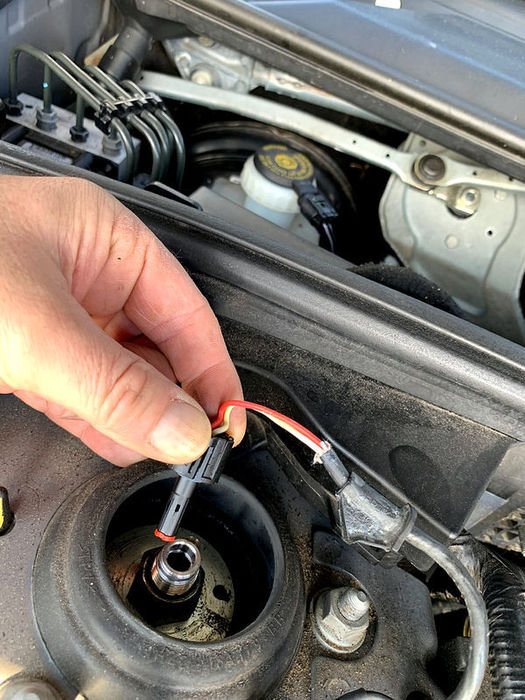
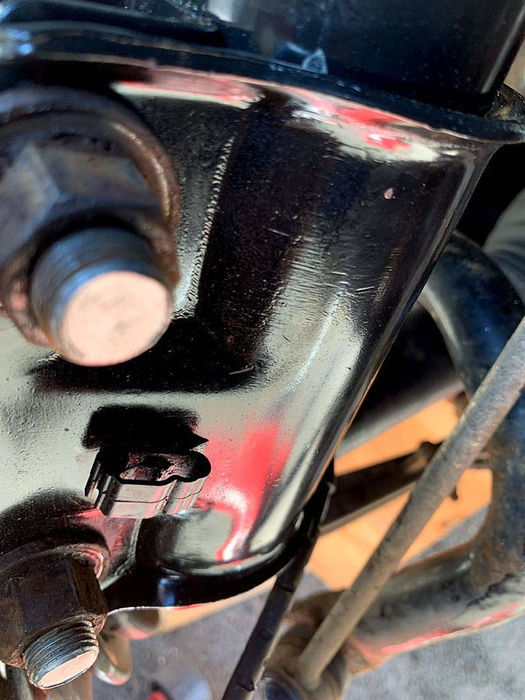
Push the VCD connector back into place (gently push and twist to locate it correctly)
 | | Click image to enlarge |
 | | Click image to enlarge |
Relocate the cable into the lump of metal that goes on the top
 | | Click image to enlarge |
And refit the two Torx screws
 | | Click image to enlarge |
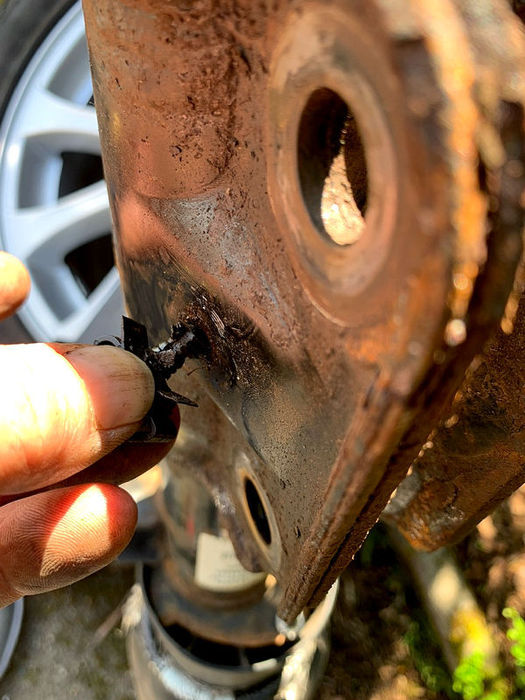
Go back to the old strut and carefully remove the plastic cable clamp - I got long nose pliers underneath it and carefully prized it out.
 | | Click image to enlarge |
Then simply push it into place in the new strut,
 | | Click image to enlarge |
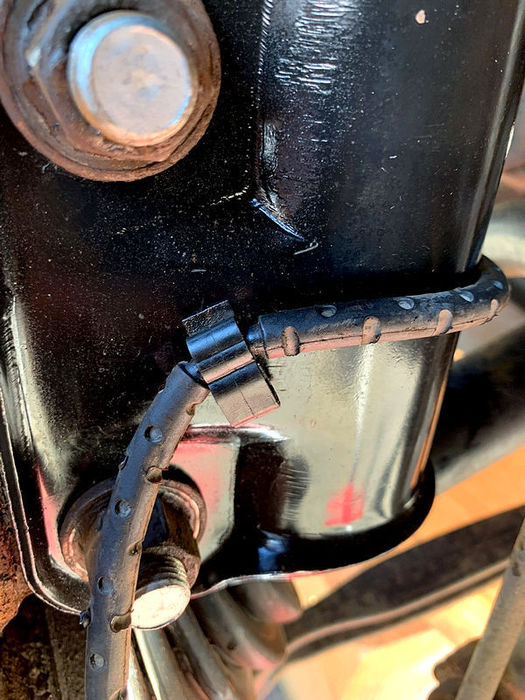
And relocate the cable into the plastic clamp.
 | | Click image to enlarge |
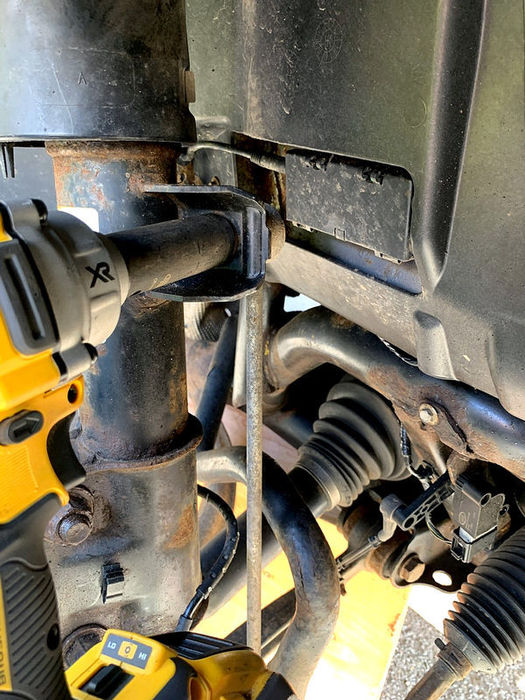
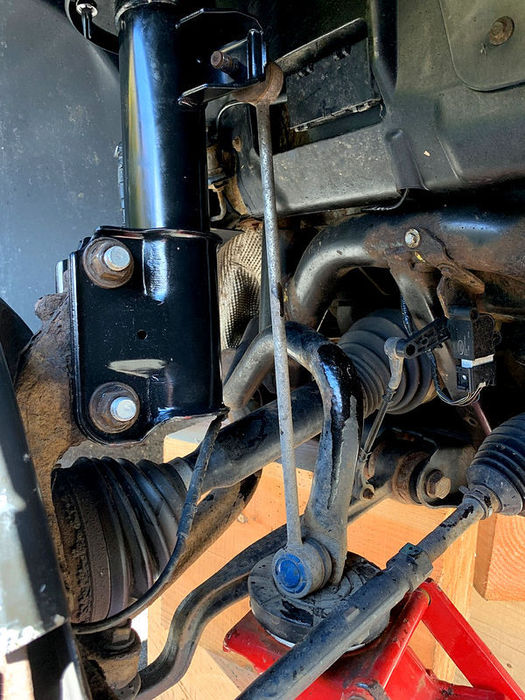
Torque the two main strut-to-hub bolts up to 250Nm and the top ARB bolt to 100Nm
 | | Click image to enlarge |
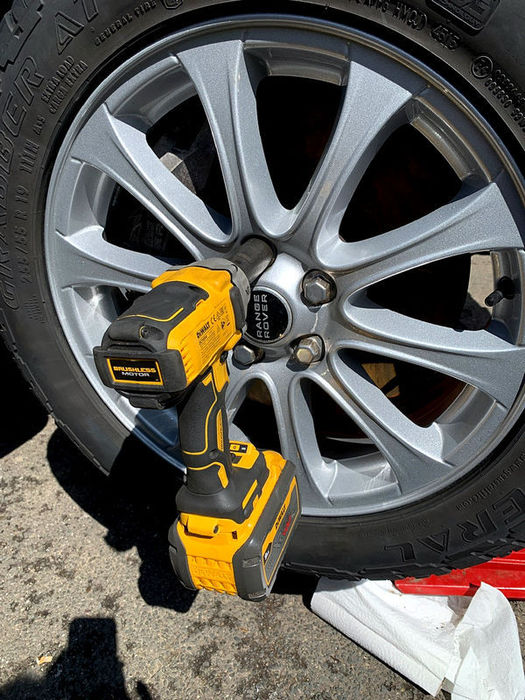
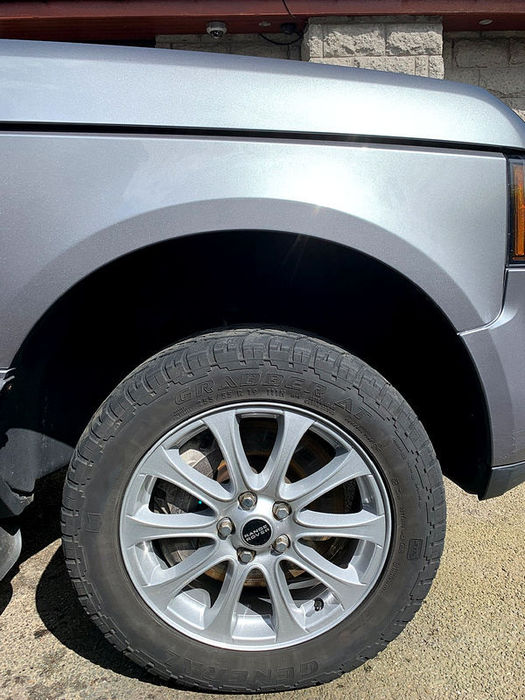
Refit the road wheel.
 | | Click image to enlarge |
Get the car back on the ground and torque the road wheel to 140Nm.
 | | Click image to enlarge |
Now torque the three strut top bolts to 56Nm. Start the car, set the required suspension height and go for a road test. If it all goes to plan, the car should be perfectly fine and there's no need to do anything with a GAP tool or such like.
As with all things, E&OE, caveat emptor, the value of investments can go down as well as up, don't do drugs and you are responsible for your own actions!  The older I get, the more I realise that people confuse wrinkles for wisdom The older I get, the more I realise that people confuse wrinkles for wisdom 
Last edited by JMC on 2nd May 2023 9:35am. Edited 3 times in total
|