 | Home > In Car Electronics (L322) > '02 HSE ICE Car PC Project (Carx to XBMC to FFRR-PC!) |
 
|
|
|
| Joe90 Member Since: 29 Apr 2010 Location: Hampshire Posts: 6431 
|
Getting this thread going as a work in progress, early stages at present, as will probably only get time at the weekends to move it along.
|
||
|
| Joe90 Member Since: 29 Apr 2010 Location: Hampshire Posts: 6431
|
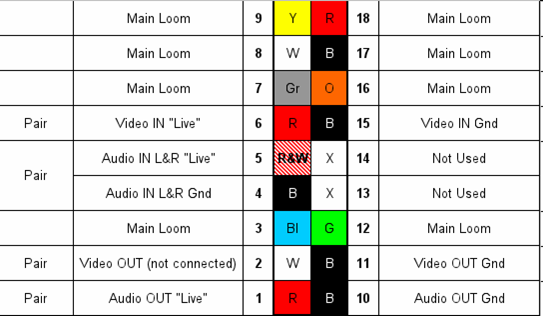
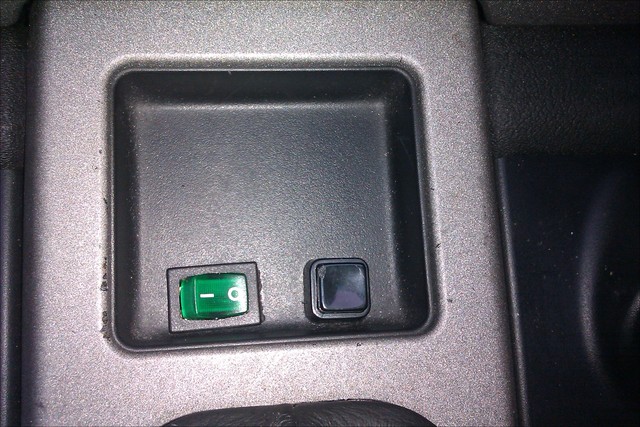
Was a nice day, so set about figuring out how the existing setup was wired in and how it all was supposed to work.
|
||||||||
|
| Joe90 Member Since: 29 Apr 2010 Location: Hampshire Posts: 6431
|
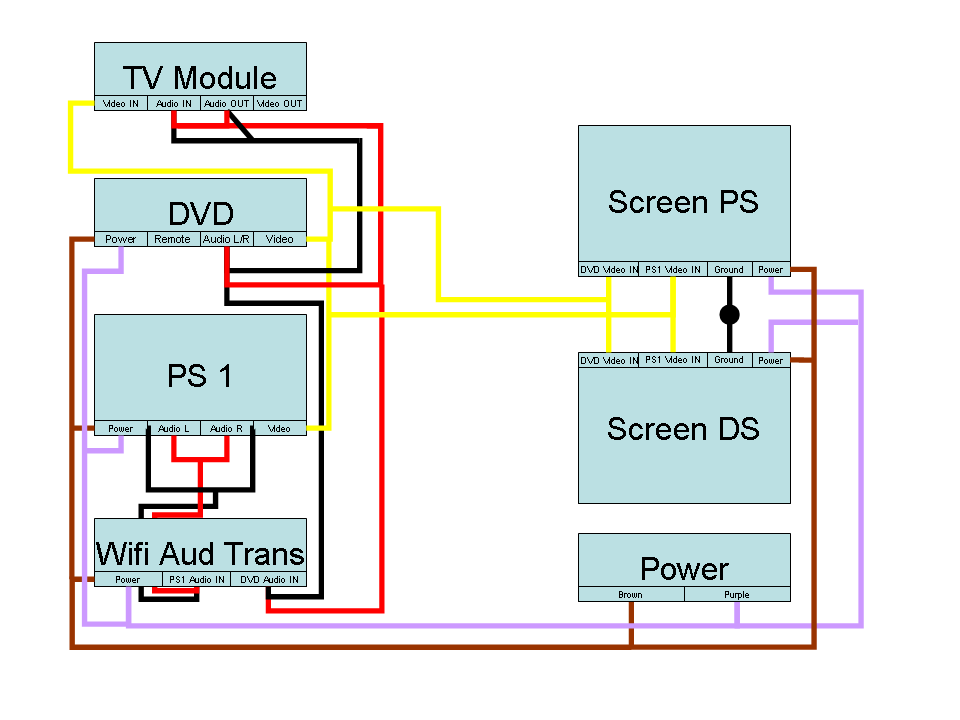
Got stuck in today and removed the PS1 and the Wireless Audio Transmitter. This got rid of a whole pile of cabling and made for a much tidier wheel well and ICE "corner".
|
||
|
| Joe90 Member Since: 29 Apr 2010 Location: Hampshire Posts: 6431
|
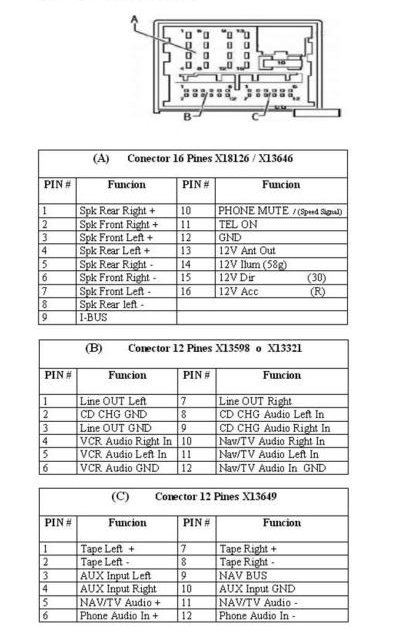
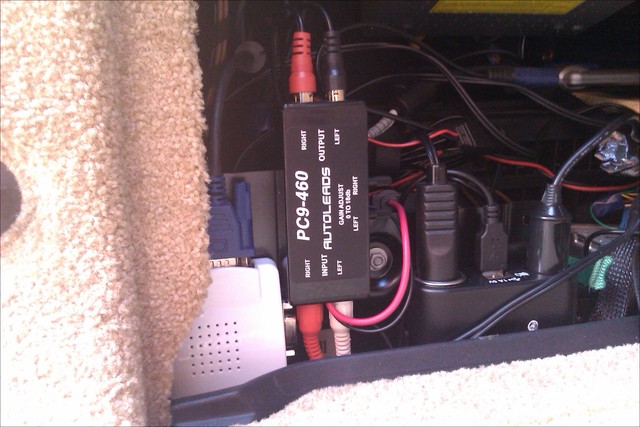
Changed the order of my list, and skipped the iBus connection (need a bit more advice) but tackled instead the connections for sound into the tape audio wires. You need to do this so that you get stereo sound from the carpc. In simple terms: Press the tape button on the OBC (make sure you have a tape in there, any tape will do), then start the audio from your carpc / external audio device. The car thinks the sound is coming from the tape deck so it plays it out through the speaker system.
|
||
|
| Joe90 Member Since: 29 Apr 2010 Location: Hampshire Posts: 6431
|
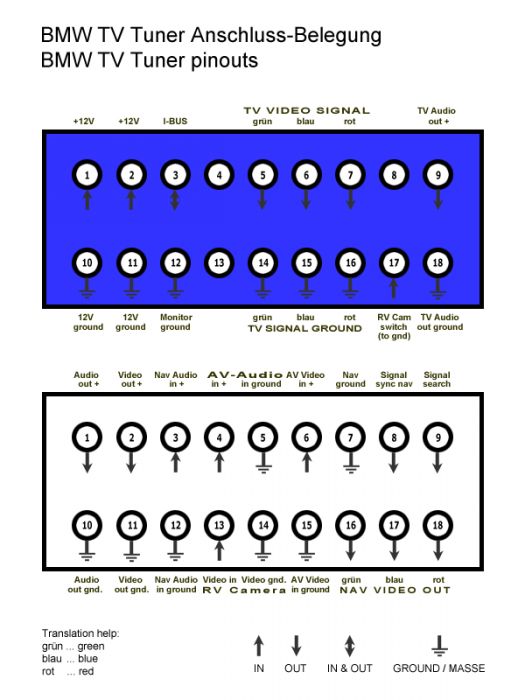
A light came on today (in my head). I realised I could completely remove the cable connecting to the TV module and work on it in the warmth of my kitchen.
|
||||
|
| Joe90 Member Since: 29 Apr 2010 Location: Hampshire Posts: 6431
|
Did it work?
|
||
|
| Joe90 Member Since: 29 Apr 2010 Location: Hampshire Posts: 6431
|
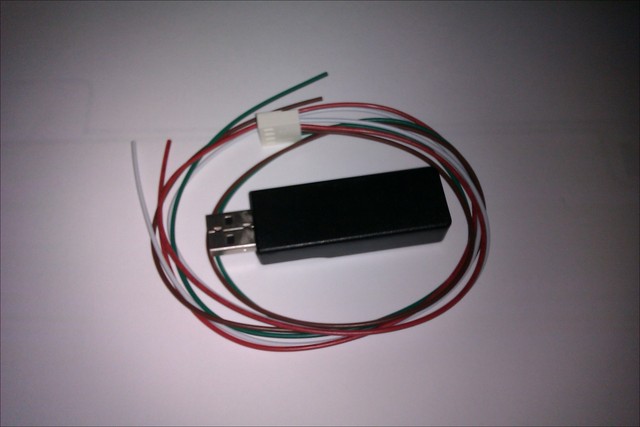
I've been having fun with this! and sorry in advance it's all gone a bit geeky |
||
|
| Joe90 Member Since: 29 Apr 2010 Location: Hampshire Posts: 6431
|
Some (but not all) codes from the MFP to the ibus, pulled from Navcoder using the BMBT/80 filter. On the whole, these match up with the E39 codes from baso.no and from the separate carx.ini provided.
|
||
|
| Joe90 Member Since: 29 Apr 2010 Location: Hampshire Posts: 6431
|
Why switch to linux for my car pc?
|
||||||||||
|
| Joe90 Member Since: 29 Apr 2010 Location: Hampshire Posts: 6431
|
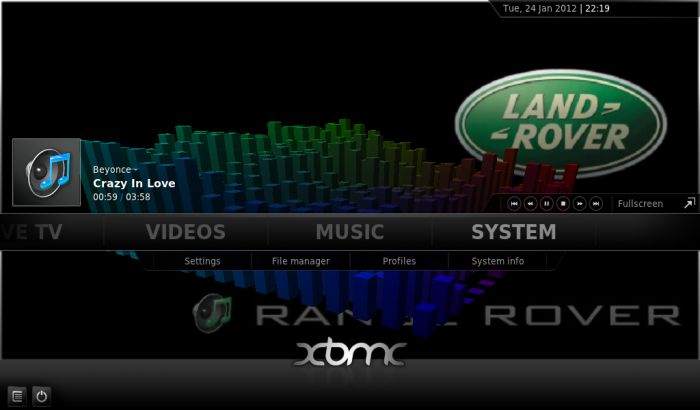
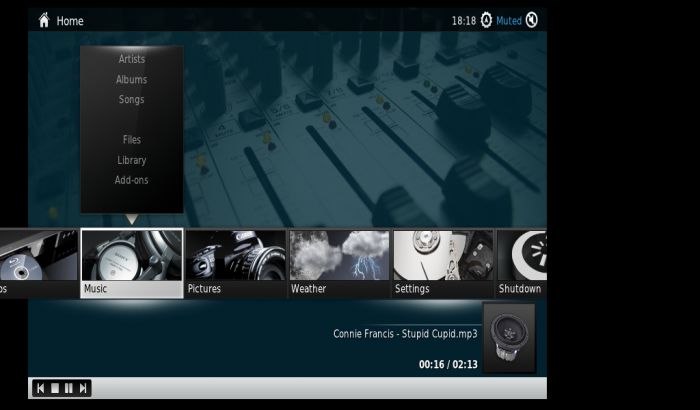
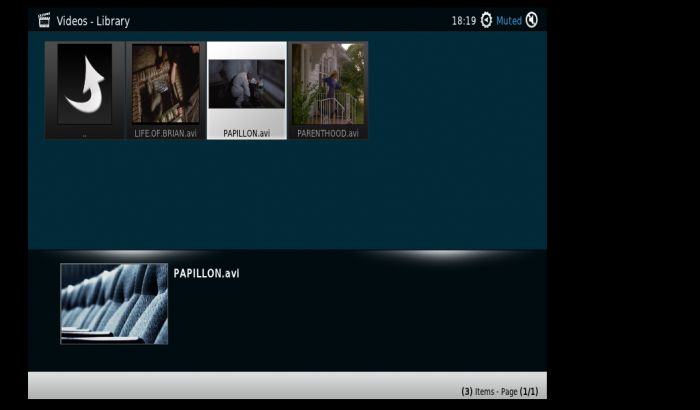
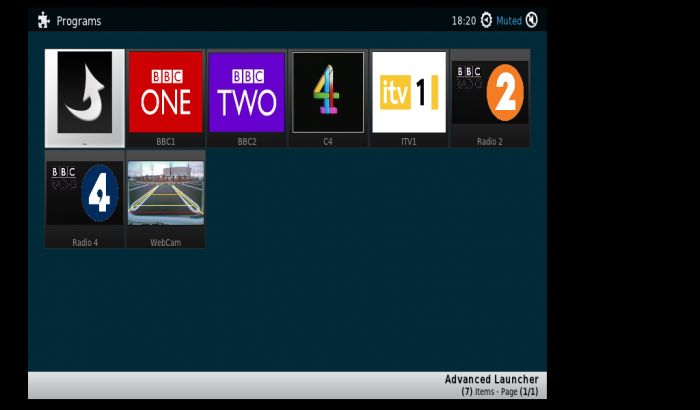
Video of early efforts, only got a working audio player at present
|
||
|
| Fr_Raf Member Since: 20 Nov 2010 Location: Lyon - Paris Posts: 147  
|
nice project...
|
||
|
| Joe90 Member Since: 29 Apr 2010 Location: Hampshire Posts: 6431
|
Yes, I found another one with a broken screen on the bay, so hopefully I can remove the screen and just use the pc unit. .
|
||
|


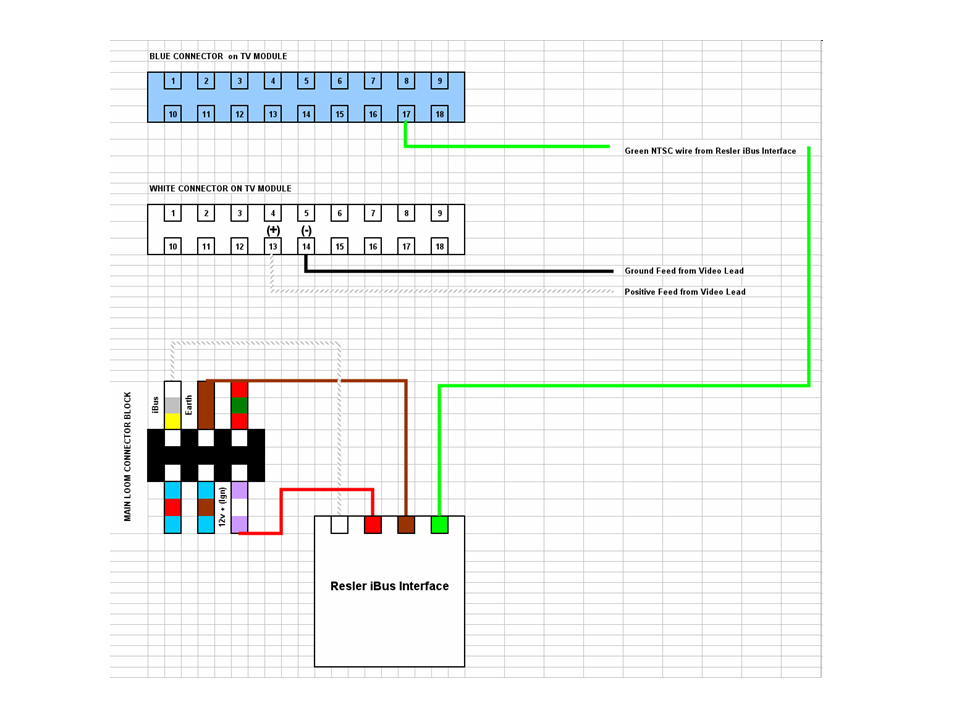
| Joe90 Member Since: 29 Apr 2010 Location: Hampshire Posts: 6431
|
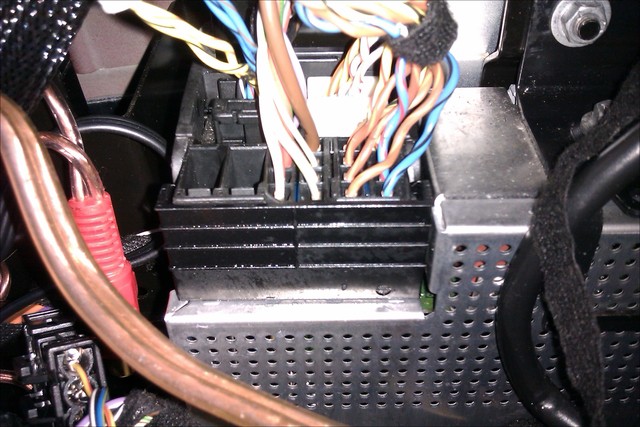
Well I seem to have connected to a set of completely different wires? (See two pairs at top left of connector block)
|
||
|
| Joe90 Member Since: 29 Apr 2010 Location: Hampshire Posts: 6431
|
I am still confused about this (having carried out extensive searches!)
|
||
|

|
|
| All times are GMT + 1 Hour |
< Previous Topic | Next Topic > |
Posting Rules
|
Site Copyright © 2006-2025 Futuranet Ltd & Martin Lewis
![]()
