|
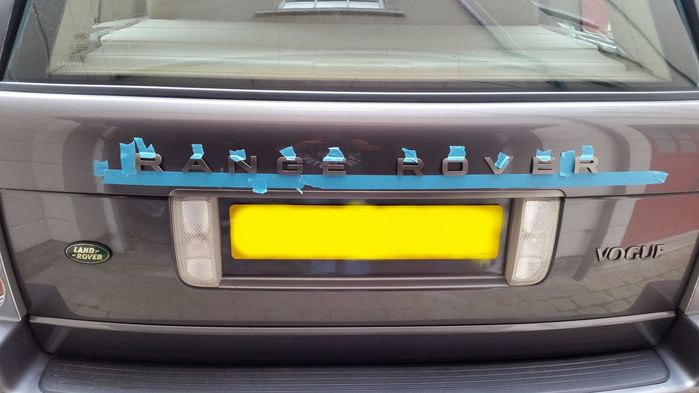
Many thanks for taking to to check, both of you. I went with 4.5cm. Took the spacing from the front lettering which looks original and unchanged, then worked backwards spacing it out on the rear.
Here's the original bit wonky lettering half removed. Hair dryer and some dental floss method is easy and probably something most with have at home. Bit of hair dryer action and a fingernail peel most off most of the residue, followed with dab of white spirit to remove the final bits of glue.
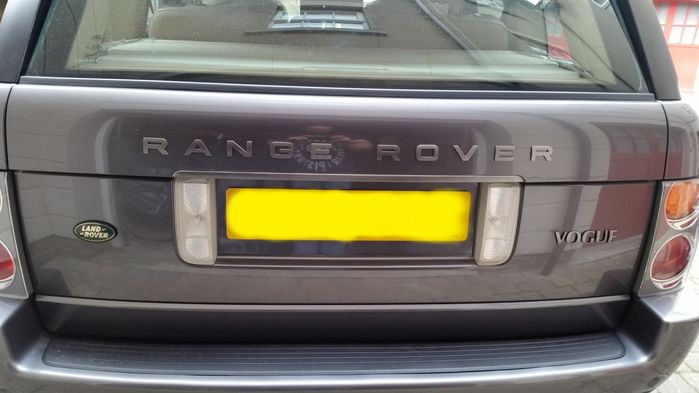
Afterwards , the tailgate got polished with a heavy cutting polish to remove all the swirls and marks. You then need to degrease the panel of your badging wont stick very well.
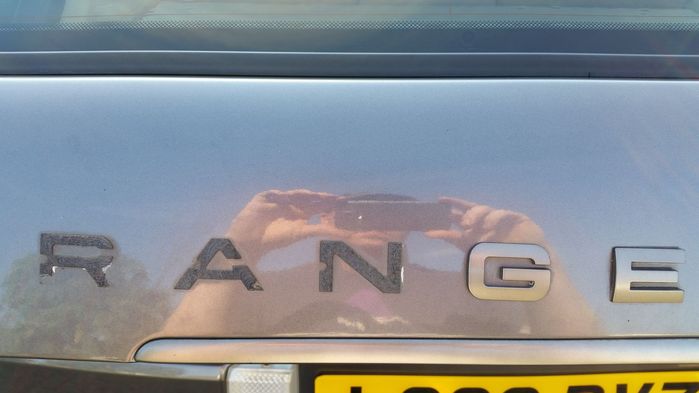
The lettering looked near new, just applied wonky. For some reason, you can buy loads of aftermarket badging cheaply, just not in the correct colour in my case.
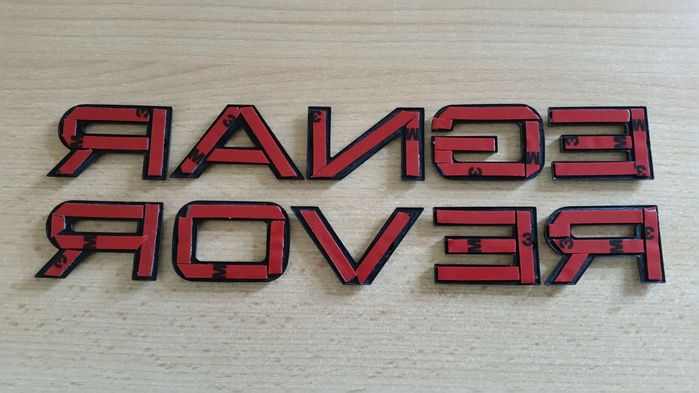
This was being a bit too cheap, but I decided to reuse the lettering. Some 5mmx0.8mm 3M tape replaces the old stuff and leaves you with this. Again, lot of time to save £60....
Using the front badge to work out the correct spacing and gap between all the lettering and two words, plus the provided measurement of 4.5cm, you can now work out the center of the tailgate and lay out the lettering to check.
I really should have added a long line of along the top, but doing so without the lettering in place is tricky on a curved panel.
Since it's not too hard to remove and replace the lettering, just kinda went for it. The result looks OK to my eyes.
Professional guide to removing badging.
|


