 | Home > My Range Rover > My L322 Project |
 
|
|
|
| Cam-Tech-Craig Member Since: 03 Aug 2011 Location: Gloucestershire Posts: 16403  
|
|
||
|
| Caesium Member Since: 21 Sep 2021 Location: Essex Posts: 454  
|
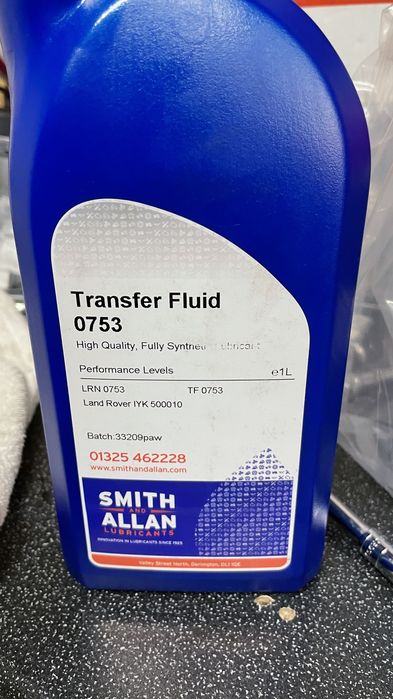
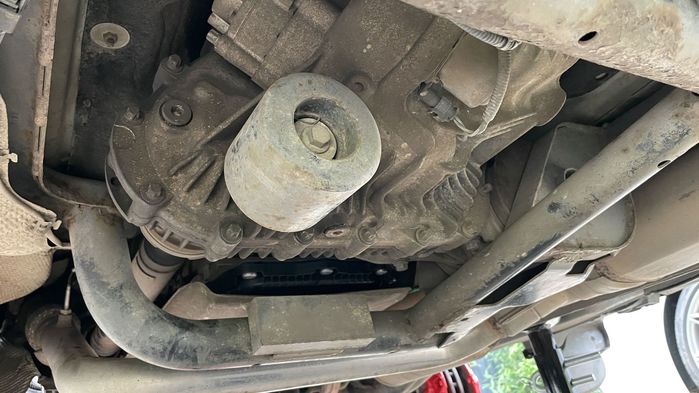
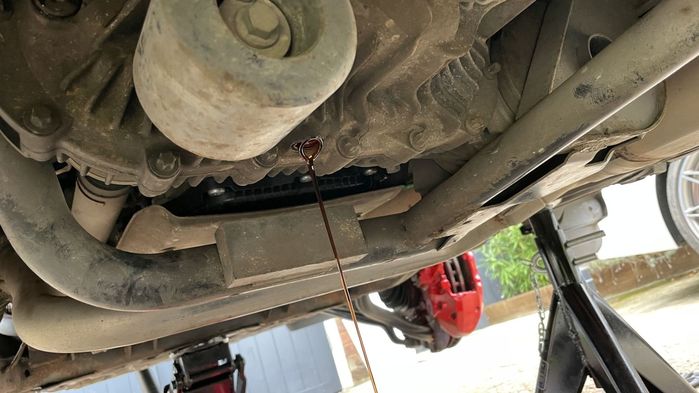
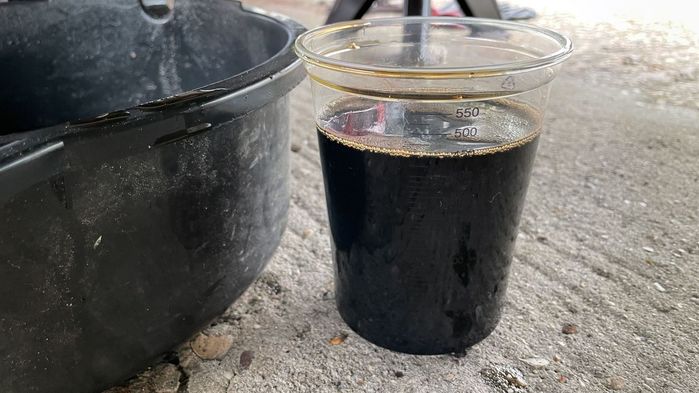
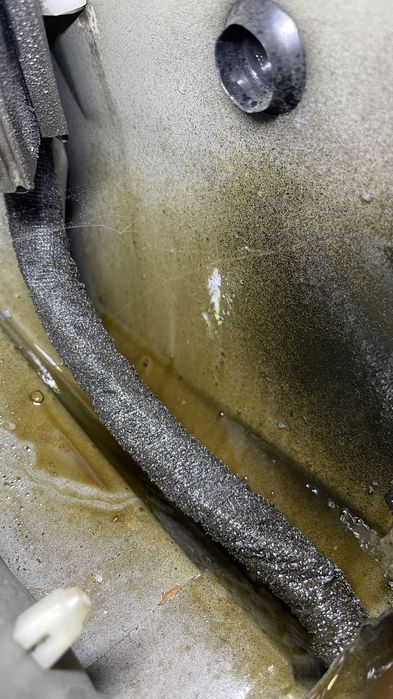
All my fluids are nearly done now with the exception of the engine oil which was done in June by previous owner and I intend on doing in December, the next one to tackle is the transfer case.
|
||||
|
| Caesium Member Since: 21 Sep 2021 Location: Essex Posts: 454
|
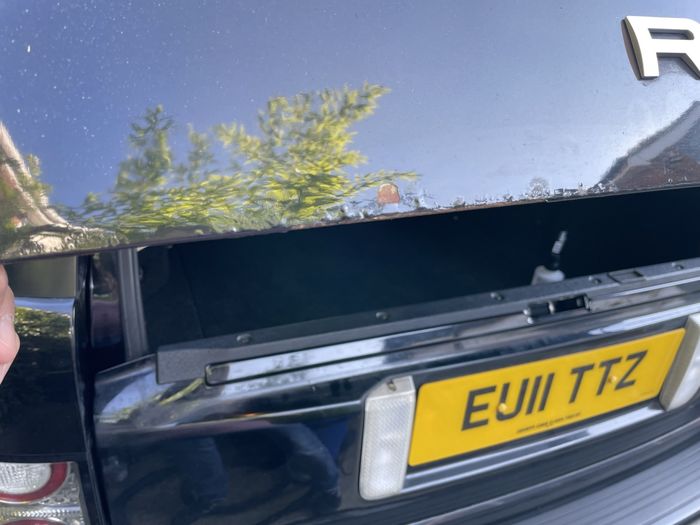
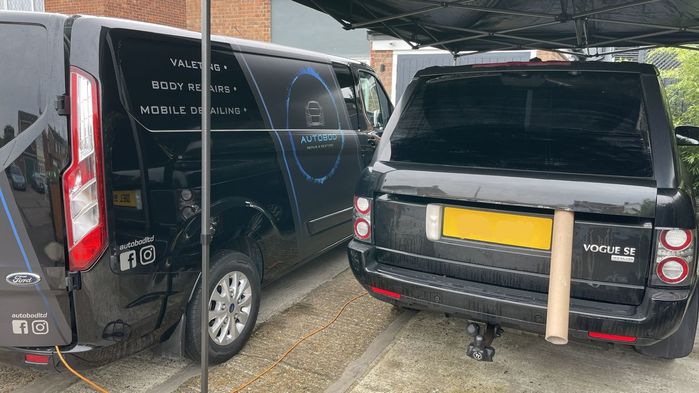
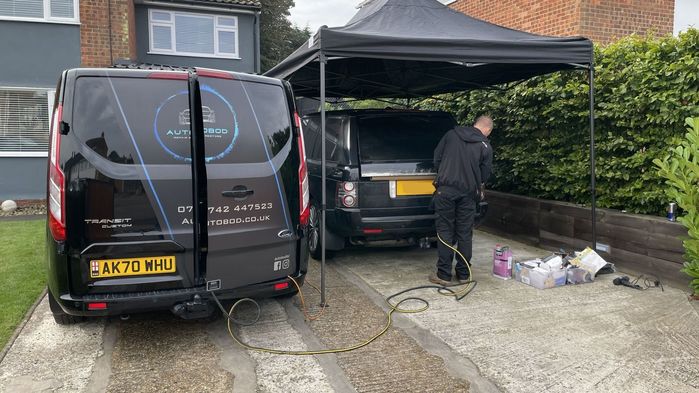
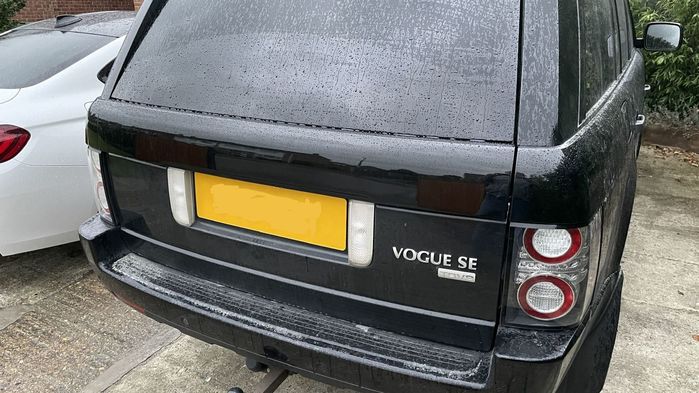
As you may have seen from my first post, the tailgate needed some attention before the rust created a hole and with winter approaching I made it a priority to get done.
|
||||
|

| Caesium Member Since: 21 Sep 2021 Location: Essex Posts: 454
|
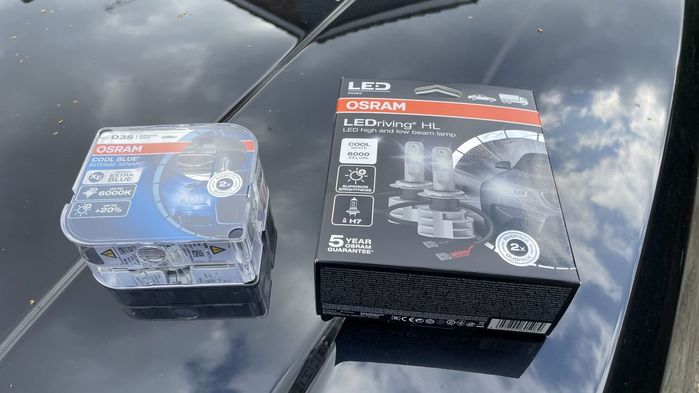
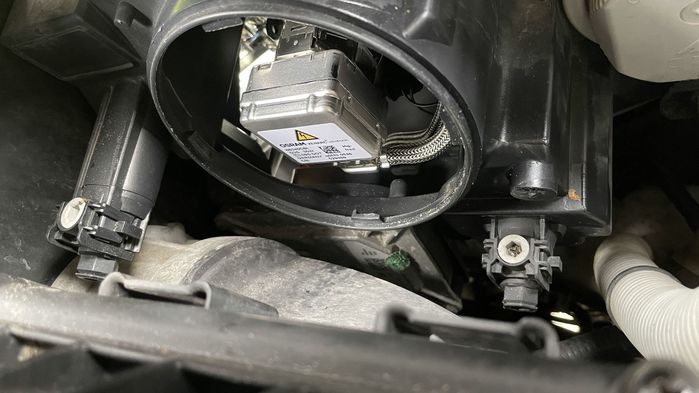
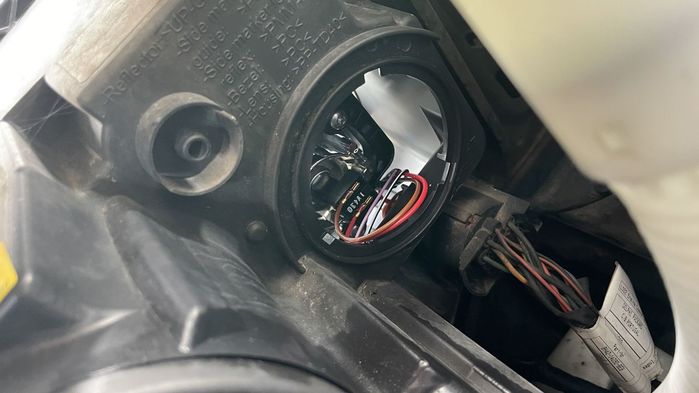
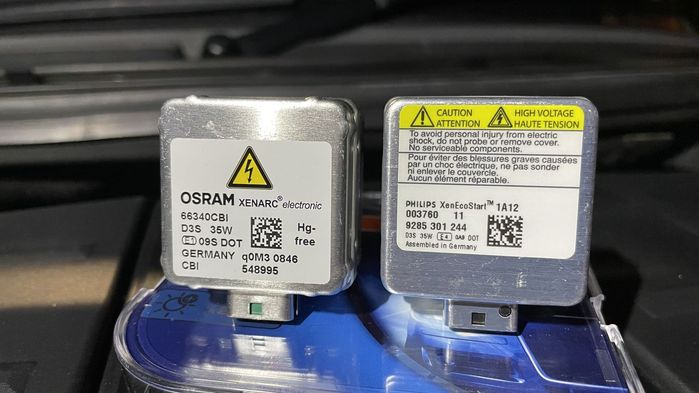
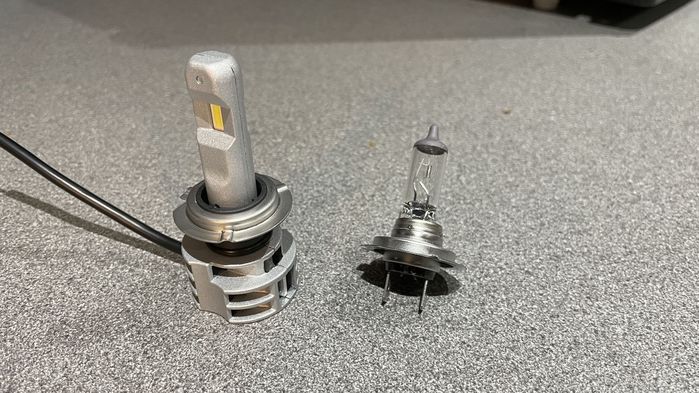
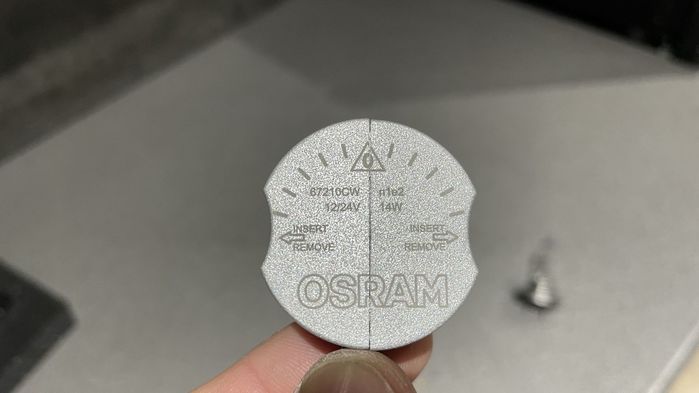
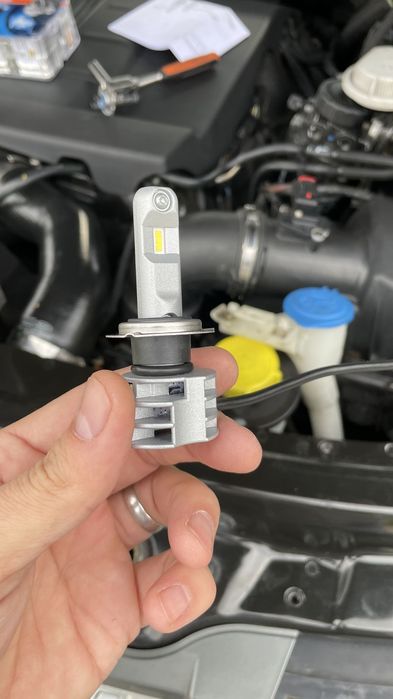
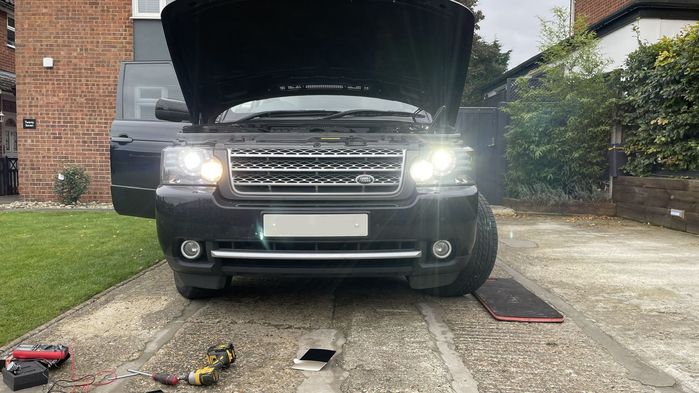
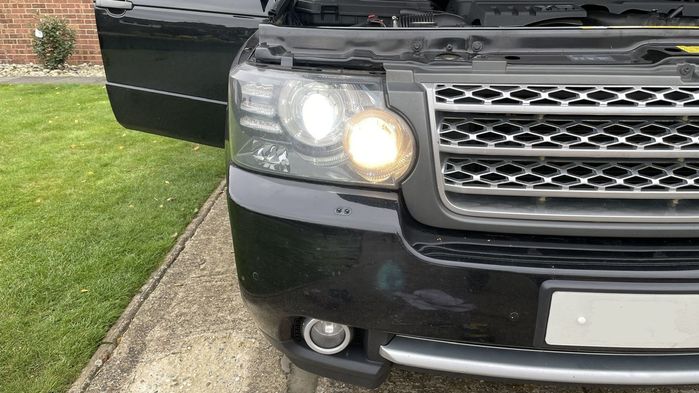
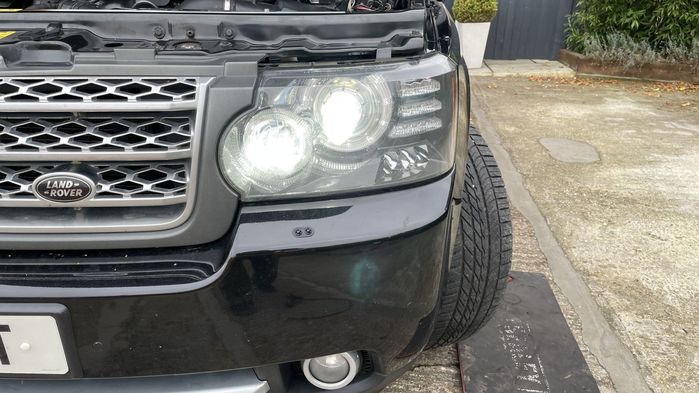
Headlight bulbs.
|
||||
|


| briangunn Member Since: 19 May 2019 Location: London Posts: 56 
|
Great work, and you're reminding me that the HID bulbs on my facelift 3.6 (with the same lights) are a bit pants, so I'll get some new bulbs as they'll be the originals. The LED lights for the main beams look good too. |
||
|
| dhallworth Member Since: 10 Oct 2011 Location: Glasgow Posts: 3348 
|
That’s a big improvement. Have you got a link to the bulbs you used? 2002 4.6 Vogue SE - Alveston Red with Lightstone Leather
|
||
|
| Caesium Member Since: 21 Sep 2021 Location: Essex Posts: 454
|
Both the bulbs I got from Amazon.
|
||
|
| rvbush Member Since: 08 Jan 2016 Location: Leamington Spa Posts: 569 
|
Beam pattern looks wrong, where is the kick up to the left side to illuminate kerbs? Have you got it set to continental pattern by any chance? Drives:
|
||
|
| Caesium Member Since: 21 Sep 2021 Location: Essex Posts: 454
|
I have never checked the lever to change the driving mode, I'll do that!
|
||
|
| stan Site Moderator Member Since: 13 Jul 2010 Location: a moderate moderated moderator moderating moderately in moderation Posts: 35880
|
up for UK, down for euroland.. |
||
|
| Caesium Member Since: 21 Sep 2021 Location: Essex Posts: 454
|
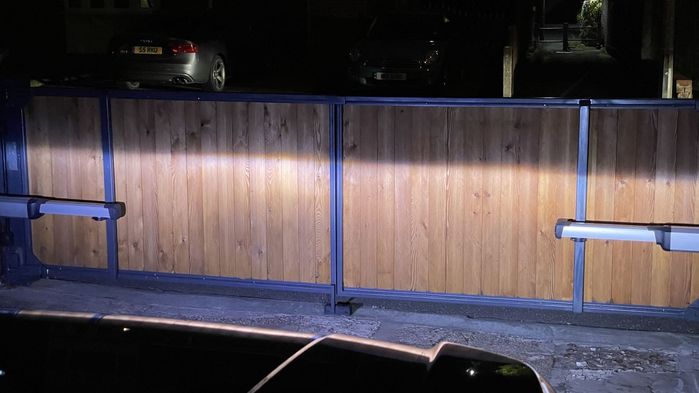
Now rvbush has started me off! I cant see the beam pattern in the daytime and I have just fiddled with the levers which were both in the upwards position, but that shows a flat beam pattern (as per the photos).
|
||
|
| Caesium Member Since: 21 Sep 2021 Location: Essex Posts: 454
|
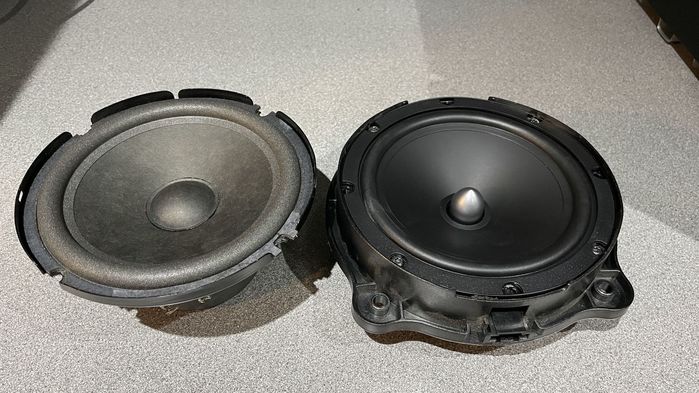
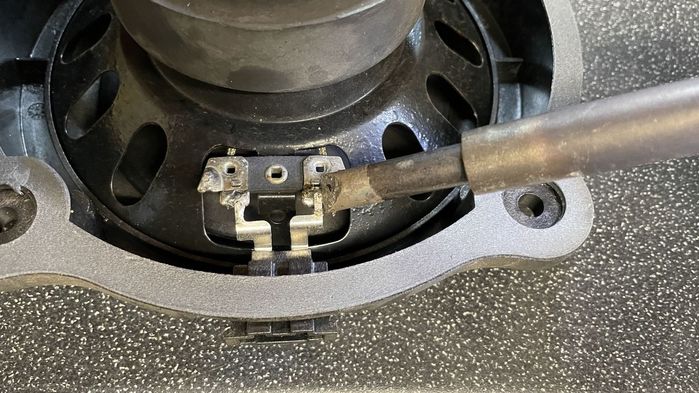
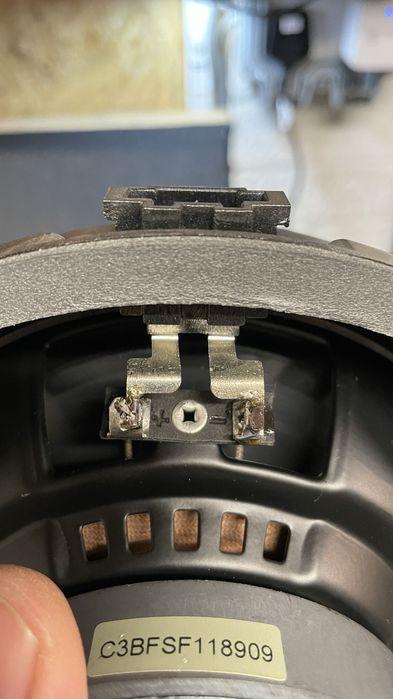
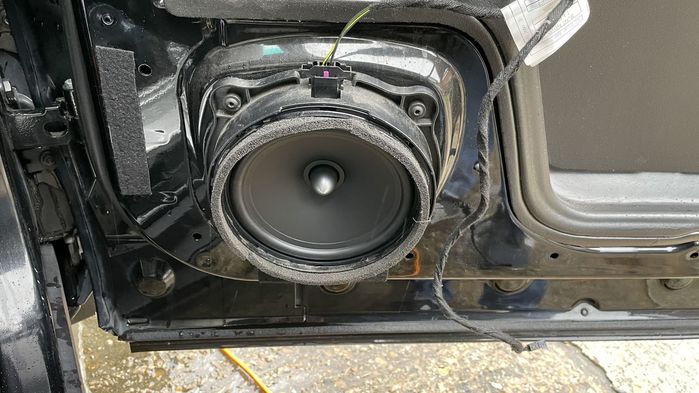
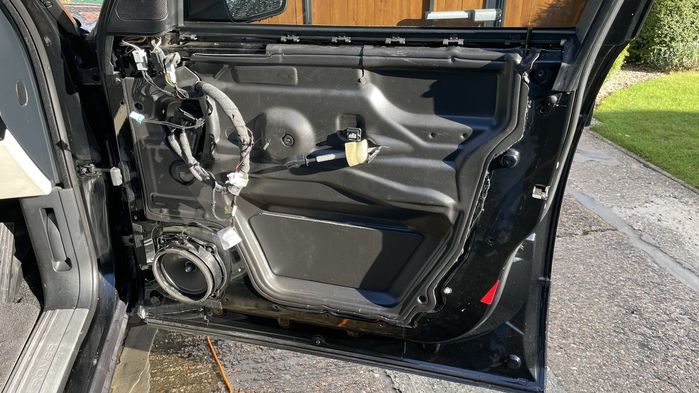
My front door speakers have blown (the spider has detached from the frame) so any bass sounds like a load of loose paper flapping about.
|
||||||
|

| Caesium Member Since: 21 Sep 2021 Location: Essex Posts: 454
|
Took the RR up to North Norfolk for a few days and she performed brilliantly, her first long distance and everyday use test since I got her.
|
||||||||
|
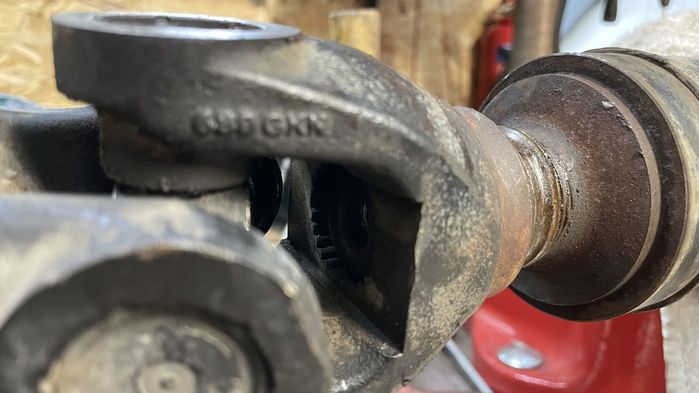
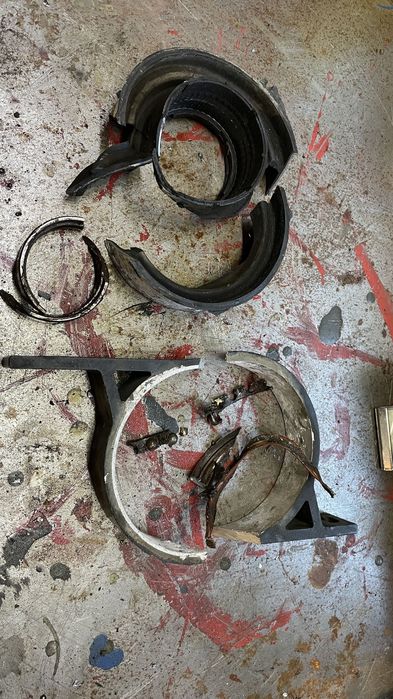
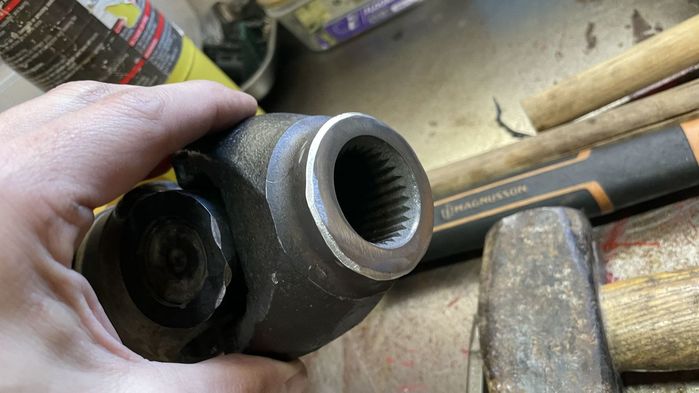
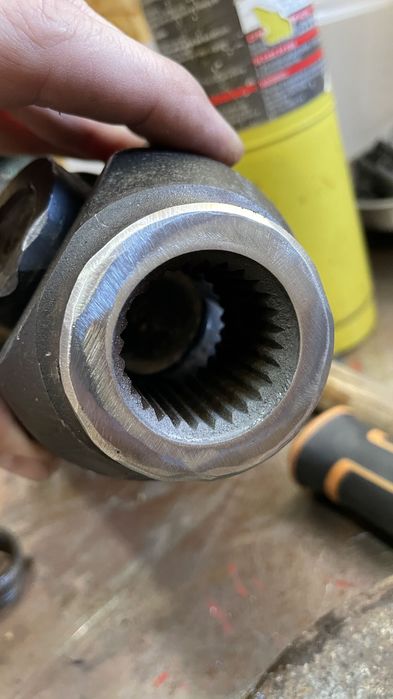
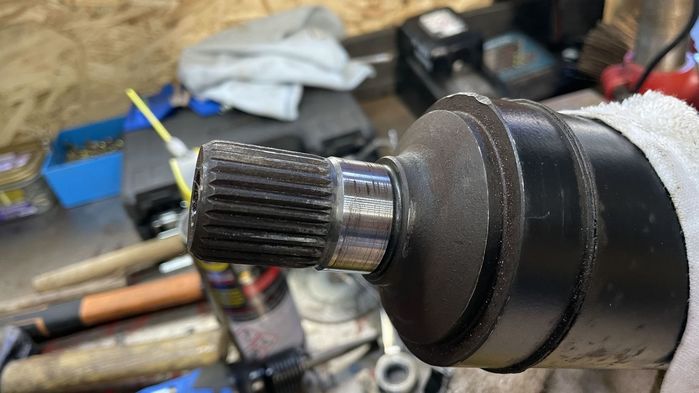
| dhallworth Member Since: 10 Oct 2011 Location: Glasgow Posts: 3348
|
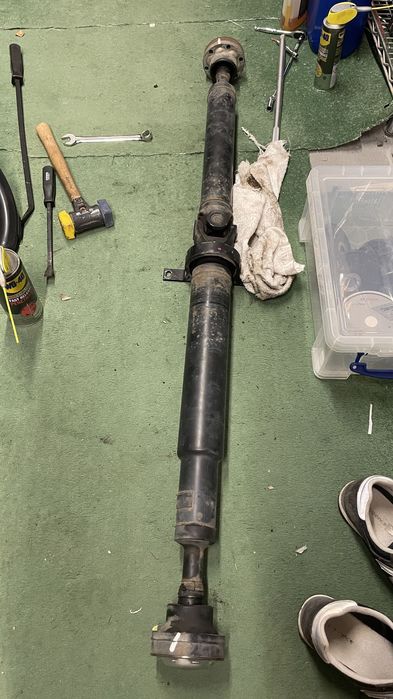
That's a good result on rebuilding the prop.
|
||
|

|
|
| All times are GMT |
< Previous Topic | Next Topic > |
Posting Rules
|
Site Copyright © 2006-2025 Futuranet Ltd & Martin Lewis
![]()
