 | Home > My Range Rover > My L322 Project |
 
|
|
|
| Caesium Member Since: 21 Sep 2021 Location: Essex Posts: 454  
|
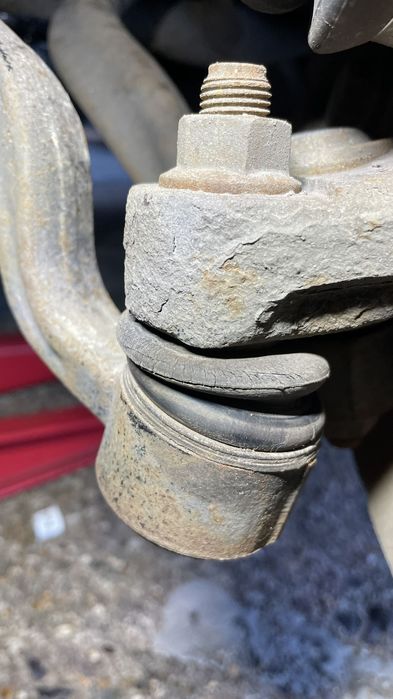
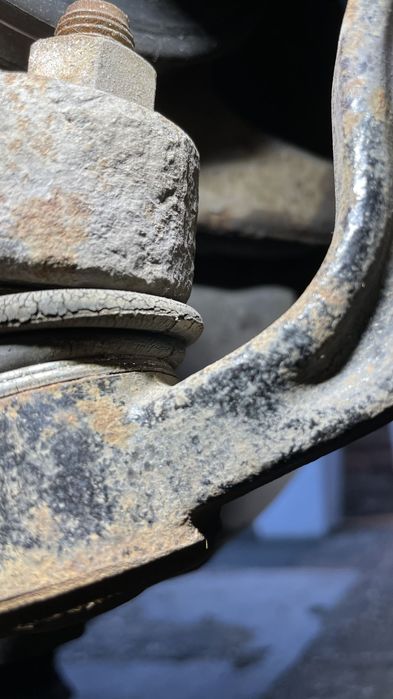
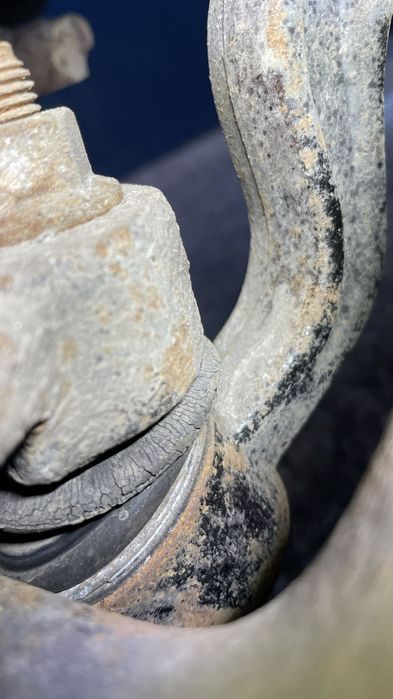
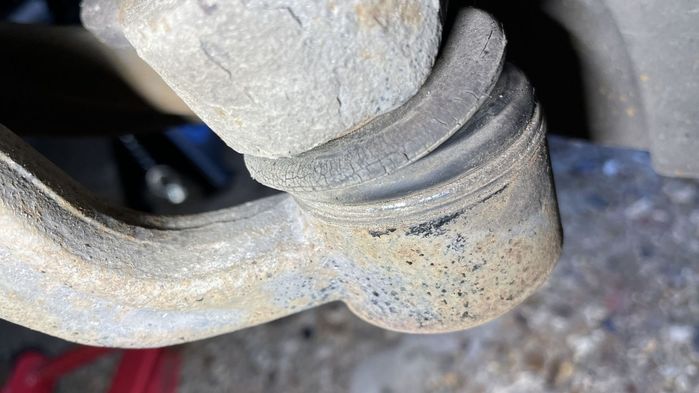
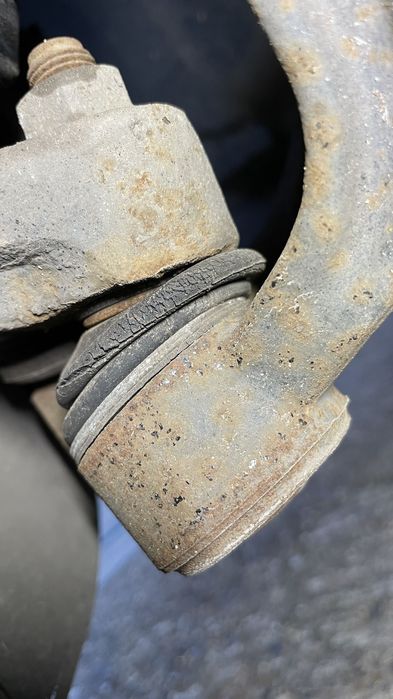
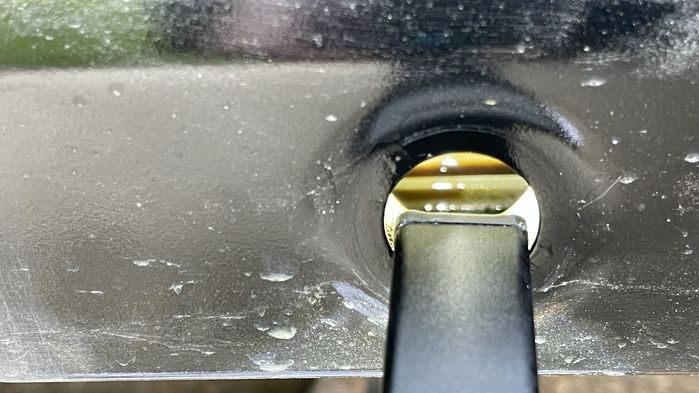
This is what happened to Britpart lower arms after three months, you can see quote clearly how the rubber boot has already begun to perish.
|
||||||||||||
|


| Caesium Member Since: 21 Sep 2021 Location: Essex Posts: 454
|
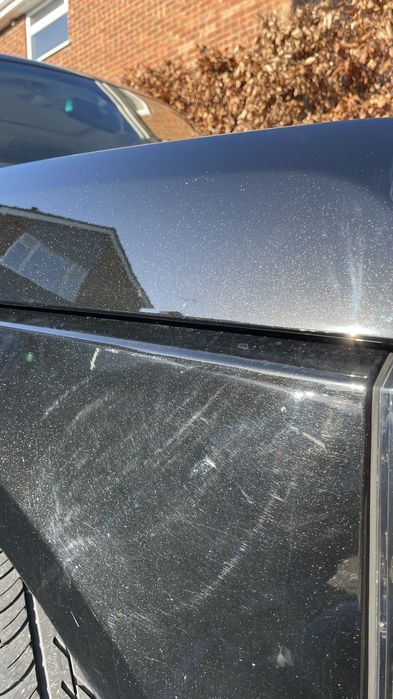
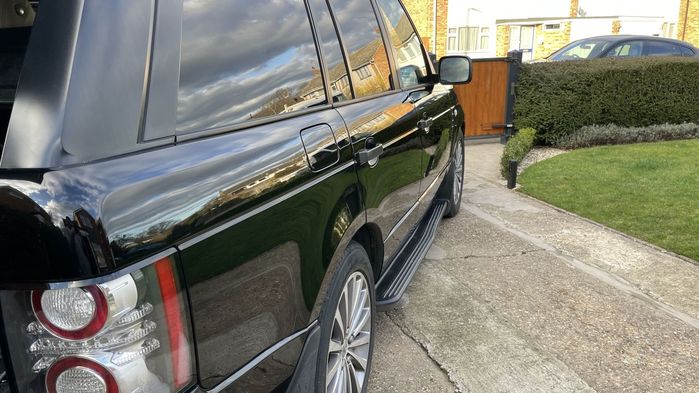
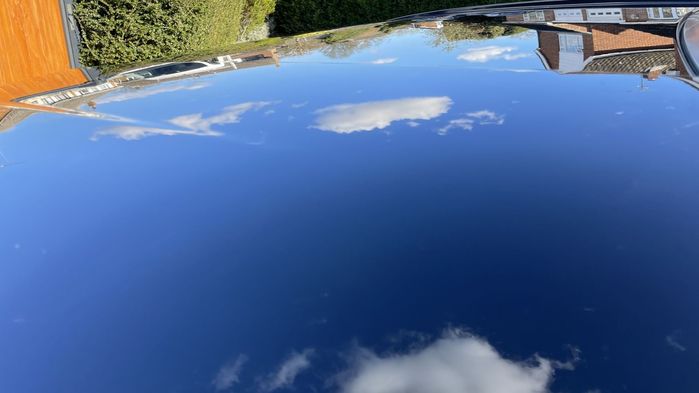
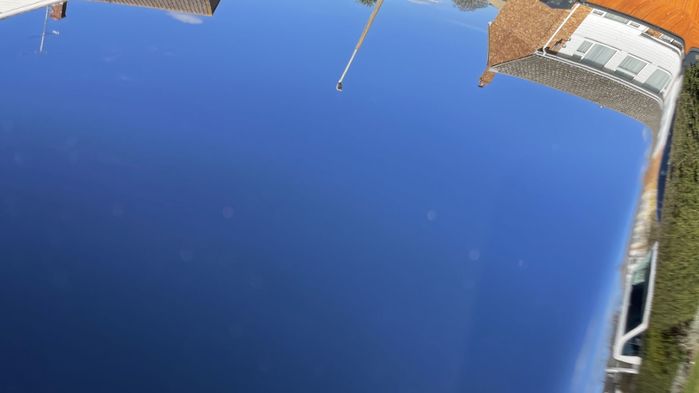
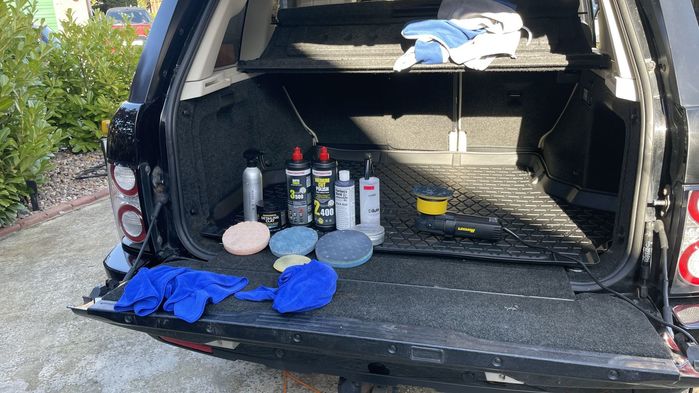
Latest update is a bit of polishing of the old girl to see how the body work comes out, there are a few digs in the paintwork which cannot be polished out but I wanted to get rid of the swirls and light scratching.
|
||||||
|


| bigbo Member Since: 07 Jul 2014 Location: Derbyshire Posts: 616 
|
That is awesome, great job
|
||
|
| Caesium Member Since: 21 Sep 2021 Location: Essex Posts: 454
|
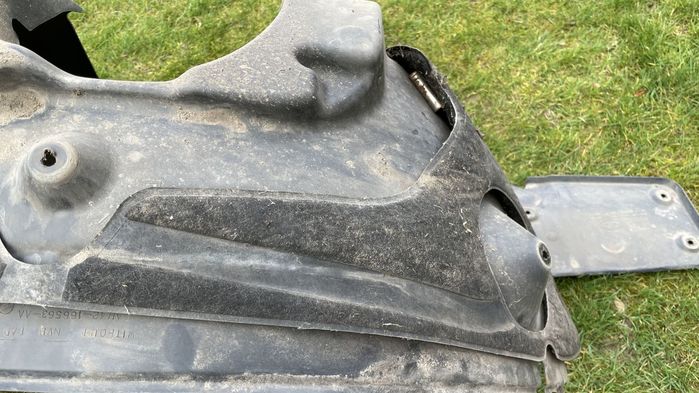
My next instalment will be the removal of all the wheel arch liners and side skirts to check for occasion and to coat the entire underbody with cavity wax... Will upload the pictures soon. Christian.
|
||
|
| Baltic Blue Member Since: 13 Aug 2015 Location: North Wales Posts: 3887 
|
Brilliant thread.
|
||
|
| btiratsoo Member Since: 12 May 2020 Location: Hampshire Posts: 174
|
This is a cracking thread, really inspiring. I like what you did with the side steps, dead smart. Looking forward to the next updates. Current vehicles:
|
||
|
| JamboM3 Member Since: 28 Jul 2021 Location: Berkshire Posts: 277 
|
Brilliant thread!
|
||
|
| dhallworth Member Since: 10 Oct 2011 Location: Glasgow Posts: 3348
|
Definitely worth doing underbody protection on them! I’ve just done it too mine. A labour of love but well worth the effort when you know it’s done |
||
|
| pcourtney Member Since: 14 Jan 2020 Location: Stansted Posts: 1032  
|
really great to see this - a labour of love |
||
|
| Caesium Member Since: 21 Sep 2021 Location: Essex Posts: 454
|
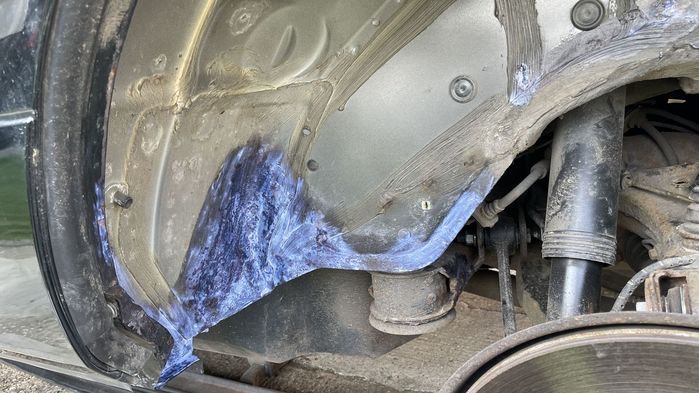
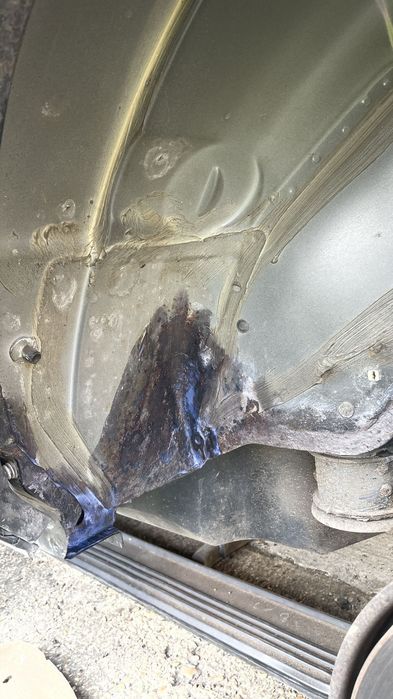
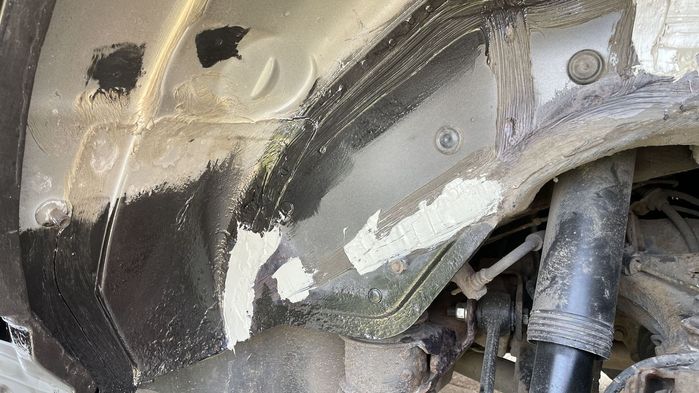
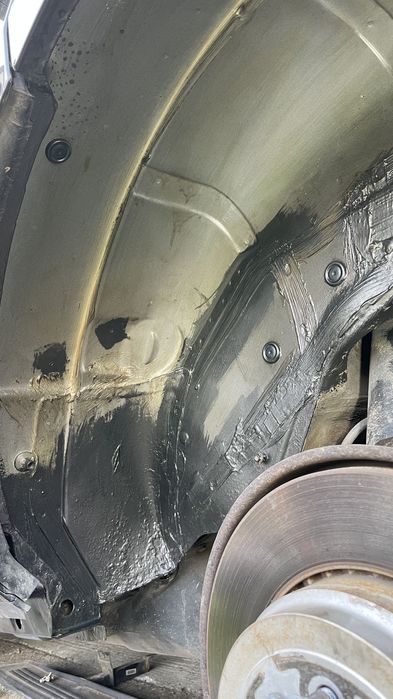
Rust Treatment and Prevention Part 1
|
||||
|


| dhallworth Member Since: 10 Oct 2011 Location: Glasgow Posts: 3348
|
I don't mind doing mechanicals as long as you have a good rust free example to do them too.
|
||
|
| Caesium Member Since: 21 Sep 2021 Location: Essex Posts: 454
|
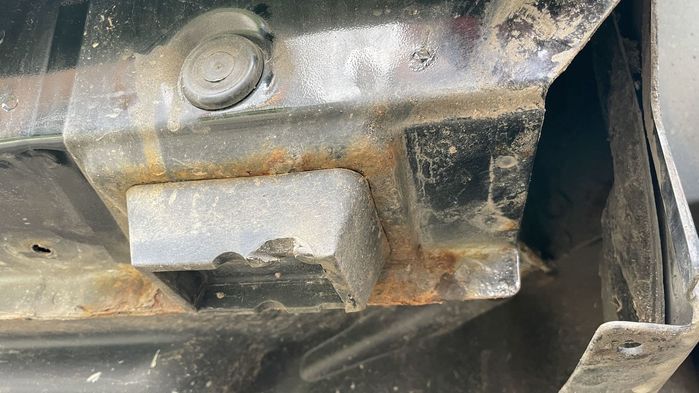
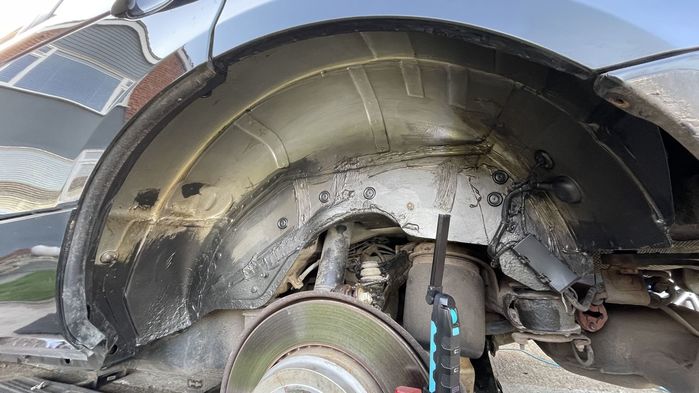
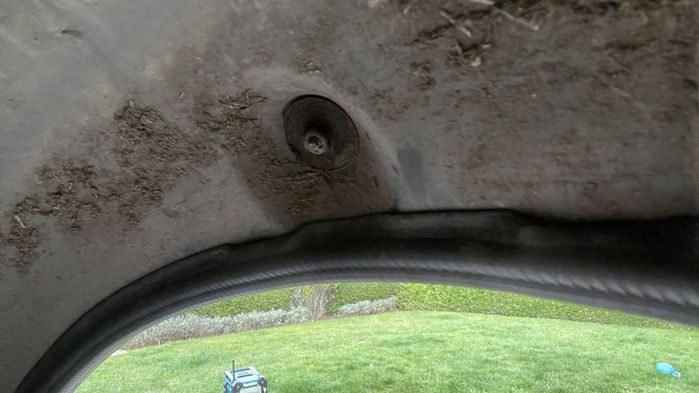
First patch of corrosion was nearside rear.
|
||||||
|
| dhallworth Member Since: 10 Oct 2011 Location: Glasgow Posts: 3348
|
That patch at the front of the wheel arch is where mine was showing surface rust too.
|
||
|
| Caesium Member Since: 21 Sep 2021 Location: Essex Posts: 454
|
Luckily I caught it nice and early, the corrosion was literally surface pitting only so it only required a minimum of treatment and coating.
|
||
|

|
|
| All times are GMT |
< Previous Topic | Next Topic > |
Posting Rules
|
Site Copyright © 2006-2025 Futuranet Ltd & Martin Lewis
![]()
