 | Home > Maintenance & Mods (L322) > Howto: FFRR TD6 '02 Replace Front and Rear Brake Lines |
 
|
|
|
| Bingo_123 Member Since: 19 Sep 2014 Location: Essex Posts: 176  
|
Hi Joe,
|
||
|
| Joe90 Member Since: 29 Apr 2010 Location: Hampshire Posts: 6434 
|
If memory serves me correctly, the FFRR has DIN flares
|
||
|
| ptjs1 Member Since: 15 Nov 2016 Location: Kent Posts: 10 
|
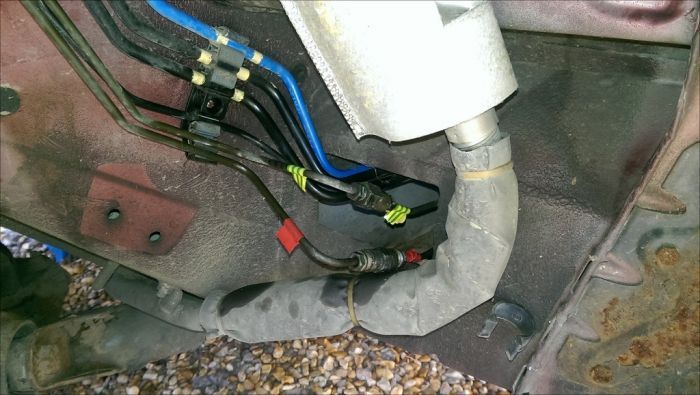
It's unfortunately time for me to do this job with a major leak in one of the two pipes running Front to Rear.
|
||
|
| Joe90 Member Since: 29 Apr 2010 Location: Hampshire Posts: 6434
|
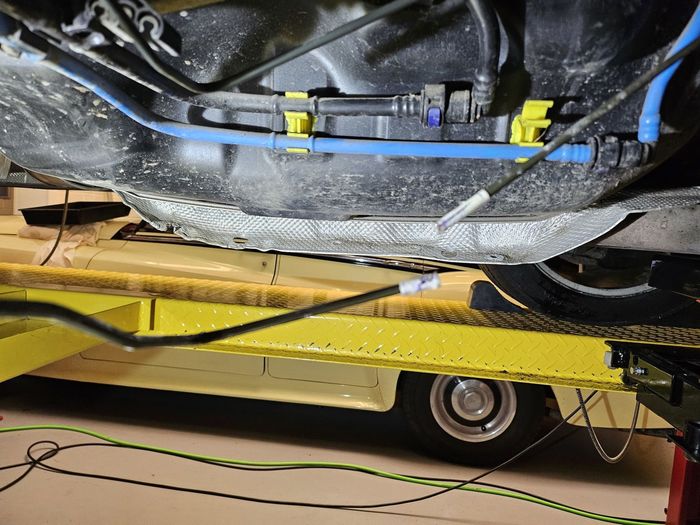
You should be able to move/"re-shape" the heatshield out of the way to get to those bolts? .
|
||
|
| ptjs1 Member Since: 15 Nov 2016 Location: Kent Posts: 10
|
Thanks for the suggestion. Maybe the exhaust is very different on a Supercharged Petrol V8? The heatshield can only be moved a max of 1/4", which isn't even giving me direct line of sight to those 2 nuts.
|
||
|
| PatrickG Member Since: 27 Aug 2018 Location: Michigan Posts: 4  
|
I removed all of the heat shield screws and used a 24" socket extension to remove those two nuts. My heat shield has a hole in it that seems like it was put there just for accessing them. Still required some forcing and bending to lower the tank cover though. '08 SC here btw.
|
||
|
| ptjs1 Member Since: 15 Nov 2016 Location: Kent Posts: 10
|
Patrick,
|
||
|
| ptjs1 Member Since: 15 Nov 2016 Location: Kent Posts: 10
|
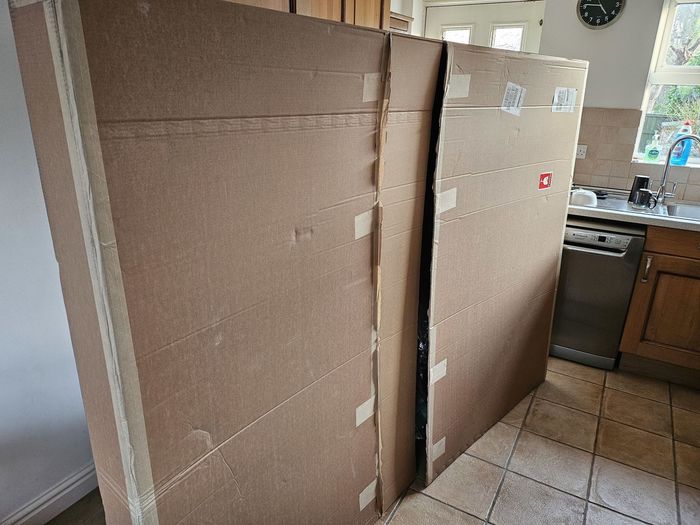
OK, confirmed that the genuine pipes come pre-formed which does have some advantages. Although I sense I'll still have to put a join in to fit that over-axle pipe.
|
||
|
| PatrickG Member Since: 27 Aug 2018 Location: Michigan Posts: 4
|
Paul,
|
||||
|
| ptjs1 Member Since: 15 Nov 2016 Location: Kent Posts: 10
|
Thanks Patrick,
|
||
|
| Red Hot one Member Since: 09 Dec 2018 Location: Herefordshire Posts: 238
|
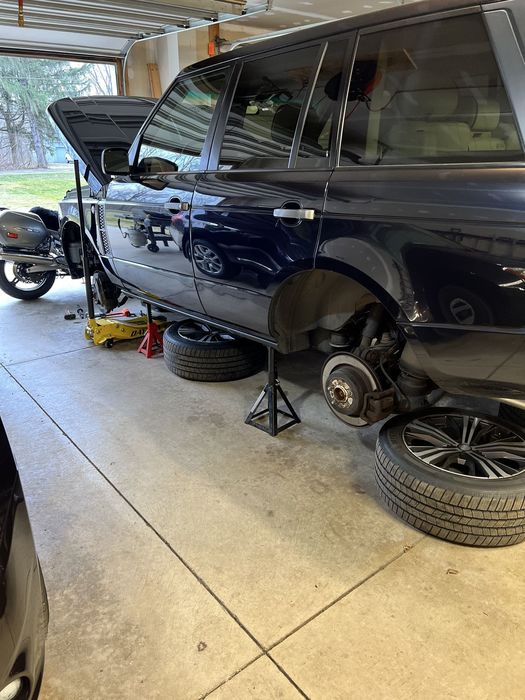
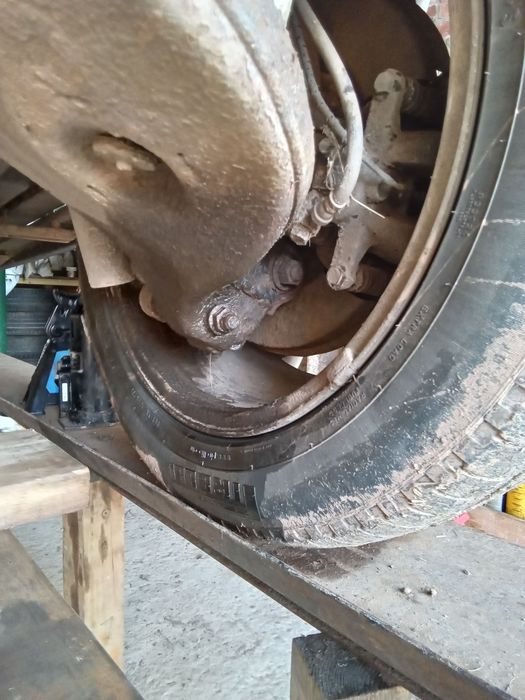
Well that willl give me something to do, the O/S R brake pipe broke whilst parked in the yard, noticed a wet spot by the rear wheel and found the line holed making a mess of the wheel etc.
|
||||
|
| ptjs1 Member Since: 15 Nov 2016 Location: Kent Posts: 10
|
I should have concluded this in August but the whole episode was so painful, I decided to take a break!
|
||||||
|
| Ramblin Man Member Since: 05 Apr 2022 Location: Southsea Posts: 308
|
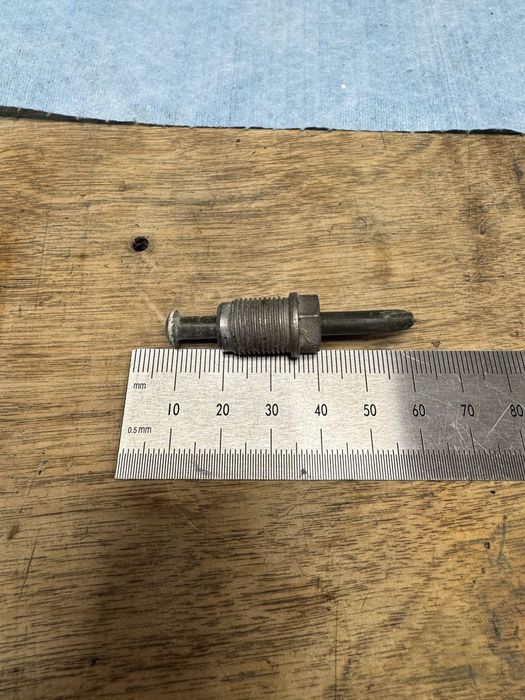
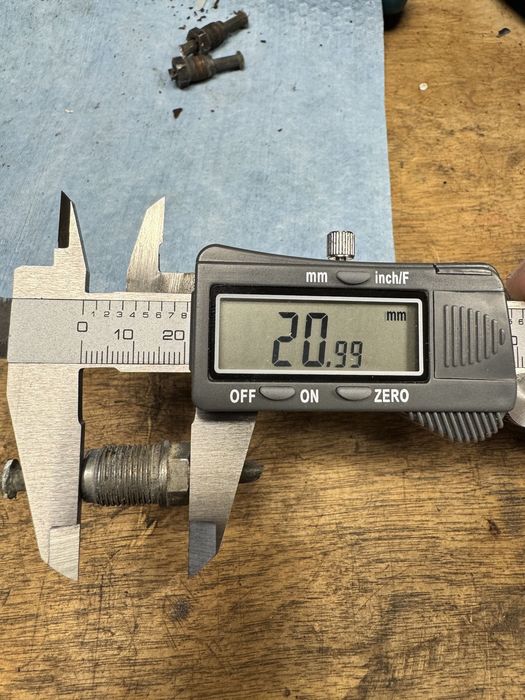
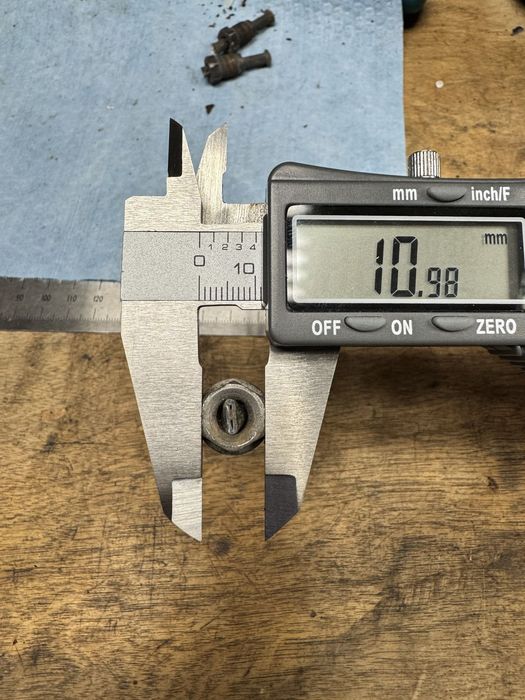
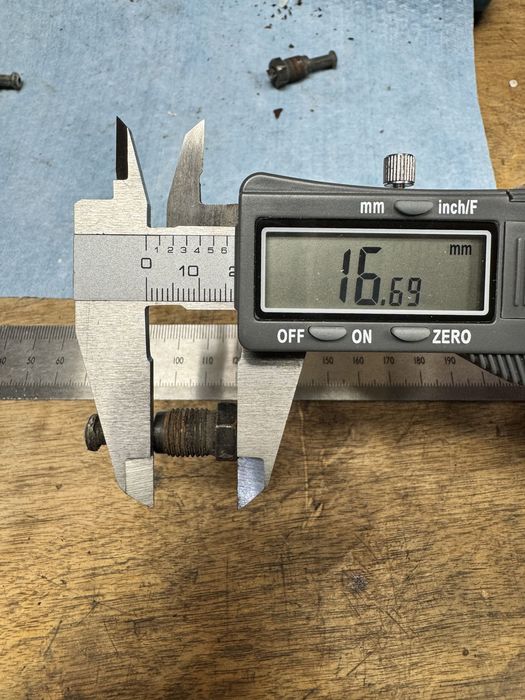
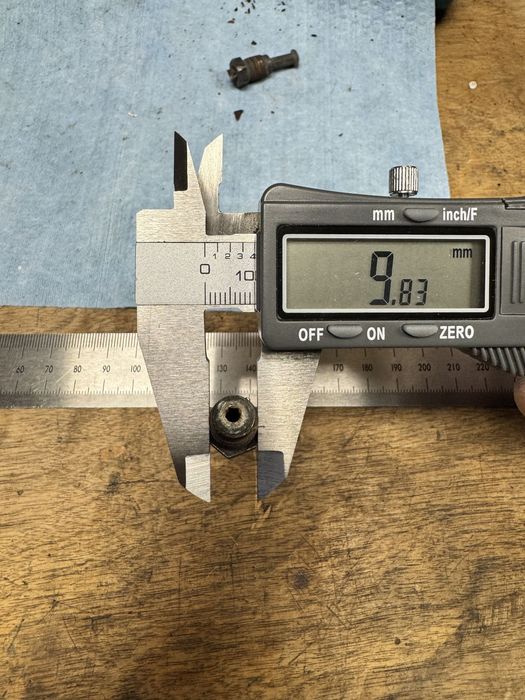
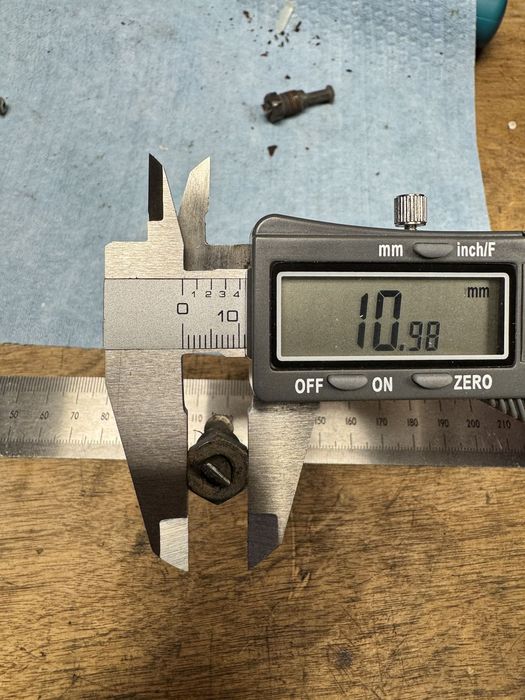
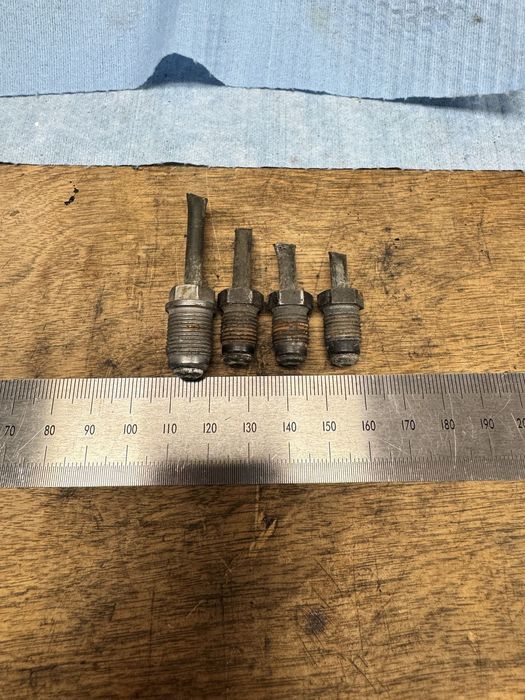
Would anyone know the size of the larger fitting in the N/S wheel arch of the rear lines ? Also, is the regular sized fitting M10x1mm the same as the flex line fittings ? Lastly; on a TDV8 4.4 2012 are the Flares DIN ? ( it looks like it from the photo but this is a of a 2002 TDV6. ) TDV8 4.4 2012 |
||||||
|
| PatrickG Member Since: 27 Aug 2018 Location: Michigan Posts: 4
|
Larger fitting on my 2008 4.2 is M12x1. Others are M10x1. All flares are DIN bubble.
|
||||||||||||||||||||
|


|
|
| All times are GMT |
< Previous Topic | Next Topic > |
Posting Rules
|
Site Copyright © 2006-2025 Futuranet Ltd & Martin Lewis
![]()
